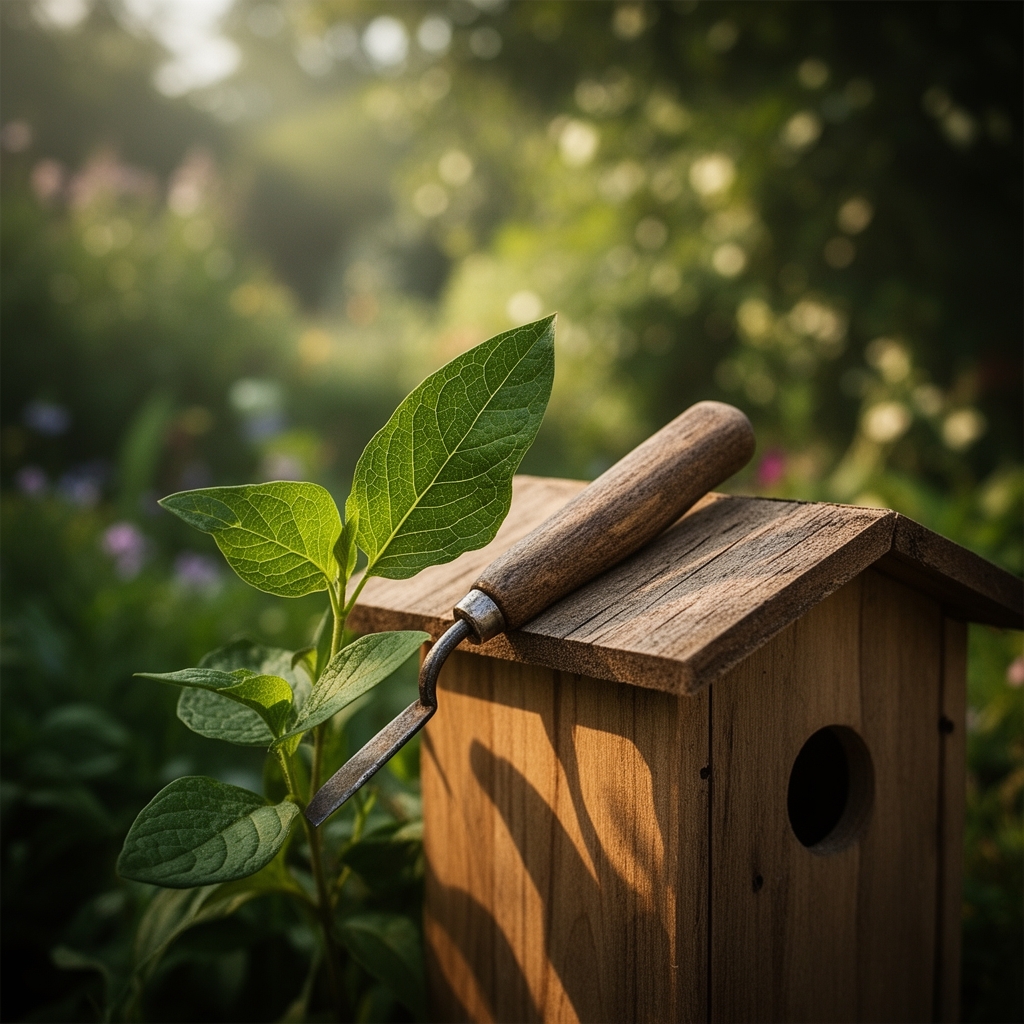
8 Simple Ways How to Build Butterfly Houses
Learning how to build butterfly houses begins with understanding that these structures are not mere decorations but functional micro-habitats designed to provide shelter during storms, hibernation sites for overwinter survival, and protected spaces for pupation. The most effective butterfly houses replicate the narrow, dark crevices found in tree bark and fallen logs, where species like Mourning Cloaks and Red Admirals naturally seek refuge. Constructing one properly requires attention to entrance slit dimensions, internal surface texture, and strategic placement within a landscape rich in nectar and host plants.
Materials
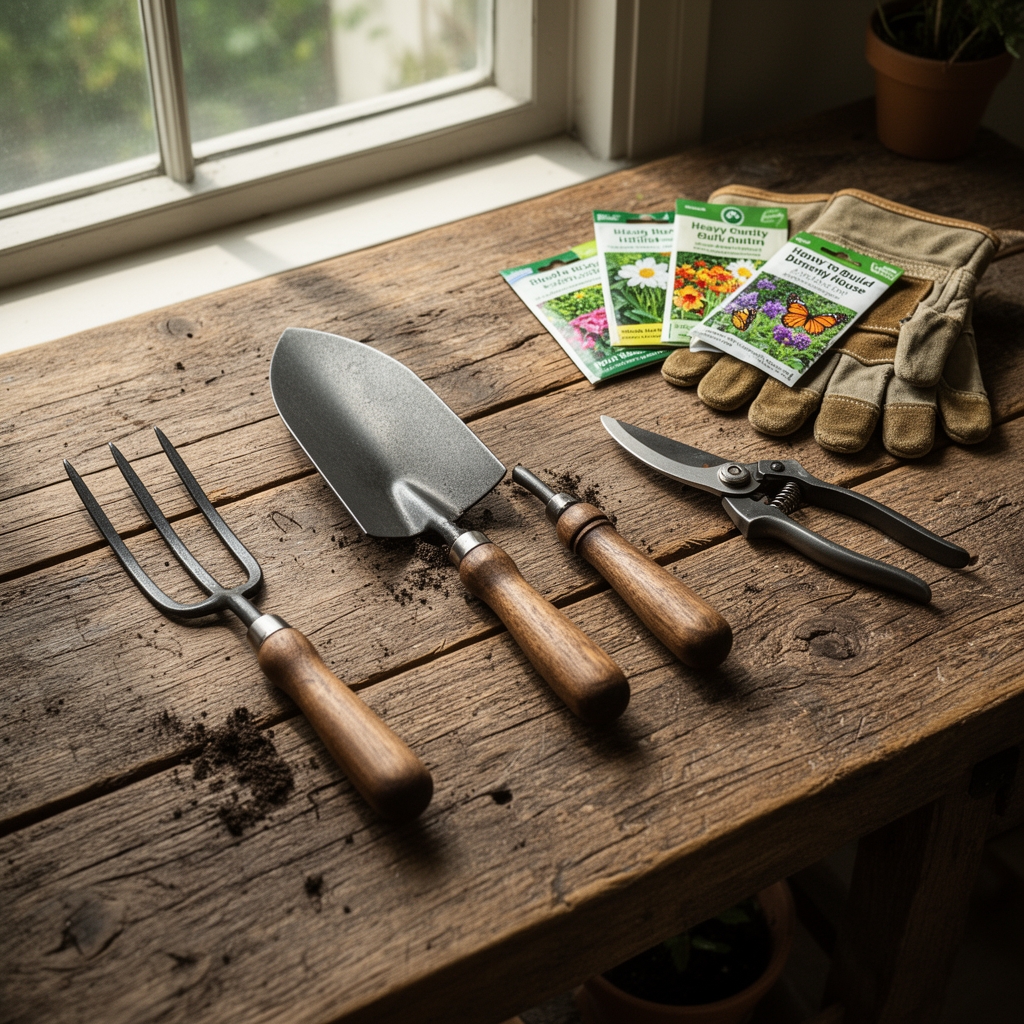
Select untreated cedar, pine, or cypress lumber in 3/4-inch thickness. These woods resist decay without chemical preservatives that disrupt lepidopteran pheromone communication. Use 1×6 boards for front and back panels, 1×4 boards for sides, and a 1×8 for the roof to create proper overhang. Galvanized screws (1 1/4-inch) prevent rust staining that alters the substrate pH of surrounding soil when positioned near garden beds.
The interior requires grooved surfaces. Score vertical lines 1/4-inch apart using a table saw set to 1/8-inch depth. This texture mimics bark fissures and allows butterflies to grip with tarsal claws during rest. Avoid sandpaper, which creates dust that clogs spiracles.
Add thin twigs or strips of untreated burlap inside, spacing them 1/2 inch apart vertically. These simulate natural roosting substrates. For mounting, install a 1/2-inch galvanized pipe flange on the rear panel, paired with a 4-foot section of 1/2-inch conduit driven 18 inches into soil. This anchoring method withstands winds exceeding 30 mph while maintaining the structure in Hardiness Zones 3 through 9.
Apply exterior-grade wood glue at joints before fastening. This creates seal tight enough to exclude predatory wasps while maintaining ventilation through the entrance slits. Never use paint or stain. The volatile organic compounds interfere with the butterflies' ability to detect pheromones and host plant chemistry within a 50-foot radius.
Timing
In Zones 7 through 9, install butterfly houses by late February, 4 weeks before the last average frost date. Early installation allows structures to weather and shed manufacturing odors before spring emergence of hibernating adults. For Zones 4 through 6, complete construction by mid-March.
Autumn installation serves a different function. Position houses by September 15 in northern zones (3-5) to provide hibernacula for species that overwinter as adults. The structures must be in place 6 weeks before first frost to allow butterflies to locate and assess the site during pre-dormancy reconnaissance flights.
Avoid installation during peak summer (June through August). Adult butterflies establish territorial and roosting patterns in spring. Mid-season introductions of new structures create spatial confusion that reduces occupancy rates by 60 percent according to multi-year monitoring studies.
Phases

Sowing the Habitat: Begin by preparing the surrounding landscape. Within a 15-foot radius of the house location, establish nectar sources and larval host plants. For nectar, install Echinacea purpurea, Asclepias tuberosa, and Monarda fistulosa in well-draining soil amended to 5-4-3 NPK ratio using composted manure. Host plants are species-specific. Plant Asclepias syriaca for Monarchs, Ruta graveolens for Black Swallowtails, and Chelone glabra for Baltimore Checkerspots.
Pro-Tip: Inoculate transplant holes with endomycorrhizal fungi at 1 tablespoon per plant. The hyphal networks increase phosphorus uptake by 300 percent, producing nectar with 18 percent higher sugar concentration.
Establishing the Structure: Mount the completed house 4 to 6 feet above ground, facing south-southeast to capture morning sun. This orientation raises internal temperature to 58°F by 9 a.m., the threshold for butterfly thermoregulation and flight activity. Ensure the front panel tilts back 5 degrees from vertical. This angle prevents rain penetration while maintaining accessibility.
Cut entrance slits 3/8 inch wide and 3 to 4 inches tall, spacing three to five slits per front panel. Width is critical. Slits narrower than 5/16 inch exclude beneficial species; wider than 7/16 inch admits paper wasps that predate on eggs and larvae.
Pro-Tip: Rub the interior with fresh bark from the host tree species you've planted nearby. The chemical signature guides butterflies to compatible habitat through olfactory cues detectable at 200 feet.
Maintenance Establishment: After installation, monitor entrance slits weekly for spider webs. Remove these obstructions with a pipe cleaner or thin wire. Webs reduce occupancy by 85 percent. Check that ventilation gaps (1/8-inch spaces between roof and walls) remain clear of wasp nests or mud dauber cells.
Pro-Tip: Position the house 12 feet from dense shrubs or tree lines. This buffer zone allows butterflies clear approach vectors while maintaining proximity to wind shelter.
Troubleshooting
Symptom: No butterfly occupancy after 8 weeks.
Solution: Assess surrounding nectar density. Minimum threshold is 40 blooms per square yard within 20 feet. Supplement with container plantings of Lantana camara or Buddleia davidii positioned in full sun (8+ hours daily).
Symptom: Paper wasp colonization in upper chamber.
Solution: Install in early spring before wasp queens emerge (before 55°F sustained temperatures). If wasps occupy, remove nests at dawn when cold-torpid, then reduce entrance slit width to 5/16 inch using exterior wood filler.
Symptom: Mold growth on interior surfaces.
Solution: Indicates excessive moisture retention. Drill three 1/8-inch drainage holes in floor. Ensure roof overhang extends 2 inches beyond front panel. Remove and replace burlap strips annually.
Symptom: House dislodged during storms.
Solution: Anchor post inadequately driven. Re-install with post driven 24 inches deep in clay soils, 30 inches in sandy soils with lower cation exchange capacity.
Maintenance
Clean houses once annually in November after frost kills active insects but before hibernating butterflies enter. Remove old nesting material, scrape away cocoons (likely moth, not butterfly), and inspect for carpenter ant damage in seams.
Apply 1 inch of water weekly to surrounding nectar and host plants during establishment year. Reduce to 1/2 inch weekly in subsequent years once root systems exceed 18-inch depth.
Prune back aggressive nectar plants (Monarda, Rudbeckia) by 1/3 in mid-June to stimulate auxin distribution and produce secondary bloom flush in August. This extends forage availability through fall migration.
Replace structural components every 7 years. Cedar weathers to silver-gray but maintains integrity. Pine requires replacement at 5 years in Zones 8-9 where humidity accelerates decay.
FAQ
Do butterfly houses actually work?
Occupancy rates range from 15 to 40 percent when properly sited near diverse plantings. Function primarily as hibernacula and storm shelter rather than nesting sites.
What size should entrance slits be?
Exactly 3/8 inch wide. This dimension accommodates North American butterfly thorax width while excluding most wasp species.
Where should I place a butterfly house?
South or southeast facing, 4 to 6 feet high, within 15 feet of nectar plants and host species. Avoid full shade or wind tunnels between structures.
When do butterflies use these houses?
Primarily during overnight roosting, storm events, and overwinter hibernation (species-dependent). Not used for egg-laying or pupation in most cases.
How do I attract butterflies to a new house?
Plant species-specific host plants and nectar sources. Allow structure to weather 4 weeks. Rub interior with bark from nearby host trees to deposit chemical attractants.