9 Easy Steps to Patch a Cart Tire
The smell of damp earth and the iron tang of wet mulch define the early morning rounds of a working gardener. When a wheelbarrow or garden cart fails due to a puncture, the rhythm of the day halts; the weight of heavy compost bags becomes unmanageable without mechanical advantage. Maintaining high turgor pressure in your cart wheels is as essential as maintaining it in a cell wall. Learning the steps to patch a cart tire ensures that your workflow remains uninterrupted during critical planting windows. A flat tire on a loaded cart can compact the soil if dragged, damaging the delicate rhizosphere and crushing the friable loam you have worked years to cultivate. Professional maintenance requires immediate action to restore the pneumatic seal. This guide provides the technical precision needed to repair a standard tubeless or tubed garden tire using industrial standards.
Materials:
While the repair kit is mechanical, the environment where you work should be a clean, stable substrate. Ideally, perform repairs on a concrete pad or a compacted gravel surface to avoid introducing grit into the tire bead. If working near planting beds, ensure the area has a **pH of 6.5 to 7.0** to prevent any leaked lubricants from altering the local soil chemistry.
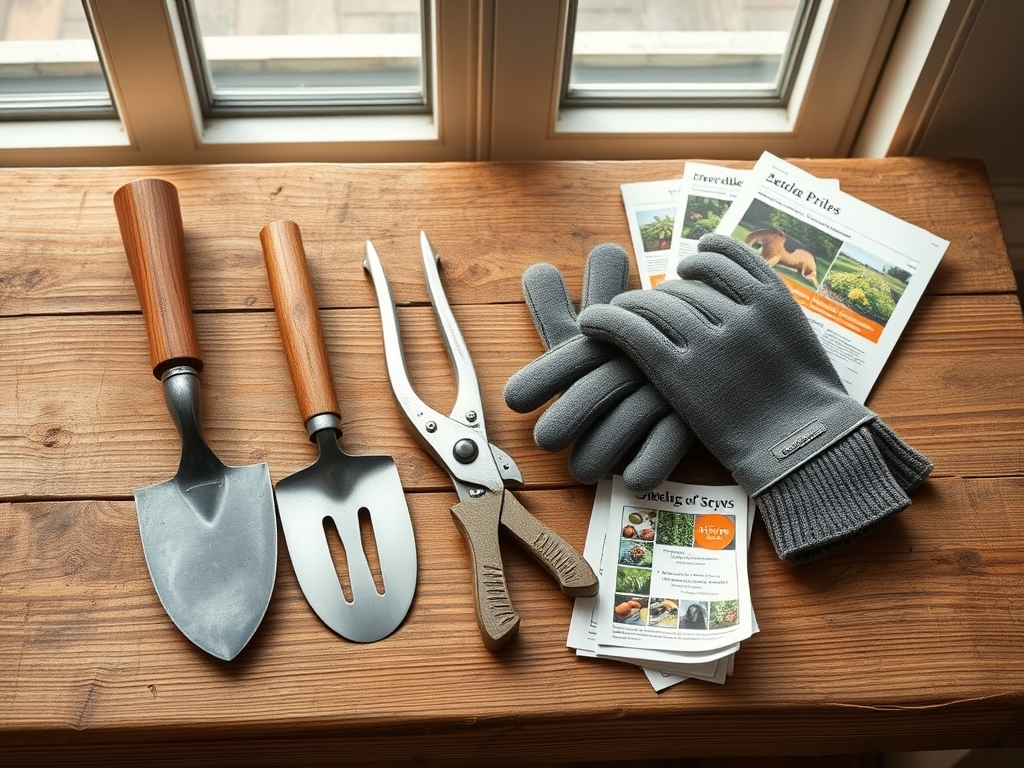
The ideal substrate for a garden cart is a friable loam with a high Cation Exchange Capacity (CEC) of 15 to 25 meq/100g. This ensures that even if you are hauling heavy amendments like bone meal (NPK 3-15-0) or blood meal (NPK 12-0-0), the cart moves smoothly across the surface without sinking. You will need a plug kit for tubeless tires or a vulcanizing patch for tubes; a pair of tire irons; a bucket of soapy water; and a high-pressure pump with a gauge.
Timing:
Successful garden management relies on the Hardiness Zone and the frost-date window. In Zones 5 through 7, cart maintenance should be finalized before the first hard freeze, as cold temperatures can cause rubber to become brittle and lose its seal. The "Biological Clock" of the garden dictates that your equipment must be at peak performance during the transition from the vegetative stage to the reproductive stage of your crops. This is when nutrient demands are highest, and you will be transporting the most volume of organic matter. Ensure all tires are patched and pressurized before the spring equinox to avoid delays during the intensive sowing period.
Phases:

Sowing the Repair (Preparation)
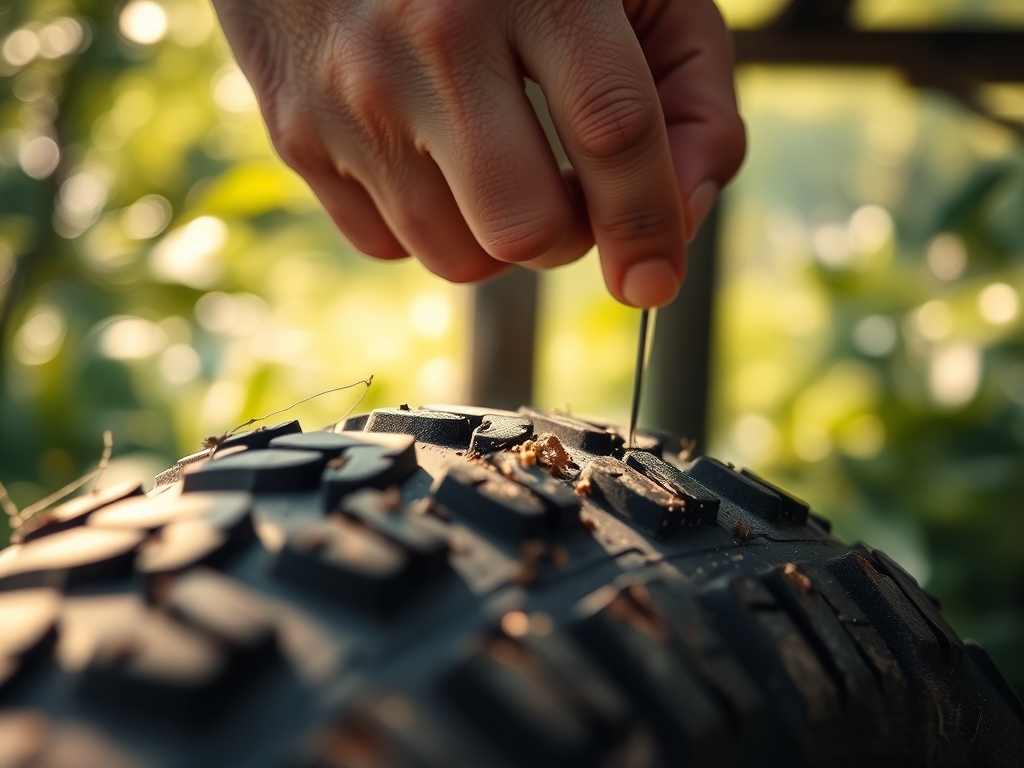
Remove the wheel from the cart frame using a socket wrench. Clean the tire surface thoroughly to remove any clinging clay or organic debris. Inflate the tire to 15 to 20 PSI and submerge it in water or spray it with a soap solution. The presence of bubbling indicates the exact site of the puncture. Mark this location with a grease pencil.
Pro-Tip: Cleanliness is vital because microbial life in the soil can accelerate the degradation of rubber. Removing soil prevents fungal spores from being trapped between the rim and the bead, which could lead to slow leaks over time.
Transplanting the Plug (Execution)
For tubeless tires, use a reaming tool to roughen the puncture hole. This increases the surface area for the adhesive to bond. Insert the rubber plug coated in vulcanizing fluid into the hole using the insertion tool. Pull the tool out quickly, leaving the plug inside. For tubed tires, you must remove the tube, scuff the area with a metal rasp, and apply a patch.
Pro-Tip: This process mimics the grafting of a scion to a rootstock. The vulcanizing fluid creates a chemical bond rather than a simple mechanical one, ensuring the patch becomes a permanent part of the tire structure, much like the vascular cambium fuses during a graft.
Establishing the Seal (Testing)
Trim the excess plug material so it sits flush with the tread. Re-inflate the tire to the manufacturer's recommended pressure, usually between 25 and 30 PSI for standard garden carts. Submerge the tire once more to verify that the leak has ceased. Reinstall the wheel and tighten all bolts to the specified torque.
Pro-Tip: Proper inflation prevents "soil compaction," a condition where heavy loads collapse the pore spaces in the soil. Maintaining high tire pressure distributes the weight evenly, protecting the mycorrhizal symbiosis occurring beneath the surface.
The Clinic:
Even with a patched tire, your garden may face physiological challenges. Use this diagnostic guide to identify and correct issues.
Symptom: Interveinal chlorosis in young leaves.
Solution: This indicates a lack of mobile nutrients. Check the soil pH; if it is above 7.5, iron becomes unavailable. Apply a chelated iron drench.
Symptom: Blossom end rot in Solanaceae species.
Solution: This is a calcium deficiency often caused by inconsistent moisture levels. Maintain a steady 1.5 inches of water per week to ensure calcium transport via the xylem.
Symptom: Purpling of older foliage.
Solution: Phosphorus deficiency. Incorporate a high-phosphorus amendment (NPK 0-20-0) into the root zone during the next cultivation cycle.
Fix-It for Nitrogen Chlorosis: If the entire plant is pale green, apply a quick-release nitrogen source. Ensure the C:N ratio of your mulch is not too high, as carbon-heavy materials like wood chips can "tie up" nitrogen during decomposition.
Maintenance:
Precision is the hallmark of a master horticulturist. Use a soil moisture meter daily to ensure your beds receive exactly 1.5 inches of water per week delivered at the drip line. Avoid overhead watering to prevent the spread of fungal pathogens. When pruning, use sharp bypass pruners to make clean cuts at a 45-degree angle just above a lateral bud. This encourages the release of auxins, promoting bushy growth. For weeding in tight spaces, a hori-hori knife allows you to extract taproots without disturbing the surrounding soil structure. Check your cart tire pressure every 30 days to ensure the patch remains secure and the rubber has not developed dry rot.
The Yield:
Harvesting is the culmination of the biological cycle. For most fruiting crops, harvest when the fruit reaches its full color but remains firm to the touch. This is the peak of sugar accumulation before senescence begins. Use a sharp knife to remove the fruit; pulling can damage the plant's vascular system. To maintain "day-one" freshness, immediately move the harvest to a cool, shaded area to reduce the rate of respiration. For flowers, harvest in the early morning when turgor pressure is at its maximum to ensure a longer vase life.
FAQ:
How do I find a leak in a cart tire?
Inflate the tire to 20 PSI and apply a mixture of dish soap and water to the surface. Look for accumulating bubbles. This indicates the exact exit point of the compressed air through the rubber carcass.
Can I patch a tire with a large gash?
No. Patches and plugs are designed for small punctures under 0.25 inches. Large gashes compromise the structural integrity of the tire. In these cases, replace the tire to avoid a blowout while hauling heavy loads of soil.
What is the best pressure for a garden cart?
Most utility carts require 25 to 30 PSI. Refer to the sidewall of the tire for the maximum load rating. Proper inflation reduces the physical effort required to move the cart and prevents damage to the tire bead.
Does temperature affect tire pressure?
Yes. For every 10-degree drop in temperature, tire pressure can decrease by 1 PSI. Check your tires frequently during the transition from autumn to winter to ensure they do not go flat while in storage.