7 Best Dibbers for Bulb Planting
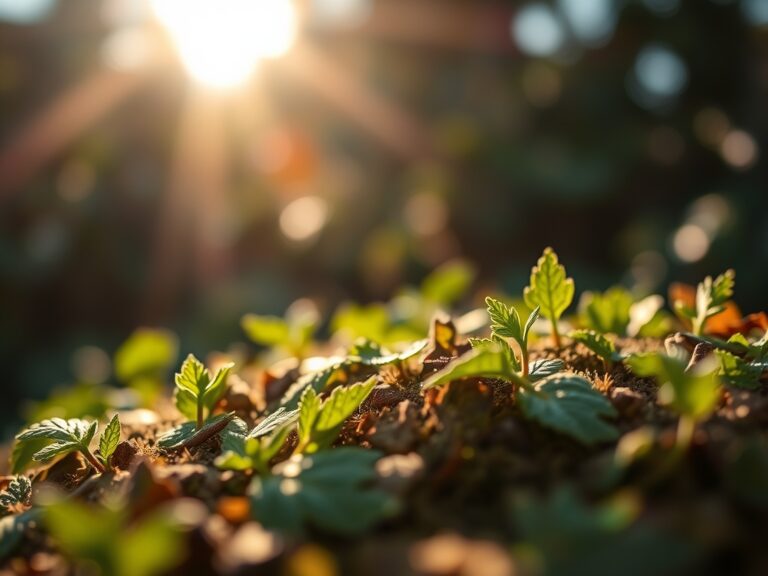
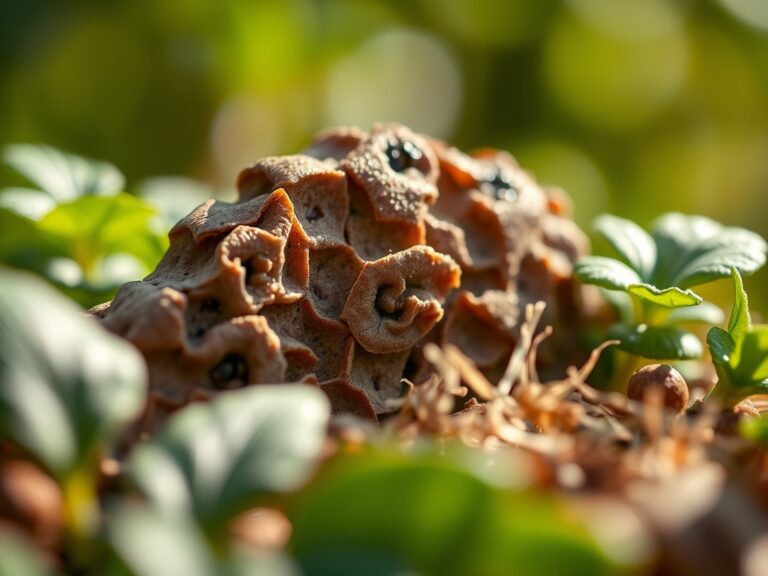
The scent of damp, anaerobic soil signals the transition into the planting window. Successful bulb integration depends on the turgor of the basal plate and the precision of the planting hole. Compaction is the primary enemy of the emerging radicle. Selecting the best dibbers for bulb planting ensures that the soil structure remains aerated while maintaining direct contact between the bulb and the rhizosphere. A clean, tapered hole prevents air pockets that lead to fungal decay.
Materials:
For optimal bulb development, the substrate must be a friable loam with a pH between 6.0 and 7.0. High Cation Exchange Capacity (CEC) is essential for nutrient retention. Before planting, incorporate a low-nitrogen, high-phosphorus fertilizer with an NPK ratio of 5-10-10. Excess nitrogen at this stage triggers premature foliage growth, which depletes the bulb’s stored carbohydrates before the root system can support it. The soil texture should consist of approximately 40 percent sand, 40 percent silt, and 20 percent clay to facilitate drainage while holding sufficient moisture for hydraulic conductivity.
Timing:
In Hardiness Zones 4 through 7, the planting window opens when soil temperatures at a 6 inch depth drop below 55 degrees Fahrenheit. This usually occurs between late September and November. The biological clock of the bulb requires a vernalization period of 12 to 16 weeks at temperatures between 35 and 45 degrees Fahrenheit to trigger the transition from the vegetative state to the reproductive stage. Failure to meet this chilling requirement results in "blasting," where the flower bud fails to develop or senesces prematurely within the sheath.
Phases:
Sowing
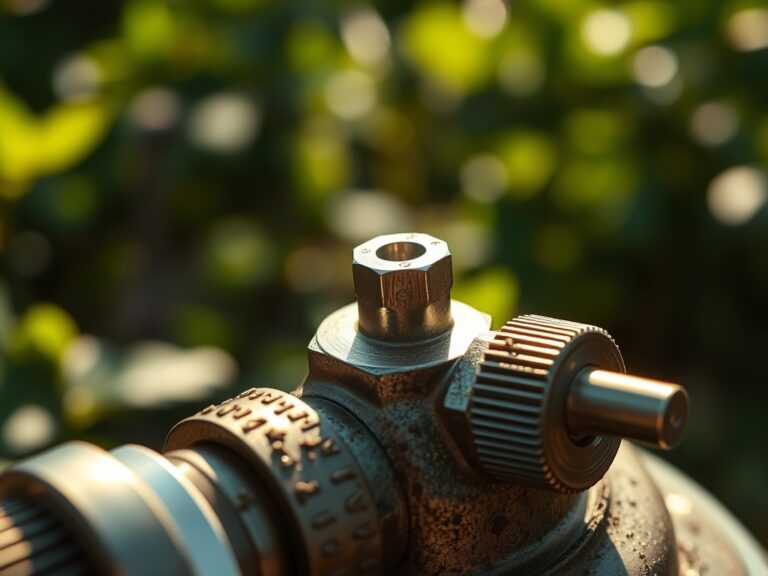
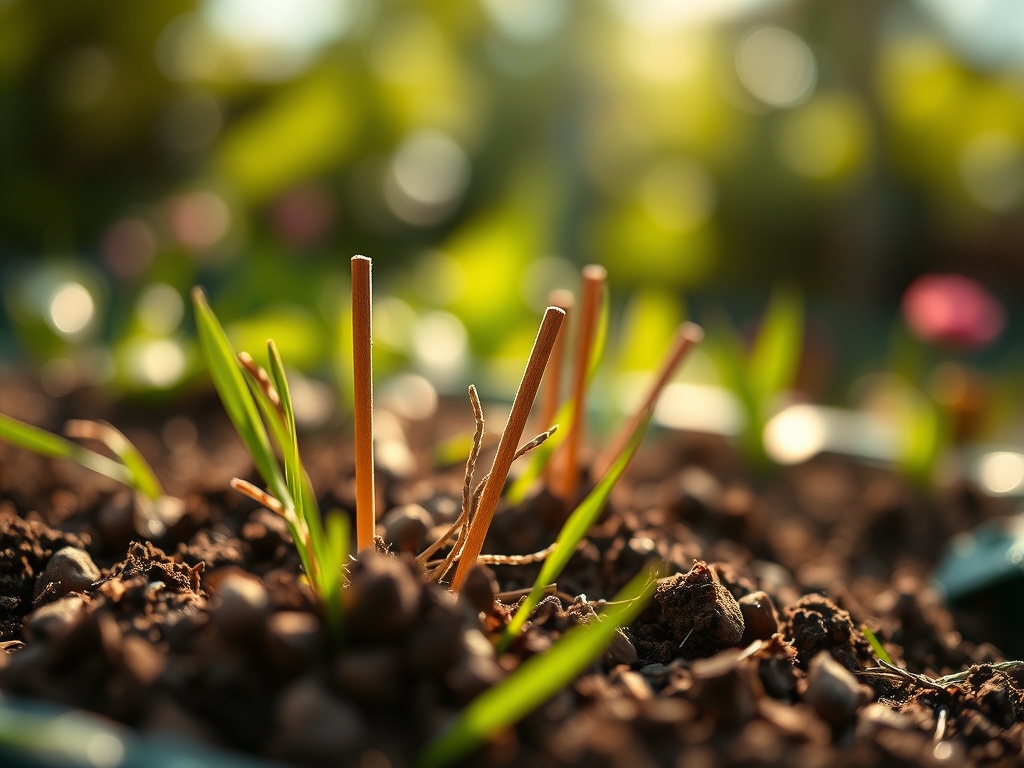
Using a stainless steel T-handled dibber, penetrate the soil to a depth three times the height of the bulb. For a 2 inch tulip bulb, the base must sit 6 inches deep. Twist the tool to prevent sidewall glazing, which can inhibit lateral root penetration.
Pro-Tip: Proper depth is critical because it regulates the temperature of the bulb. Deep planting provides a thermal buffer against rapid freeze-thaw cycles that can cause "heaving," where the bulb is physically pushed out of the soil by ice crystals.
Transplanting
If moving established perennials or "in the green" bulbs, use a long-handled dibber to create a receiving hole that exceeds the root mass by 20 percent. This allows for the addition of mycorrhizal inoculants directly into the root zone.
Pro-Tip: Introducing mycorrhizal fungi enhances the surface area of the root system. This symbiosis improves the uptake of immobile nutrients like phosphorus and increases the plant's resistance to drought stress by extending the reach of the rhizosphere.
Establishing
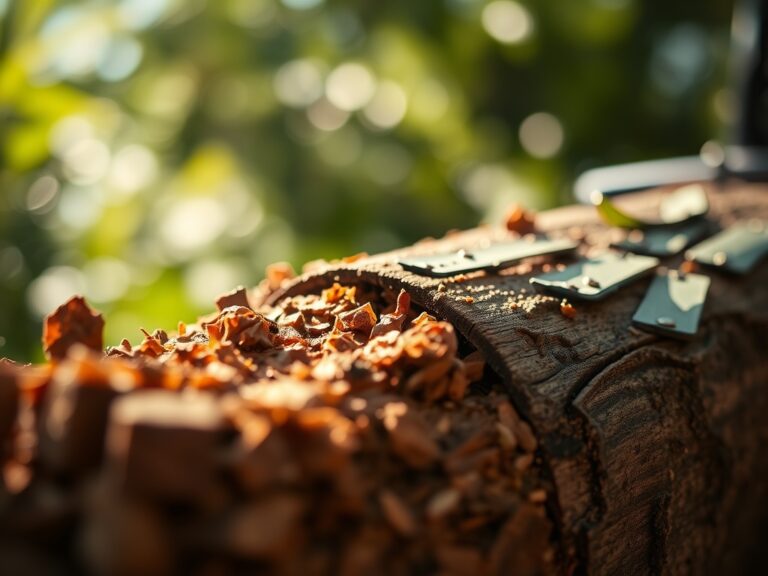
Once the bulb is seated, backfill with the original soil and firm it gently to remove large voids. Apply 1 inch of organic mulch to stabilize soil moisture and suppress weed competition.
Pro-Tip: Firming the soil ensures "hydraulic continuity" between the bulb and the soil particles. This allows the bulb to draw moisture via capillary action, preventing the desiccation of the basal plate during the initial rooting phase.
The Clinic:
Physiological disorders often mimic nutrient issues. Identifying the root cause requires a systematic approach.
- Symptom: Stunted growth and yellowing of early foliage (Nitrogen Chlorosis).
Solution: Apply a quick-release liquid fertilizer with a 10-5-5 NPK ratio once the shoots reach 2 inches in height. - Symptom: Flower buds turn brown and dry out before opening (Bud Blast).
Solution: This is often caused by underwatering during the spring growth surge or extreme temperature fluctuations. Maintain consistent soil moisture. - Symptom: Distorted, twisted leaves (Bulb Mite Damage).
Solution: Inspect bulbs for mechanical damage before planting. Discard any bulbs that feel soft or show visible necrotic tissue. - Symptom: Reddish-purple tint on leaf tips (Phosphorus Deficiency).
Fix-It: Phosphorus is immobile in the soil. Top-dress with bone meal or a 0-20-0 superphosphate and water it in deeply to reach the root zone.
Maintenance:
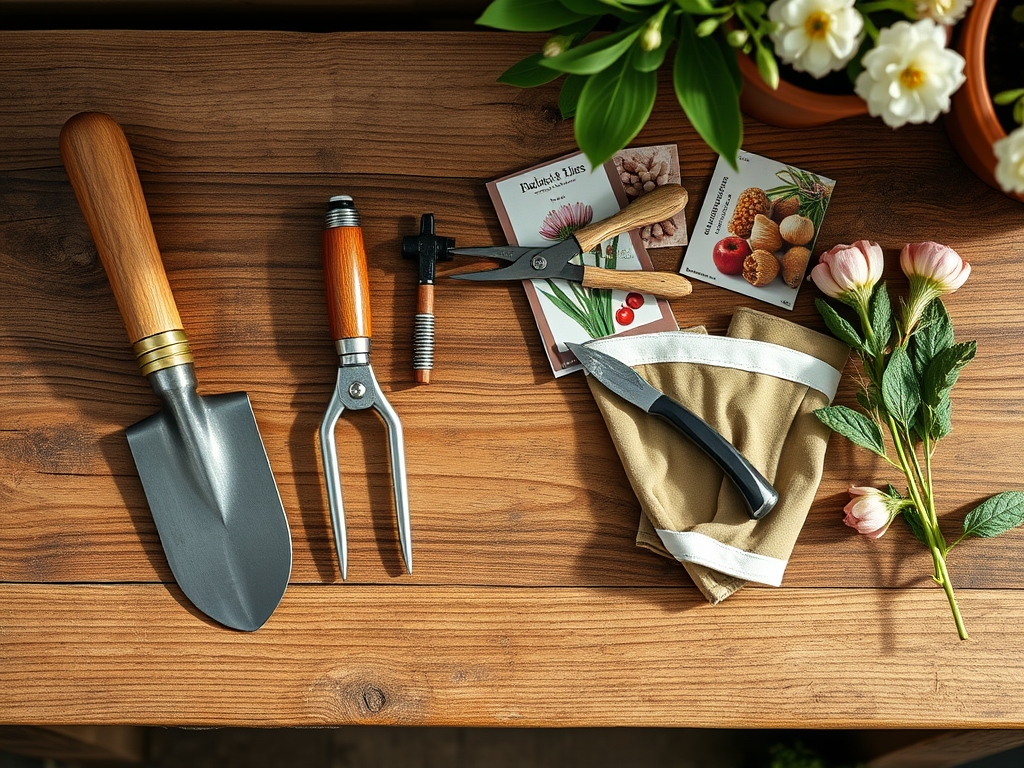
Precision maintenance dictates the longevity of the planting. Monitor the site with a soil moisture meter to ensure levels stay between 40 and 60 percent capacity. Provide 1.5 inches of water per week at the drip line if rainfall is insufficient. Use a hori-hori knife to remove deep-rooted perennial weeds without disturbing the bulb's root structure. After the bloom cycle, do not remove the foliage until it has turned yellow and brittle. This allows the plant to complete the process of senescence, moving sugars from the leaves back into the bulb for next year's energy reserves. Use bypass pruners to remove spent flower stalks to prevent the plant from diverting energy into seed production.
The Yield:
For those harvesting bulbs for indoor forcing or cut flowers, timing is paramount. Harvest tulips and narcissus when the bud is in the "colored-pencil" stage, where the color is visible but the petals have not yet unfurled. Cut the stem at a 45-degree angle to maximize the surface area for water uptake. Immediately place the stems in 40-degree Fahrenheit water and store them in a dark, cool environment. This slows the metabolic rate and preserves the turgor pressure of the cells, ensuring the bloom remains viable for 7 to 10 days.
FAQ:
What is the best dibber material for heavy clay?
Stainless steel is the superior choice for heavy clay. Its smooth surface reduces friction and prevents soil from sticking to the tool. This maintains the integrity of the hole and prevents the user from creating ragged, compacted edges.
How deep should I plant small crocus bulbs?
Small bulbs like crocus or scilla should be planted 3 inches deep. The general rule is to plant at a depth three times the diameter of the bulb. This protects the bulb from temperature fluctuations and foraging animals.
Can I use a dibber for large Allium bulbs?
A standard dibber may be too narrow for large Allium bulbs. For bulbs exceeding 2 inches in diameter, use a wide-diameter bulb planter or a spade to ensure the hole is wide enough to prevent damaging the basal plate.
Why is my soil too hard for a dibber?
High compaction or low organic matter increases soil bulk density. If a dibber cannot penetrate, the soil likely has a high clay content and low moisture. Amend the area with compost to improve the soil structure and CEC.