8 Vital Steps to check Propane Fittings
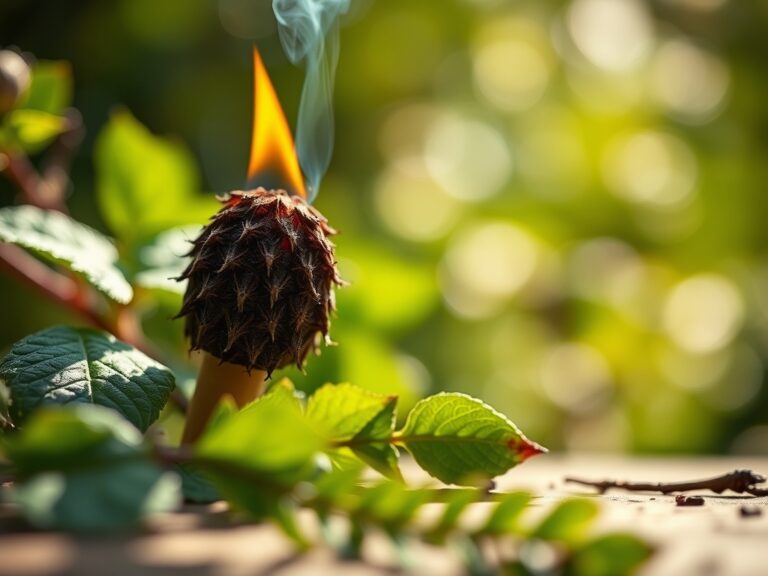
The scent of damp, mineral-rich earth signals the start of the spring growth cycle, a time when turgor pressure in emerging seedlings reaches its peak. In a greenhouse or workshop setting, safety protocols must match the precision of your horticultural timing. Before firing up heaters or CO2 generators for supplemental enrichment, you must execute the steps to check propane fittings to prevent catastrophic structural loss. Inspecting gas connections ensures that your climate control systems operate without compromising the delicate atmospheric balance required for sensitive cultivars. A single leak can disrupt the controlled environment, leading to ethylene gas buildup or fire hazards that threaten your entire botanical collection.
Maintaining a secure facility requires technical vigilance. Professional growers understand that mechanical integrity is as vital as soil chemistry. When you transition from dormant winter maintenance to active spring production, every valve and regulator becomes a critical point of failure. Checking these fittings involves a systematic visual and tactile inspection, followed by a chemical leak test. This process ensures that your infrastructure supports the high-metabolic demands of your plants without interruption. Proper gas management allows for consistent thermal regulation, which is essential for maintaining the metabolic rates of high-value species during cold snaps.
Materials:
The foundation of any successful harvest begins with the substrate. For high-demand crops, utilize a **friable loam** with a **Cation Exchange Capacity (CEC) of 15 to 25 meq/100g**. This ensures the soil can hold and exchange essential cations like potassium and magnesium. Target a **soil pH of 6.2 to 6.8** to maximize nutrient bioavailability.
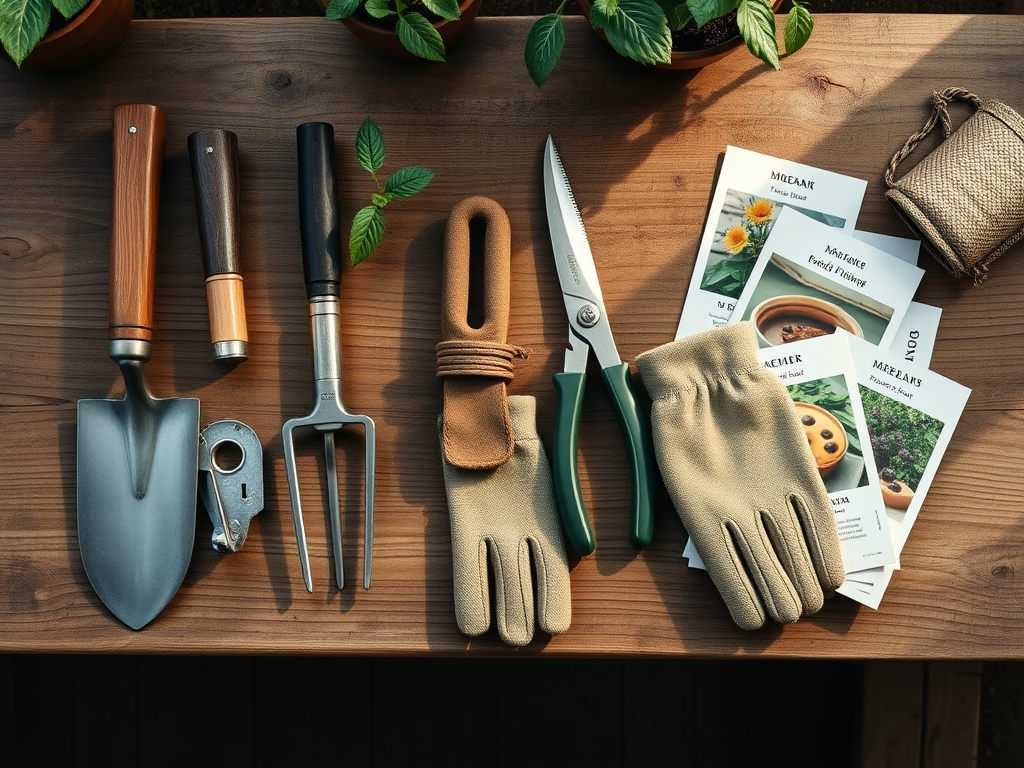
Your nutrient regimen must be precise. During the early vegetative phase, apply a fertilizer with an NPK ratio of 3-1-2 to stimulate foliar expansion and chlorophyll synthesis. As the plant transitions to the reproductive phase, shift to a 1-3-2 ratio to support flower and fruit development. The physical texture of your medium should allow for 20 percent air-filled porosity to prevent root zone hypoxia. Ensure you have a non-corrosive leak detection solution and a soft-bristled brush for the propane fitting inspection.
Timing:
Successful cultivation is dictated by the USDA Hardiness Zones. In Zones 5 through 7, the window for transplanting warm-season crops typically opens after the last frost date, generally between late April and mid-May. Monitor the Biological Clock of your specimens; the transition from vegetative to reproductive stages is often triggered by the photoperiod, specifically when daylight hours shift or the accumulation of Growing Degree Days (GDD) reaches a specific threshold.
Propane systems should be inspected at the start of every season or whenever a tank is exchanged. Cold temperatures can cause gaskets to contract, increasing the risk of leaks. Perform your safety checks when ambient temperatures are above freezing to ensure the leak detection solution does not crystallize on the threads.
Phases:

Sowing
Begin by scarifying seeds with thick coats to improve imbibition. Plant at a depth of two times the seed diameter. Maintain a constant substrate temperature of 70 to 75 degrees Fahrenheit to optimize germination enzymes.
Pro-Tip: Proper sowing depth prevents premature exposure to light, which can trigger auxin suppression in the hypocotyl, leading to stunted initial growth.
Transplanting
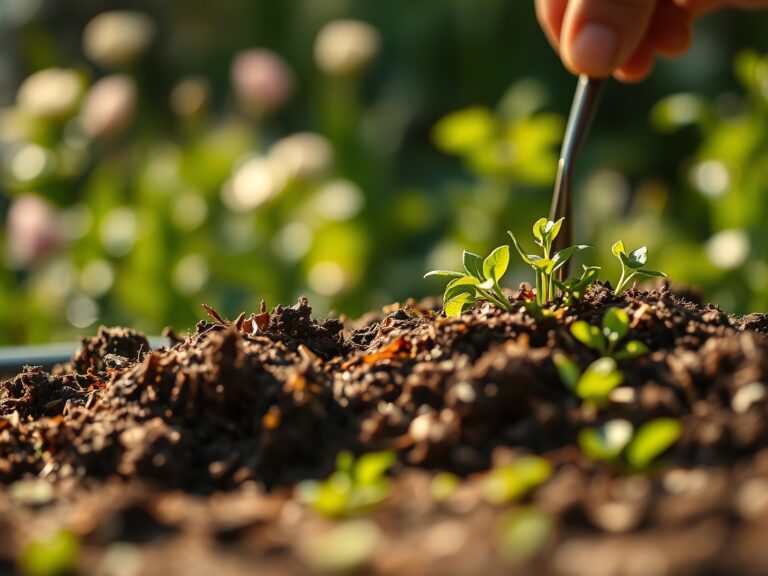
Move seedlings when they possess two sets of true leaves. Ensure the rhizosphere remains intact during the move to minimize transplant shock. Use a hori-hori knife to create a clean vertical incision in the soil, preventing compaction of the surrounding pore space.
Pro-Tip: Mycorrhizal symbiosis is best established during transplanting. Introducing beneficial fungi at this stage increases the surface area of the root system by up to 100 times, enhancing phosphorus uptake.
Establishing
Once in the ground, monitor turgor pressure daily. The plant must establish a robust root-to-shoot ratio before the heat of mid-summer. Apply a two-inch layer of organic mulch to regulate soil temperature and reduce evaporation.
Pro-Tip: Avoid excessive nitrogen application during establishment. High nitrogen levels can lead to rapid, weak cellular elongation, making the plant susceptible to phototropism-induced leaning and mechanical failure.
The Clinic:
Physiological disorders often mimic pathogen attacks but are rooted in environmental or nutritional imbalances.
- Blossom End Rot: Caused by localized calcium deficiency in the fruit. This is often a result of inconsistent moisture levels rather than a lack of soil calcium. Fix-It: Maintain consistent soil moisture and avoid high-ammonium fertilizers which compete with calcium ions.
- Interveinal Chlorosis: Yellowing between the veins of young leaves indicates iron deficiency, often caused by a pH above 7.0. Fix-It: Lower soil pH using elemental sulfur or apply chelated iron foliar sprays.
- Leaf Tip Burn: This is a symptom of boron toxicity or high salinity in the root zone. Fix-It: Flush the substrate with three volumes of water relative to the container size to leach excess salts.
- Nitrogen Chlorosis: General yellowing of older leaves as the plant translocates mobile nitrogen to new growth. Fix-It: Apply a quick-release high-nitrogen organic meal or fish emulsion.
Maintenance:
Precision maintenance prevents senescence from occurring prematurely. Deliver 1.5 inches of water per week at the drip line using a soaker hose to keep foliage dry. Use bypass pruners for clean cuts that heal quickly; ragged tears are entry points for fungal spores. Regularly calibrate your soil moisture meter to ensure readings at the 6-inch and 12-inch depths are accurate.
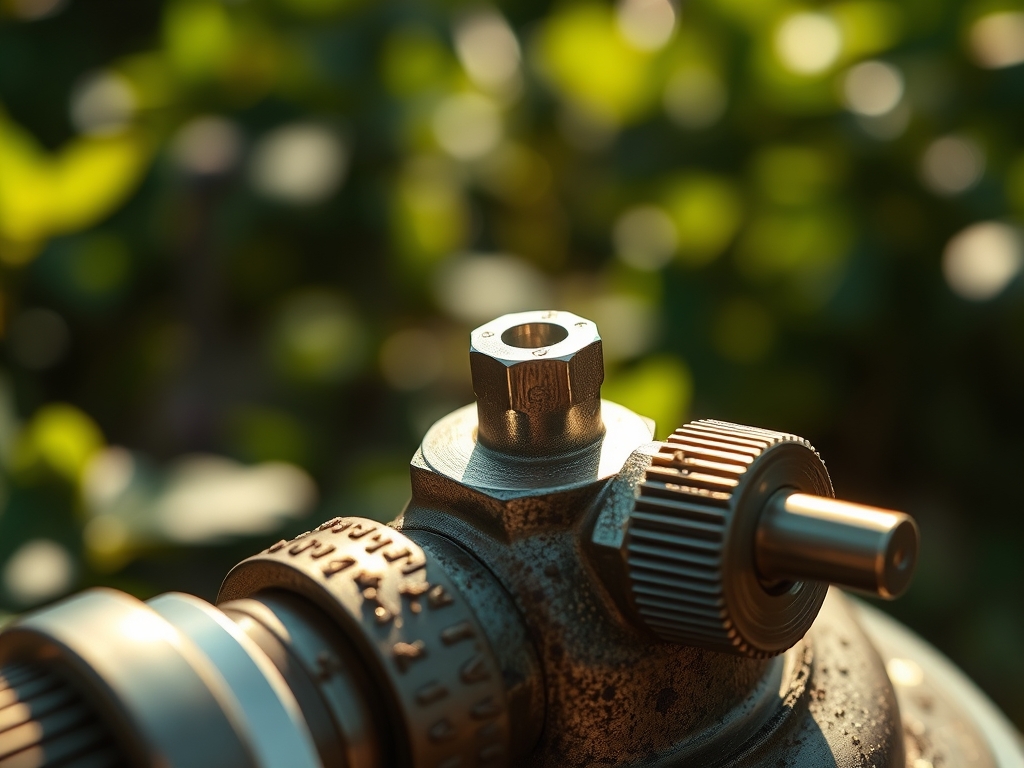
When checking propane fittings, apply the leak solution to every joint. If bubbles expand, tighten the fitting with a flare nut wrench. Never over-torque, as this can strip threads and create a permanent leak path. Inspect hoses for UV degradation or cracking, which occurs naturally in high-altitude or high-sunlight environments.
The Yield:
Harvesting is a race against enzymatic degradation. For most crops, harvest in the early morning when turgor is highest and field heat is lowest. Use a sharp blade to sever the peduncle, leaving a small stub to prevent moisture loss from the main body.
Post-harvest, rapidly reduce the internal temperature of the produce to 40 degrees Fahrenheit to slow respiration. This preservation of sugars and volatile oils ensures "day-one" freshness and maximum nutritional density. For floral crops, place stems immediately into acidified water (pH 3.5 to 4.5) to facilitate rapid rehydration.
FAQ:
How do I identify a propane leak?
Apply a mixture of water and dish soap to all connections. If bubbles form and grow, gas is escaping. Shut off the main valve immediately and tighten the connection before retesting the fitting for safety.
What is the ideal soil for heavy feeders?
Heavy feeders require a silty loam with high organic matter. Aim for a CEC over 20 and a balanced NPK profile. Ensure the soil is well-drained to prevent anaerobic conditions in the root zone.
Why are my lower leaves turning yellow?
This is typically nitrogen deficiency. Nitrogen is a mobile nutrient; the plant moves it from older leaves to support new growth. Check your soil pH, as extreme levels can lock out nitrogen even if it is present.
When should I prune my perennials?
Most perennials should be pruned during dormancy in late winter or early spring. This prevents sap loss and reduces the risk of disease transmission. Always use sterilized bypass pruners to ensure clean, quick-healing vascular cuts.