6 Heavy Duty Steps to Remove Sod for Beds
The smell of damp earth and the sharp scent of crushed fescue blades signal the start of a serious renovation. When you grip a spade, you feel the turgor pressure of the turfgrass resisting the blade; this is the biological strength of a healthy root system. To transform a lawn into a productive horticultural site, you must master the precise steps to remove sod for beds. This process is not merely clearing space. It is a surgical extraction of a competitive monoculture to expose the mineral-rich rhizosphere below. Successful removal requires understanding the tensile strength of the root mat and the structural integrity of the soil profile. You are clearing the way for a higher Cation Exchange Capacity (CEC) and a more diverse biological community. Every cut into the earth is a calculated move to shift the land from a vegetative grass state to a nutrient-dense growing environment.
Materials:
Before the first cut, assess the physical texture of your substrate. You are aiming for a **friable loam**, which consists of roughly **40 percent sand, 40 percent silt, and 20 percent clay**. If your soil is heavy clay, the CEC will be high, but drainage will be poor.
To prepare the new bed post-removal, stock these specific amendments based on NPK (Nitrogen-Phosphorus-Potassium) requirements:
- Blood Meal (12-0-0): To replenish nitrogen lost during the upheaval of organic matter.
- Bone Meal (3-15-0): To provide phosphorus for root establishment in the new planting.
- Sulfate of Potash (0-0-50): To improve cellular wall strength and drought resistance.
- Elemental Sulfur: Use this if your soil pH exceeds 7.5 to bring it down to the ideal 6.2 to 6.8 range.
- Dolomitic Lime: Use this if your pH is below 5.5 to neutralize acidity and add magnesium.
Timing:
The biological clock for sod removal is dictated by the transition from vegetative growth to dormancy. In Hardiness Zones 4 through 7, the optimal window is early spring before the grass exits dormancy or late autumn after the first light frost. You must avoid the heat of mid-summer when the soil is desiccated and the root systems are at their most resilient.
Wait for a period when the soil moisture is at field capacity. This means the soil is moist but not saturated. If you remove sod when it is too dry, you lose the fine particulate matter and beneficial microbes. If you remove it when it is too wet, you destroy the soil structure through compaction. Aim for a soil temperature between 50 and 60 degrees Fahrenheit to ensure that any remaining organic matter begins to decompose efficiently without the risk of immediate weed germination.
Phases:

Sowing the Plan
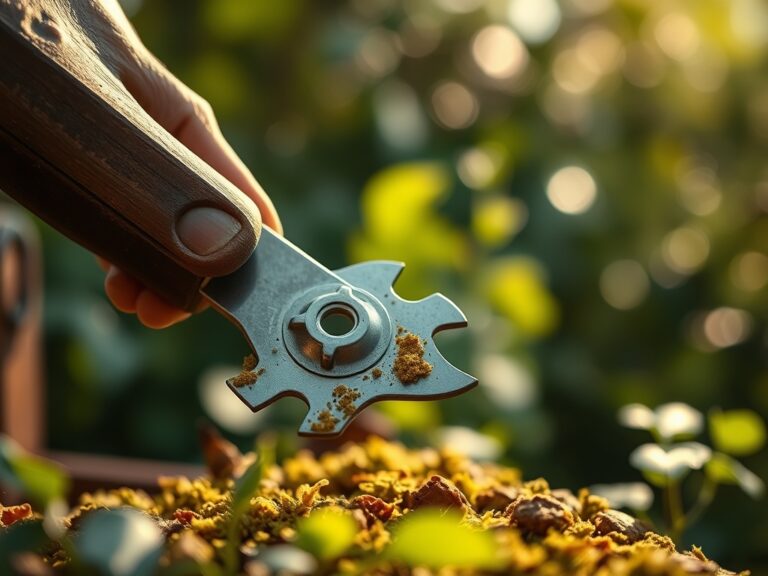
Begin by marking the perimeter of the bed using a high-visibility string line or a garden hose. Use a sharp, flat-edged spade to cut vertical slices into the turf at a depth of 3 to 4 inches. This depth ensures you are severing the crown and the majority of the fibrous root system. Divide the area into a grid of 12-inch by 12-inch squares.
Pro-Tip: Cutting the sod into small, uniform squares prevents excessive weight during lifting and minimizes the disruption of the mycorrhizal symbiosis in the lower soil layers. By keeping the squares small, you maintain better control over the shear plane.
Transplanting and Extraction
Insert a manual sod lifter or a sharp spade horizontally beneath the grass crown. Use a lever action to pop the square loose. If you are dealing with rhizomatous grasses like Kentucky Bluegrass or Bermuda, you must be meticulous. Even a 0.5-inch segment of a rhizome left in the soil can regenerate into a new plant.
Pro-Tip: When you lift the sod, you are temporarily increasing oxygen exposure to the soil. This triggers aerobic microbial activity, which rapidly breaks down organic matter. To preserve this, do not leave the bare soil exposed to UV radiation for more than 24 hours.
Establishing the New Bed
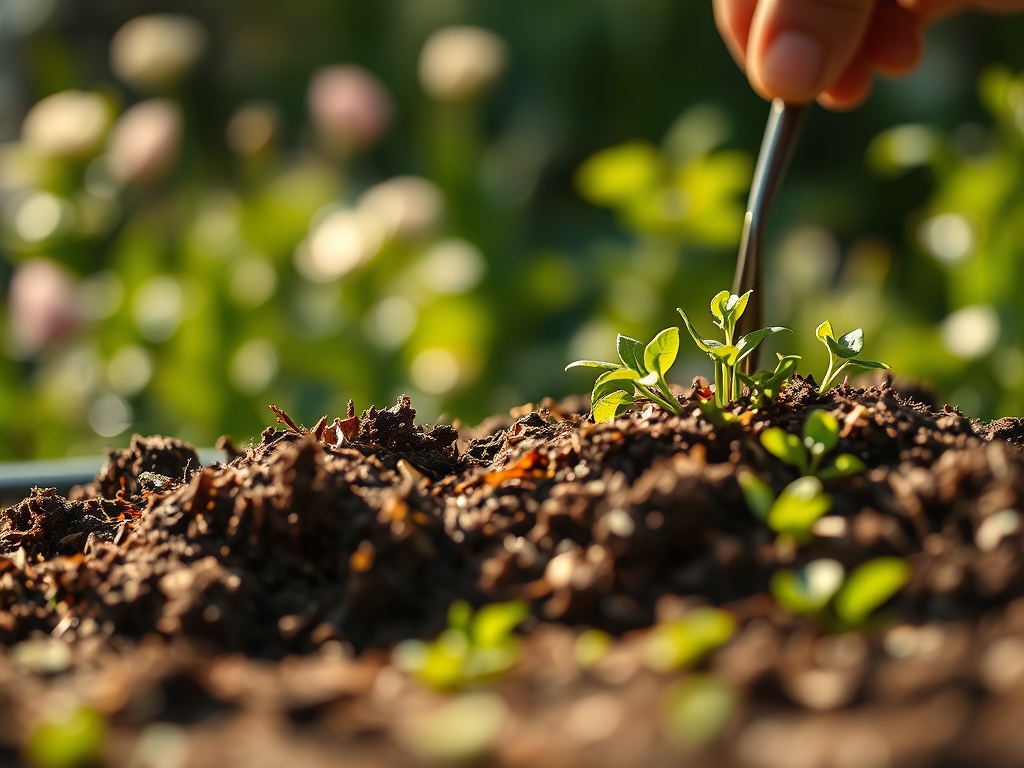
Once the sod is removed, do not immediately till the soil. Tilling can cause auxin suppression in some beneficial plants and bring dormant weed seeds to the surface. Instead, use a broadfork to aerate the soil to a depth of 8 to 10 inches without inverting the layers. This maintains the established horizons of the soil profile.
Pro-Tip: Apply a 2-inch layer of finished compost immediately after aeration. This encourages phototropism in new seedlings by providing a dark, nutrient-rich surface that absorbs thermal energy, warming the root zone faster than bare earth.
The Clinic:
Physiological disorders often appear immediately after sod removal due to the sudden change in soil chemistry and structure.
- Symptom: Iron Chlorosis. Leaves on new plants show yellowing between green veins.
- Solution: This usually indicates a pH above 7.2, which locks up iron. Apply chelated iron or lower the pH with elemental sulfur.
- Symptom: Soil Crust. The surface becomes hard and impermeable to water.
- Solution: This is caused by a lack of organic matter or high sodium levels. Incorporate gypsum at a rate of 40 pounds per 1,000 square feet to improve flocculation.
- Symptom: Nitrogen Drawdown. New plants appear stunted and pale.
- Solution: As the remaining grass roots decompose, microbes consume nitrogen. Apply a high-nitrogen fertilizer like urea (46-0-0) at a light rate to offset this temporary deficit.
Maintenance:
Precision is required to keep the new bed viable. Use a soil moisture meter to ensure the root zone stays between 20 and 40 percent moisture. Most new beds require 1.5 inches of water per week delivered at the drip line via soaker hoses to avoid foliar diseases.
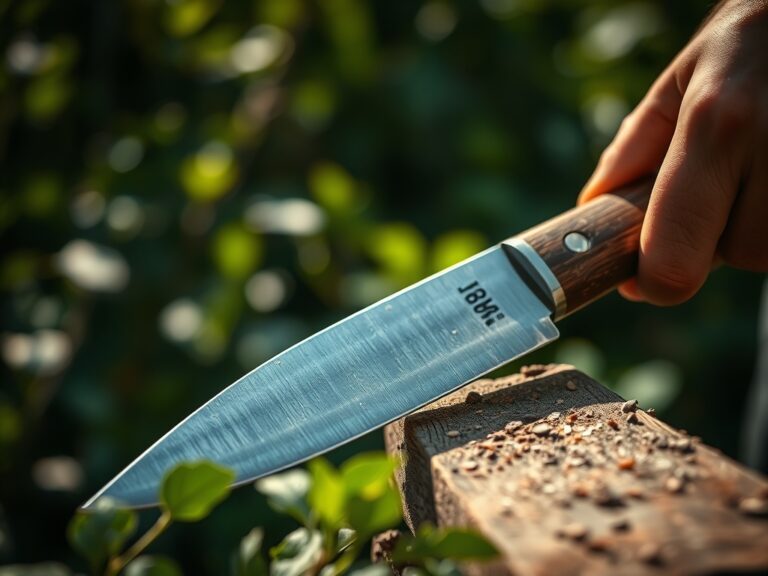
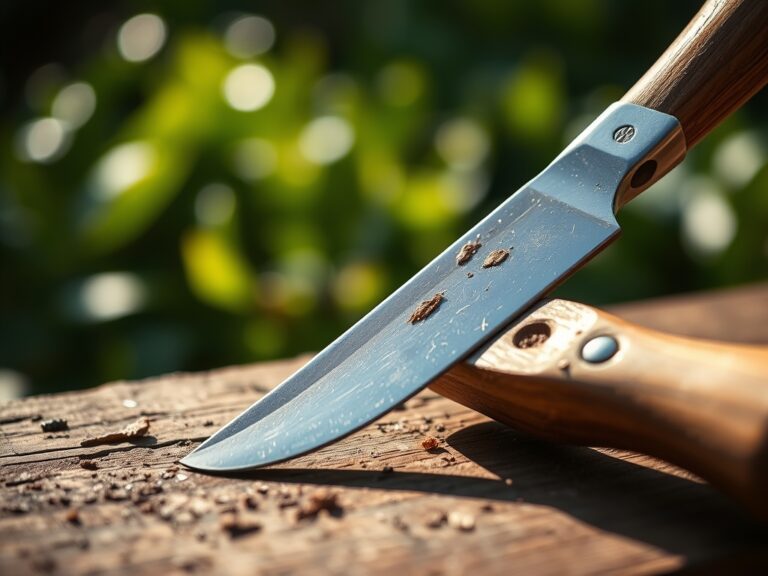
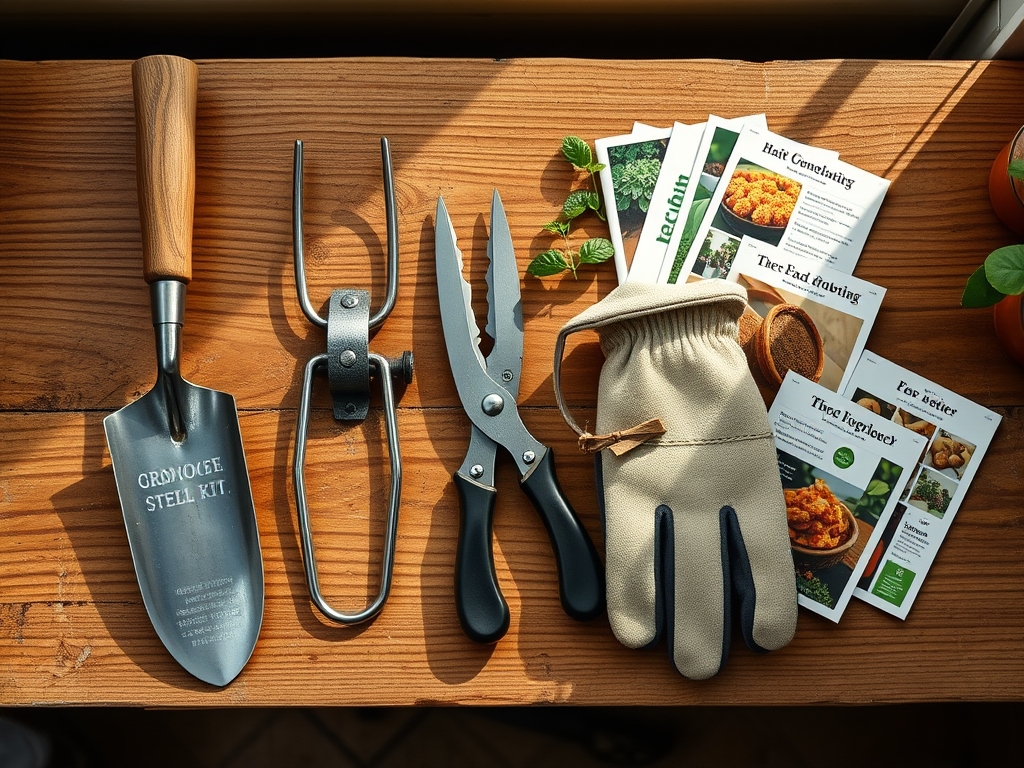
Keep a hori-hori knife sharpened for weeding; its serrated edge is perfect for cutting through any stubborn lateral roots that were missed during removal. Use bypass pruners for any woody perennials installed in the new bed to ensure clean cuts that heal quickly, preventing pathogen entry. Check the soil compaction every 6 months using a penetrometer or a simple metal rod; the rod should slide into the earth with minimal resistance to a depth of 12 inches.
The Yield:
If your goal was an edible bed, harvest timing is critical for nutrient density. Harvest leafy greens when turgor pressure is highest, typically before 8:00 AM. For flowers, cut when the buds are at the "tight stage" to ensure maximum vase life.
Post-harvest, cool the produce or flowers immediately to slow down senescence, the biological aging process. Removing field heat within 30 minutes of harvest can extend the shelf life by several days. For root crops, do not wash them until right before consumption; the fine layer of soil helps maintain a micro-environment that prevents moisture loss.
FAQ:
How deep should I cut to remove sod?
Cut to a depth of 3 to 4 inches. This ensures you remove the grass crown and the primary root mass while leaving the deeper, nutrient-rich subsoil intact for your new plantings.
Can I just bury the sod instead of removing it?
Yes, this is known as sheet mulching. However, it requires 4 to 6 months to fully decompose. For immediate planting, physical removal of the sod is the more efficient horticultural practice.
What is the best tool for manual sod removal?
A kick-style sod cutter or a sharp, flat-edged spade is best. The spade allows for precision in tight corners, while the kick-cutter is more efficient for larger, linear square footage.
Should I add topsoil after removing sod?
Only if the removal has significantly lowered the grade. If you do add soil, ensure it matches the texture and pH of your existing substrate to avoid drainage issues caused by soil layering.
How do I prevent weeds from returning to the new bed?
Apply a 3-inch layer of organic mulch or a pre-emergent herbicide immediately after planting. This blocks the light required for weed seed germination and maintains consistent soil moisture levels.