8 Strategic Ways How to Prep a New Garden Site
The metallic tang of wet clay and the earthy musk of decomposing organic matter signal the start of a productive season. Successful cultivation begins with the cellular integrity of the plant; high turgor pressure in a leaf is only possible when the root system can access a consistent supply of oxygen and water. To achieve this, you must understand how to prep a new garden site by engineering the soil profile before the first seed touches the ground. Neglecting the physical and chemical properties of your plot leads to stunted growth and vascular collapse. Proper site preparation ensures the rhizosphere remains aerobic and nutrient dense, providing the structural foundation for high-performance horticulture.
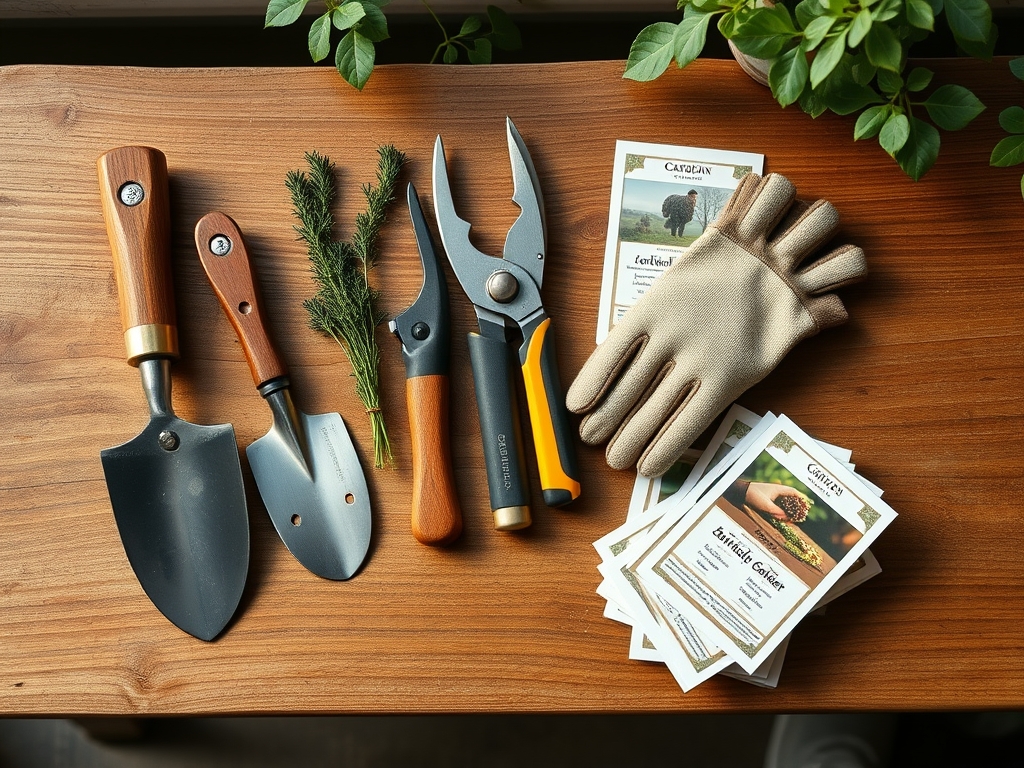
Materials:
The ideal substrate is a friable loam consisting of roughly 40 percent sand, 40 percent silt, and 20 percent clay. This ratio provides a high Cation Exchange Capacity (CEC), allowing the soil to hold and release essential nutrients like calcium and magnesium. You must target a soil pH between 6.2 and 6.8 for most temperate crops to ensure nutrient bioavailability.
For the initial amendment, utilize a balanced NPK fertilizer with a ratio of 10-10-10 for general site prep, or a 5-10-10 blend if you are establishing root crops or legumes. Incorporate well-aged compost with an organic matter content of at least 5 percent. Avoid fresh manure; it contains high salts and pathogens that can cause osmotic stress or "burn" delicate root tissues. Ensure you have a soil moisture meter and a digital pH probe to maintain precise environmental control.
Timing:
Successful site preparation is dictated by your local Hardiness Zone and the specific frost-date windows of your microclimate. In Zones 5 through 7, site preparation should ideally begin in the autumn or at least six weeks before the last spring frost. This window allows the soil microbiology to stabilize and the "Biological Clock" of the soil to sync with the upcoming photoperiod.
As day length increases, plants transition from the vegetative stage (foliar expansion) to the reproductive stage (flowering and fruiting). Prepping the site early ensures that the soil temperature has reached a consistent 55 to 60 degrees Fahrenheit at a depth of four inches. Planting into cold, anaerobic soil triggers dormancy or rot, as the metabolic rate of the plant cannot support nutrient uptake at low temperatures.
Phases:

Sowing
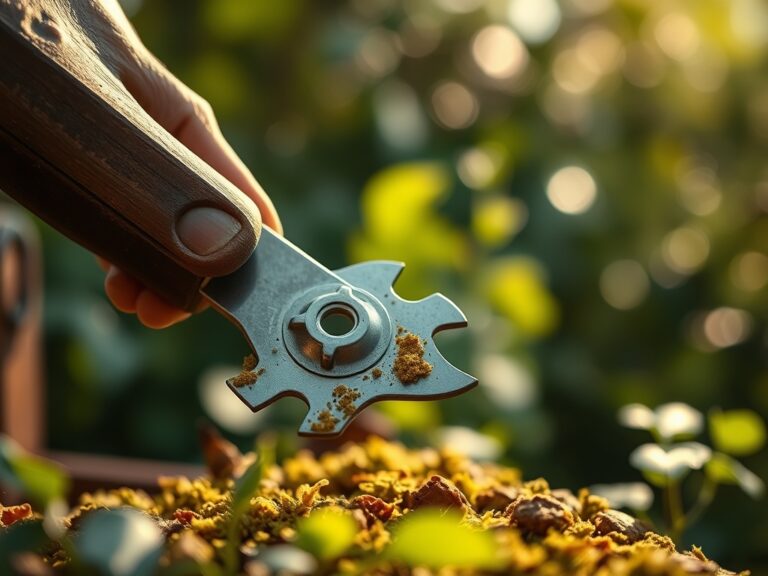
When direct-sowing, the seed-to-soil contact is the most critical variable. Clear all debris and use a steel rake to create a fine tilth. Sow seeds at a depth exactly three times their diameter. Over-burying leads to hypocotyl exhaustion before the plant reaches the surface to begin photosynthesis.
Pro-Tip: Maintain consistent moisture to trigger imbibition, the process where the seed swells and ruptures its coat. If the soil dries during this phase, the embryo will suffer irreversible cellular death.
Transplanting
When moving starts into the ground, use a hori-hori knife to cut a hole twice the width of the root ball. Ensure the crown of the plant sits flush with the soil line. Deep planting can lead to stem rot, while shallow planting exposes the upper roots to desiccation.
Pro-Tip: Inoculate the planting hole with mycorrhizal fungi. This establishes a symbiotic relationship where the fungi extend the root system's reach, increasing the uptake of phosphorus and water by up to 200 percent.
Establishing
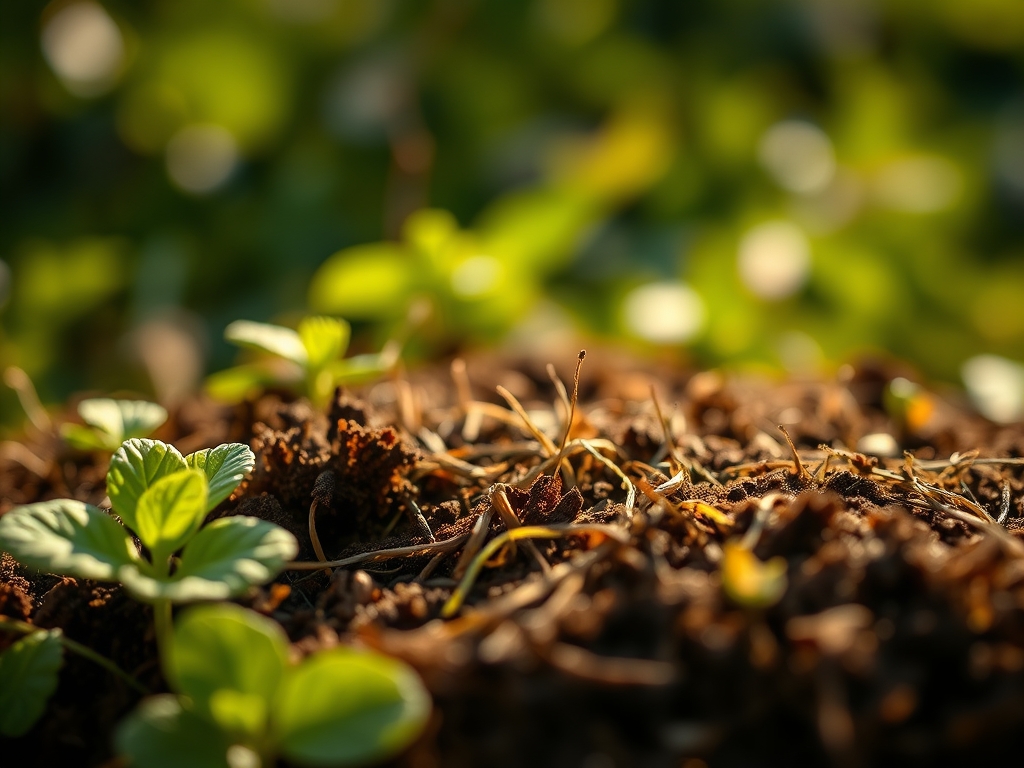
The first 14 days post-planting are the establishment phase. During this time, the plant redirects energy from leaf production to root elongation. Monitor for signs of transplant shock, such as wilting or chlorosis.
Pro-Tip: Avoid heavy nitrogen applications during the first week. High nitrogen levels can cause auxin suppression in the roots, leading the plant to prioritize weak, leggy top growth over the structural root development needed for long-term stability.
The Clinic:
Physiological disorders often mimic infectious diseases but are usually caused by environmental stress or nutrient imbalances.
- Blossom End Rot: This appears as a necrotic, sunken spot on the base of the fruit. It is caused by a calcium deficiency often triggered by inconsistent watering. Solution: Maintain steady soil moisture and ensure the pH is above 6.0 to allow calcium uptake.
- Nitrogen Chlorosis: Symptoms include the yellowing of older, lower leaves while the veins remain green. Fix-It: Apply a liquid seaweed or fish emulsion with a high nitrogen (N) rating for rapid absorption through the roots.
- Interveinal Chlorosis (Magnesium): This manifests as yellowing between the veins of older leaves. Fix-It: Apply Epsom salts (magnesium sulfate) at a rate of one tablespoon per gallon of water to restore chlorophyll production.
- Leaf Tip Burn: This is often a sign of high soil salinity or boron toxicity. Solution: Flush the soil with two inches of water to leach excess salts from the root zone.
Maintenance:
Precision maintenance prevents systemic failure. Deliver 1.5 inches of water per week at the drip line of the plant rather than overhead. Overhead watering increases leaf wetness duration, which promotes fungal pathogens. Use bypass pruners to remove any necrotic or diseased tissue immediately; make clean cuts at a 45-degree angle to allow moisture to run off the wound.
Check the soil with a soil moisture meter daily. The goal is to maintain a "field capacity" where the soil is moist but the macropores are filled with air. Mulch the site with two inches of clean straw or shredded bark to suppress weed competition and regulate soil temperature fluctuations.
The Yield:
Harvesting is a physiological intervention. For most fruiting crops, harvest in the early morning when turgor pressure is at its peak. This ensures the cells are fully hydrated, extending the shelf life of the produce. Use sharp shears to avoid tearing the vascular tissue of the parent plant.
Post-harvest, "pre-cool" the produce by removing field heat as quickly as possible. For leafy greens, a cold water dip maintains the crispness of the cell walls. For fruiting bodies, store in a cool, dark environment to slow the rate of senescence, the natural aging process where the plant breaks down its own tissues.
FAQ:
How do I know if my soil is ready for planting?
Squeeze a handful of soil. If it forms a ball that crumbles when poked, it is at field capacity and ready. If it stays in a hard lump, it is too wet; if it fails to clump, it is too dry.
What is the fastest way to lower soil pH?
Incorporate elemental sulfur or aluminum sulfate into the top six inches of soil. This process takes time as soil bacteria must convert the sulfur into sulfuric acid. Always re-test the pH after three months.
Can I use greywater to water my new garden site?
Only if the greywater is free of harsh salts and boron. Use it only on the soil surface, never on the foliage. Avoid using it on root crops or leafy greens that are consumed raw to prevent contamination.
How deep should I till a new garden plot?
Aim for a depth of 8 to 12 inches. This breaks up the "plow pan" or compacted subsoil, allowing for deep taproot penetration and improved vertical drainage during heavy rain events.
Why are my seedlings turning purple?
This is typically a sign of phosphorus deficiency, often caused by cold soil temperatures below 50 degrees Fahrenheit. The roots cannot physically absorb phosphorus in cold conditions. Warm the soil using clear plastic or row covers.