10 Basic Steps to Level a Shed Foundation
Damp earth releases a sharp, metallic scent of geosmin when the shovel blade breaks the surface tension of the soil. This smell indicates a healthy microbial population within the rhizosphere, yet for a structural project, this biological activity must be managed to prevent subsidence. Establishing the foundational integrity of any garden structure requires precise steps to level a shed foundation to ensure the weight is distributed evenly across the soil profile. Without a level base, the hydrostatic pressure of the soil and the structural load of the building will lead to warped frames and door failure. A stable foundation begins with understanding the mechanical properties of the earth. You are not just moving dirt; you are manipulating a complex matrix of minerals and organic matter to create a platform that resists the seasonal heave of frost and the constant pull of gravity. Success depends on the interplay between soil compaction and drainage. When the ground is properly prepared, the structure remains static while the surrounding flora thrives. This guide provides the technical specifications required to transform a raw patch of land into a permanent, level site for your utility or garden shed.
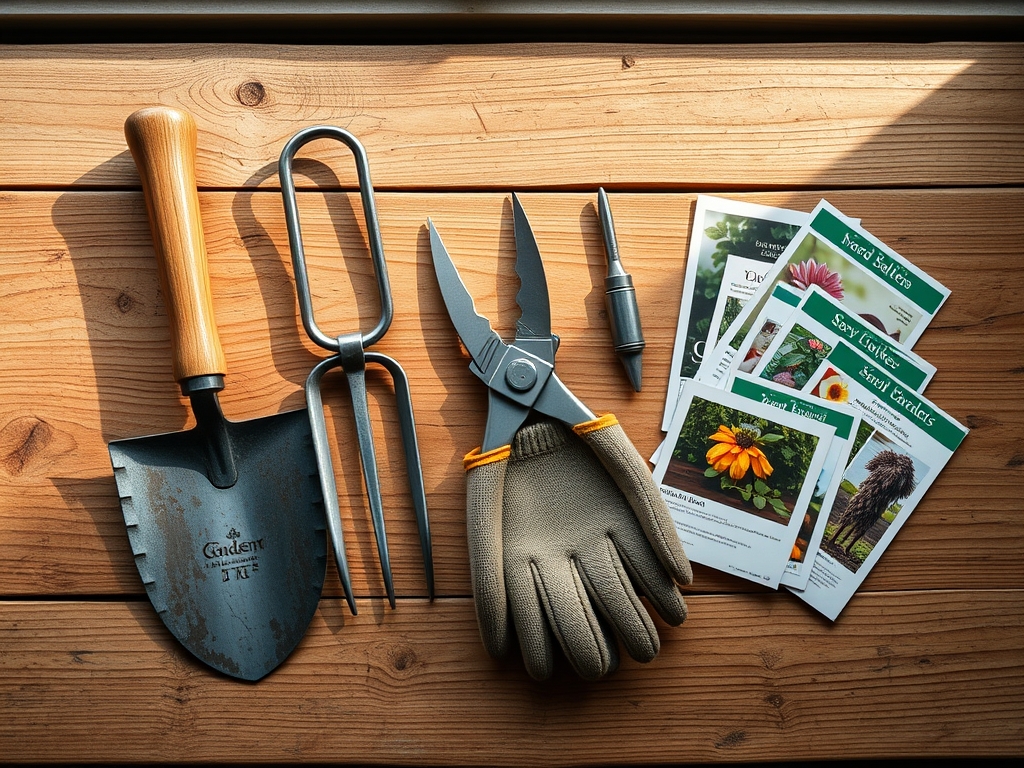
Materials:
The substrate beneath your shed must be distinct from the surrounding friable loam used for cultivation. While a pH of 6.0 to 7.0 is ideal for nutrient availability in the garden, the foundation site requires a focus on structural stability and Cation Exchange Capacity (CEC). For the surrounding perimeter where you may plant stabilizing groundcovers, utilize a fertilizer with an NPK ratio of 10-10-10 to support balanced vegetative growth.
For the foundation itself, you require three-quarter inch crushed angular stone. Unlike rounded river rock, angular stone locks together under pressure to provide a high load-bearing capacity. You will also need 4×4 pressure-treated timber skids rated for ground contact, rebar stakes, and leveling blocks. The soil should be excavated until you reach the subsoil layer, which typically has a lower organic matter content and higher mineral density. This prevents the "spongy" effect of decomposing organic material which leads to uneven settling over time.
Timing:
Hardiness Zones 3 through 7 must account for the frost heave cycle. Excavation should only occur when the soil temperature is consistently above 40 degrees Fahrenheit and the ground is no longer saturated with snowmelt. Working wet soil destroys the soil structure, leading to massive compaction that prevents future drainage.
In terms of the biological clock, time your foundation work during the late dormant season or early spring before the "flush" of vegetative growth begins. This prevents the disruption of local mycorrhizal networks during their peak activity period. If you are planting around the shed, ensure the foundation is set at least three weeks before the last frost date to allow the soil to settle before the reproductive stages of nearby perennials begin.
Phases:

Sowing the Perimeter
While the foundation is structural, the immediate perimeter requires stabilization. Sowing low-growing fescues or clover around the gravel pad prevents erosion. Ensure the seeds have direct contact with the soil and maintain a consistent moisture level for 14 to 21 days.
Pro-Tip: Utilize the principle of hydrotropism. By grading the soil away from the foundation at a 2 percent slope, you direct root growth and moisture away from the timber skids, preventing fungal decay and wood rot.
Transplanting and Leveling
Once the site is excavated to a depth of 6 inches, backfill with the crushed stone. Use a plate compactor to ensure the stone is seated. Place your timber skids or concrete blocks on this pad. Use a laser level or a straight-edge 2×4 with a 4-foot spirit level to check for plane accuracy across all axes.
Pro-Tip: When placing heavy blocks, consider the bulk density of the soil. Highly compacted soil has less pore space, which is excellent for a foundation but lethal for roots. Use a hori-hori knife to clean the edges of your excavation, ensuring a sharp transition between the structural stone and the growing medium.
Establishing the Base
The final step in the steps to level a shed foundation involves "shimming" the low points. Do not use thin wood shims that will rot. Use solid concrete patio stones or galvanized metal plates. Check the levelness again after the shed is placed to account for initial compression.
Pro-Tip: Observe the phototropism of nearby shrubs. As the shed creates a new shadow profile, plants will lean toward the light. Prune back any branches that touch the shed using bypass pruners to prevent moisture traps and airflow restriction.
The Clinic:
Structural and botanical health are linked. If the foundation fails, the surrounding ecosystem suffers from runoff and compaction.
Symptom: Standing water at the shed base.
Solution: Improve drainage by increasing the gravel apron by 12 inches on all sides. This breaks the surface tension of the water and allows it to percolate into the subsoil.
Symptom: Shed doors sticking or windows failing to open.
Solution: This indicates frost heave or uneven settling. Use a 20-ton bottle jack to lift the low corner and add additional crushed stone or a concrete block to restore the level.
Symptom: Yellowing of nearby foliage (Nitrogen Chlorosis).
Solution: If excavation disturbed the root zone, the plant may be stressed. Apply a liquid kelp solution or a high-nitrogen (20-10-10) fertilizer to the drip line to stimulate chlorophyll production and recover turgor pressure.
Maintenance:
A level foundation requires annual inspection. Use a soil moisture meter around the perimeter to ensure the area is not becoming a "sump" for yard drainage. Check the level of the shed every spring after the ground thaws. Maintain the surrounding vegetation by ensuring it receives 1.5 inches of water per week at the drip line, but never spray the shed walls directly. Use your hori-hori knife to remove any deep-rooted weeds that attempt to grow through the gravel pad, as their root expansion can displace the leveling blocks. Keep the area clear of leaf litter to prevent the buildup of organic matter on top of the structural stone.
The Yield:
If you use the area around the shed for a "potager" or cutting garden, the yield depends on the thermal mass of the building. A shed can act as a heat sink, extending the growing season for nearby plants by 2 to 3 weeks in the autumn. Harvest flowers or herbs in the early morning when turgor pressure is at its highest. This ensures the cells are fully hydrated, providing "day-one" freshness and a longer shelf life. Use sharp bypass pruners to make clean cuts at a 45-degree angle to maximize water uptake in the vase.
FAQ:
How deep should I dig for a shed foundation?
Excavate at least 6 inches of topsoil until you reach the denser subsoil. This depth allows for a 4-inch base of compacted gravel and a 2-inch reveal to keep the shed timbers away from ground moisture.
Can I level a shed on grass?
No. Organic matter in the grass and topsoil will decompose and compress, leading to significant settling. Always remove the sod and topsoil to reach the mineral layer for a stable, long-term foundation.
What is the best material for leveling?
Three-quarter inch crushed angular stone is the professional standard. It provides superior drainage and mechanical interlocking, which prevents the base from shifting under the structural load compared to rounded pea gravel or sand.
How do I know if my shed is out of level?
Check for doors that swing open or closed on their own, or gaps appearing in the siding. Use a spirit level on the floor frame to confirm. Even a half-inch deviation can cause structural stress over time.