6 Best Skids for Shed Bases
The smell of anaerobic decay in waterlogged soil signals the imminent failure of a wooden structure. When a shed floor makes direct contact with the earth, capillary action pulls moisture into the grain; this increases the turgor pressure within fungal cells that cause rot. To prevent this, selecting the best skids for shed bases is a structural necessity that ensures airflow and drainage. These runners act as the primary interface between the heavy timber and the rhizosphere.
Properly engineered skids elevate the floor frame, allowing for a consistent exchange of gases and preventing the accumulation of moisture that leads to wood senescence. In a high-humidity environment, a shed without a skid system will succumb to structural instability within five years. By utilizing pressure-treated lumber or synthetic alternatives, you create a thermal and moisture break that preserves the integrity of the entire building. This guide details the technical specifications required to build a foundation that withstands the rigors of soil chemistry and atmospheric pressure.
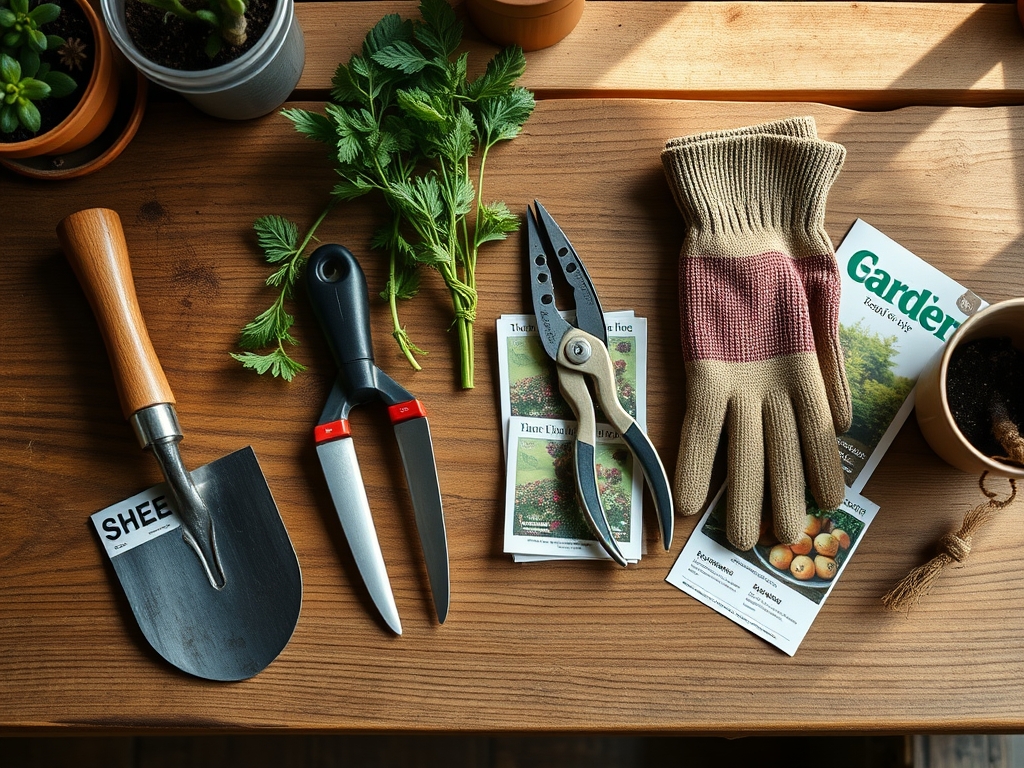
Materials:
The foundation of any shed begins with the soil chemistry beneath the skids. Ideally, you are working with a **friable loam** that has been compacted to a density of **100 pounds per cubic foot**. If the soil is excessively acidic, with a **pH below 5.5**, it can accelerate the corrosion of galvanized fasteners used in the skids. Conversely, alkaline soils with a **pH above 7.5** may indicate high calcium levels that affect the longevity of certain pressure-treatment chemicals.
For the skids themselves, the industry standard is Ground Contact (UC4A) rated pressure-treated 4×4 or 4×6 timbers. These are infused with micronized copper azole to resist fungal decay. If you are building over a garden bed, ensure the Cation Exchange Capacity (CEC) of the surrounding soil is monitored. High CEC soils retain more moisture, necessitating a thicker layer of 3/4-inch crushed angular stone beneath the skids. This gravel base should be at least 4 inches deep to facilitate rapid drainage and prevent the skids from sinking into the subsoil.
Timing:
Construction must align with local meteorological data and soil moisture levels. In Hardiness Zones 3 through 6, the ideal window for setting skids is late spring, once the frost has exited the ground and the soil has reached a stable internal temperature of 55 degrees Fahrenheit. Attempting to level skids during the spring thaw leads to "frost heave" displacement as the water in the soil pores transitions from solid to liquid.
The biological clock of the surrounding landscape also dictates timing. Installing a shed base during the peak vegetative stage of nearby perennials can lead to root compaction. Plan your installation during the dormant season or early spring to minimize the impact on the local mycorrhizal networks. Ensure the ground is not saturated; if a handful of soil forms a hard ball when squeezed, the moisture content is too high for proper compaction of the gravel pad.
Phases:

Sowing the Foundation
Excavate the site to a depth of 6 inches, removing all organic matter including sod and roots. This prevents the "sponge effect" where decomposing matter holds water against the skids. Line the excavation with a non-woven geotextile fabric to separate the soil from the gravel.
Pro-Tip: Using geotextile fabric prevents the migration of fines from the soil into your gravel layer. This maintains the porosity of the base, ensuring that water moves via gravity rather than being held by capillary forces which would otherwise rot the timber.
Transplanting the Skids
Position your pressure-treated 4×4 runners perpendicular to the floor joists of the shed. Space them no more than 4 feet apart on center to distribute the load evenly. Use a laser level to ensure the skids are within 1/8-inch of level across the entire span.
Pro-Tip: Apply a copper naphthenate solution to any cross-cuts made on the skids. This mimics the plant's natural defense of "corking off" a wound; it provides a chemical barrier that prevents pathogens from entering the untreated heartwood of the timber.
Establishing the Structure
Secure the floor frame to the skids using 8-inch structural screws or hot-dipped galvanized hurricane ties. This creates a unified diaphragm that can resist lateral wind loads. Ensure there is a 2-inch air gap between the perimeter of the shed and the ground to facilitate cross-ventilation.
Pro-Tip: Elevating the structure promotes air circulation which prevents the buildup of humidity. This reduces the risk of surface molds by keeping the wood moisture content below the 20 percent threshold required for fungal germination.
The Clinic:
Symptom: Soft, Spongy Timber
Solution: This indicates brown rot fungi are consuming the cellulose. Replace the affected skid immediately and increase the gravel depth to 6 inches to improve drainage.
Symptom: Skids Sinking Unevenly
Solution: This is often caused by differential settlement in poorly compacted soil. Jack up the shed and add additional 3/4-inch clean stone, tamping it in 2-inch lifts until the base is stable.
Symptom: White Efflorescence on Wood
Solution: This is often a sign of salt migration from high pH soils or concrete blocks. Apply a siloxane-based sealer to the wood to create a hydrophobic barrier.
Fix-It: Nitrogen Chlorosis in Surrounding Plants
If plants near the shed base show yellowing leaves with green veins, the wood leaching or soil compaction may be the cause. Apply a chelated iron supplement and aerate the soil with a hori-hori knife to restore oxygen levels to the rhizosphere.
Maintenance:
A shed foundation requires annual inspection to ensure structural longevity. Use a soil moisture meter to check the ground surrounding the skids; levels should consistently stay below 25 percent during dry periods. If water pools during rain, regrade the area to ensure a 2 percent slope away from the shed base.
Clear any debris, such as fallen leaves or mulch, from the air gap using a stiff brush or handheld blower. If you notice encroaching roots from nearby trees, use bypass pruners to prune them back at least 24 inches from the skids. This prevents the roots from uplifting the foundation or trapping moisture against the wood. Every three years, reapply a clear UV-rated wood preservative to the exposed ends of the skids to prevent checking and splitting.
The Yield:
While a shed base does not produce a harvest in the traditional sense, the "yield" is measured in the lifespan of the structure. A properly skid-mounted shed will remain level and rot-free for 25 to 30 years. To maintain "day-one" freshness of the interior, ensure the sub-floor remains dry. If you store seeds or organic fertilizers inside, the lack of rising damp from the skids will prevent premature germination or nutrient leaching within the bags.
FAQ:
What is the best wood for shed skids?
Pressure-treated lumber rated for Ground Contact (UC4A) is the gold standard. It contains high concentrations of copper-based fungicides that resist decay when buried or placed directly on moist gravel.
How many skids do I need for a 10×12 shed?
For a 10-foot width, use three 4×4 or 4×6 skids. Place one in the center and two others set in 12 inches from the outer edges to provide optimal load distribution and prevent floor joist sagging.
Can I put shed skids directly on the grass?
No. Placing skids on turf traps moisture and promotes anaerobic conditions. Always remove the sod and install a 4-inch layer of compacted 3/4-inch crushed stone to ensure drainage and airflow.
How do I level skids on a slope?
Excavate the high side of the slope rather than building up the low side with loose dirt. Use solid concrete blocks on the low side, but ensure the skids still rest on a gravel base for drainage.