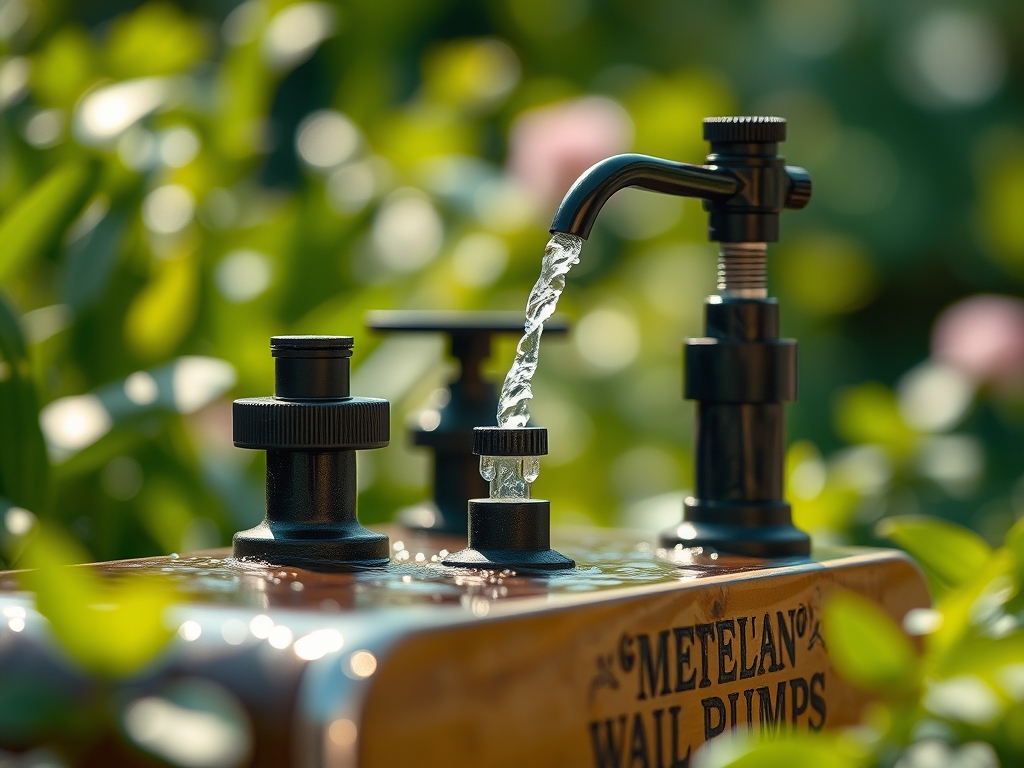
8 Best Pumps for Wall fountains
The smell of damp earth and the high turgor pressure of a well-hydrated leaf indicate a garden in equilibrium; however, the auditory component of a landscape is often neglected. A wall fountain provides more than just white noise. It regulates the microclimate by increasing local humidity and lowering ambient temperatures through evaporative cooling. Selecting the best pumps for wall fountains requires a technical understanding of head height, flow rates, and the mechanical lift needed to overcome gravity. Without the correct pump, the water feature fails to oxygenate the basin, leading to stagnation and anaerobic conditions. A pump must move the entire volume of the reservoir every hour to maintain water clarity and prevent the buildup of biofilm. This guide examines the mechanical specifications and horticultural integration of these systems to ensure your vertical water feature functions as a high-performance component of your garden ecosystem.
Materials:

For the surrounding vegetation to thrive near a wall fountain, the substrate must be a **friable loam** with a **Cation Exchange Capacity (CEC) between 15 and 25 meq/100g**. This ensures the soil can hold essential nutrients against the leaching effects of occasional splash-over. Maintain a **soil pH between 6.2 and 6.8** to maximize nutrient bioavailability. Use a balanced NPK ratio of **10-10-10** for general establishment; however, for flowering species near the fountain, transition to a **5-10-15** ratio to prioritize root development and bloom over excessive vegetative growth. The pump itself should be rated for a **GPH (Gallons Per Hour)** at least 1.5 times the height of the fountain wall to account for friction loss in the tubing.
Timing:
Install fountain systems during the dormant season or early spring before the Biological Clock triggers the transition from vegetative to reproductive stages. In Hardiness Zones 5 through 7, installation must occur after the final frost date to prevent ice expansion from cracking the pump housing or internal impellers. As the photoperiod increases in spring, plants near the fountain will experience a surge in auxin production, leading to rapid cell elongation. Aligning pump installation with this growth phase allows you to hide plumbing behind emerging foliage without disturbing the established rhizosphere. Monitor the soil temperature; once it consistently hits 55 degrees Fahrenheit, biological activity in the soil accelerates, making it the ideal window for both mechanical and botanical adjustments.
Phases:

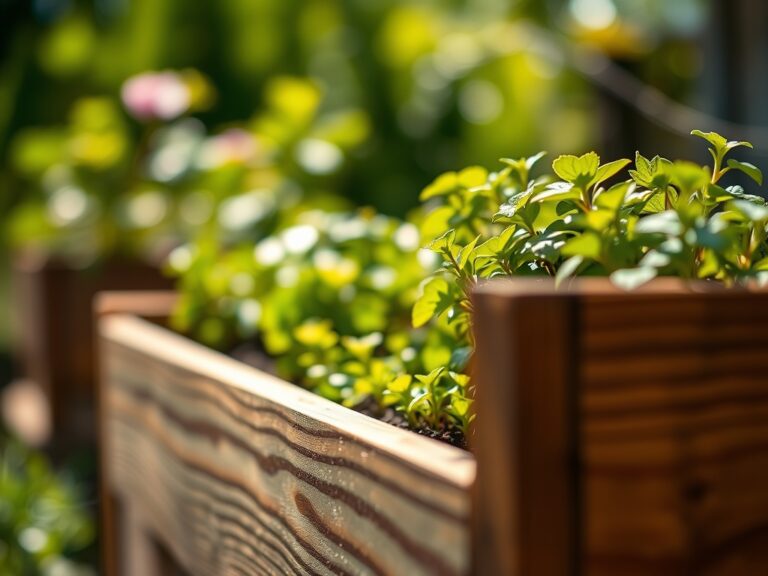
Sowing and Site Preparation
Clear the area of debris using a hori-hori knife to ensure a level base for the reservoir. The pump must sit on a submerged brick or platform to prevent it from sucking up settled silt. If planting seeds in the splash zone, choose species with high desiccation resistance.
Pro-Tip: Ensure the reservoir is deep enough to prevent the pump from running dry. Running a pump without water causes immediate mechanical failure due to a lack of lubrication and cooling; this is the mechanical equivalent of senescence in plants where the system can no longer sustain its vital functions.
Transplanting and Pump Integration
When placing plants around the fountain, dig holes twice the width of the root ball. Integrate mycorrhizal fungi into the backfill to enhance the symbiotic relationship between roots and soil. Position the fountain pump so the intake is accessible for cleaning without trampling the delicate rhizosphere of surrounding flora.
Pro-Tip: Use a soil moisture meter to calibrate the fountain's splash radius. Excessive water on leaves can lead to fungal pathogens; understanding the phyllosphere microclimate helps you position plants to avoid chronic leaf wetness while benefiting from increased humidity.
Establishing the Flow
Once the pump is submerged, prime the lines and check for leaks. Adjust the flow valve to achieve the desired "sheet" effect against the wall. This movement increases the dissolved oxygen in the water, which benefits any aquatic plants or beneficial bacteria in the basin.
Pro-Tip: Avoid high-velocity spray that causes significant soil erosion at the base. High impact force disrupts the soil structure and can lead to root exposure, triggering a stress response that suppresses cytokinin production and stunts growth.
The Clinic:
Symptom: Interveinal Chlorosis
Description: Yellowing between the leaf veins while veins remain green.
Solution: This is typically a sign of Iron deficiency, often caused by high pH levels in the fountain water leaching into the soil. Use a chelated iron supplement and adjust the soil pH to 6.5.
Symptom: Marginal Leaf Burn
Description: The edges of the leaves appear scorched or brown.
Solution: This indicates salt accumulation or "sodium toxicity" from hard water splash. Flush the soil with 2 inches of fresh water and switch to a pump filter that reduces mineral buildup.
Symptom: Stunted Growth and Root Rot
Description: The plant wilts despite the soil being wet.
Solution: This is a sign of anaerobic soil conditions due to poor drainage near the fountain. Incorporate perlite or coarse sand to increase macropore space and improve oxygen diffusion to the roots.
Fix-It: Nitrogen Chlorosis
If the older leaves are turning a uniform pale yellow, the plant is experiencing Nitrogen deficiency. Apply a water-soluble 20-20-20 fertilizer at half strength to quickly restore chlorophyll production and increase turgor pressure.
Maintenance:
A wall fountain requires precise maintenance to prevent mechanical and botanical decline. Use bypass pruners to remove any encroaching foliage that might obstruct the pump intake or divert water flow away from the basin. Scrub the pump pre-filter every 30 days to remove algae and calcium deposits. For the surrounding garden, ensure the plants receive 1.5 inches of water per week at the drip line, adjusting for the additional humidity provided by the fountain. During the peak of summer, use a soil moisture meter daily to ensure the splash zone has not become a bog, which would compromise the cation exchange capacity by displacing air pockets in the soil.
The Yield:
While a wall fountain does not produce a caloric yield, the "yield" is measured in the health of the surrounding micro-ecosystem. For ornamental plants like ferns or mosses that thrive in this environment, harvest divisions in early spring. Use a sharp hori-hori knife to slice through the crown, ensuring each section has at least three healthy nodes. To maintain "day-one" freshness for cut flowers grown near the fountain, harvest in the early morning when turgor pressure is at its peak. Immediately submerge the stems in 65-degree Fahrenheit water to prevent air embolisms in the xylem.
FAQ:
How do I choose the best pumps for wall fountains?
Measure the vertical distance from the pump to the outlet. Select a pump where the Maximum Head Height exceeds this distance by at least 25 percent to ensure consistent water flow and oxygenation.
Can I run my fountain pump 24/7?
Yes, most high-quality brushless motors are designed for continuous duty. Constant operation prevents stagnant water, reduces mosquito larvae development, and maintains a consistent humidity level for nearby hygrophytic plants.
How do I prevent algae growth in my fountain?
Maintain a slight acidity in the water and ensure the pump provides high turnover. Use a UV clarifier if the fountain receives more than six hours of direct sunlight daily to disrupt algal DNA.
What is the best way to winterize a fountain pump?
In zones where the ground freezes, remove the pump, clean the impeller, and store it in a bucket of water in a frost-free location. This prevents the internal seals from drying out and cracking during senescence.