9 Beautiful Steps to Install a Wall Fountain
The smell of damp peat moss and the high turgor pressure of a well hydrated leaf signify a garden in peak physiological health. Integrating a water feature into this environment requires more than aesthetic placement; it demands an understanding of structural load and hydraulic pressure. Learning the steps to install a wall fountain allows a grower to manipulate local humidity levels and create a microclimate that benefits nearby bryophytes and ferns. This process begins with a site assessment to ensure the vertical surface can support the weight of a water-saturated basin without compromising the structural integrity of the masonry or the rhizosphere of adjacent plantings. A successful installation balances mechanical stability with the biological needs of the surrounding flora. Proper execution prevents soil compaction during the build and ensures that the finished feature contributes to the overall moisture cycle of the garden. By following these technical protocols, you transform a static vertical space into a functional component of your landscape's hydrological system while maintaining the strict environmental controls required for sensitive botanical specimens.
Materials:

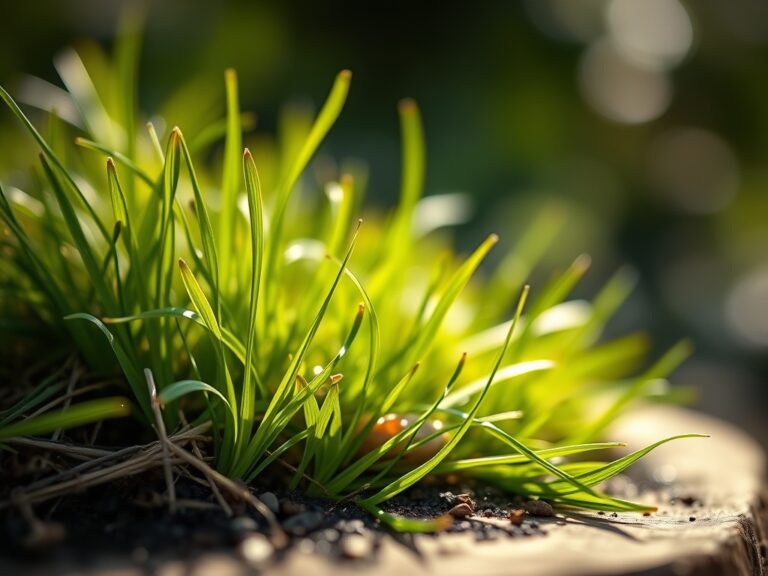
The foundation of any vertical installation begins with the substrate. If the fountain is integrated into a garden wall, the surrounding soil must be a **friable loam** with a **Cation Exchange Capacity (CEC) between 15 and 25**. This ensures that the soil can hold nutrients despite the increased moisture levels near the fountain. Maintain a **soil pH between 6.2 and 6.8** to optimize nutrient uptake for surrounding vegetation.
Before mounting, prepare the area with specific amendments. Use a fertilizer with an NPK ratio of 5-10-5 for root establishment in nearby plants; this phosphorus-heavy mix encourages strong structural growth. You will need a submersible pump rated for at least 200 gallons per hour (GPH), stainless steel mounting brackets, and a GFI-protected electrical outlet. Ensure you have a soil moisture meter to monitor the impact of splashing on the local saturation levels.
Timing:
Installation should occur during the dormant season or early spring before the "Biological Clock" triggers the transition from vegetative to reproductive stages in your perennials. In Hardiness Zones 5 through 7, schedule the installation after the last hard frost but before the soil temperature reaches a consistent 55 degrees Fahrenheit. This timing prevents accidental damage to emerging shoots and allows the soil to settle before the peak growing season.
Monitoring the photoperiod is essential. As day length increases, plants enter a rapid growth phase. Completing the installation before this surge ensures that the root systems of nearby plants are not disturbed during their most active nutrient-uptake period. If you are working in Hardiness Zones 8 or 9, avoid the peak heat of mid-summer to prevent desiccation of exposed roots during the excavation of the fountain's water lines.
Phases:

Sowing the Foundation
The first step involves securing the mounting hardware to the wall. Use a masonry bit to drill pilot holes, ensuring the fountain is perfectly level to prevent uneven water flow. This prevents localized "dry spots" on the fountain face where algae could colonize.
Pro-Tip: Ensure the fountain is not blocking light from low-growing species. Phototropism will cause plants to lean awkwardly toward the light source if the fountain creates a significant shadow; this weakens the cellular structure on the shaded side of the stem.
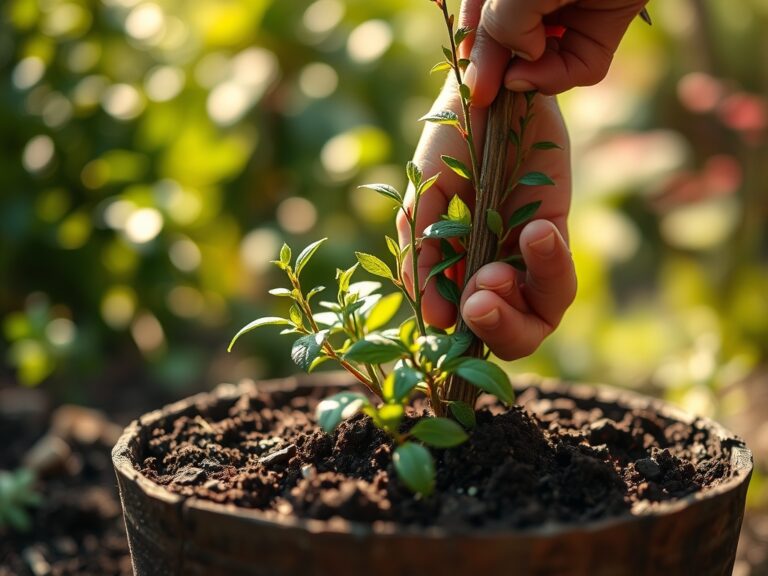
Transplanting and Integration
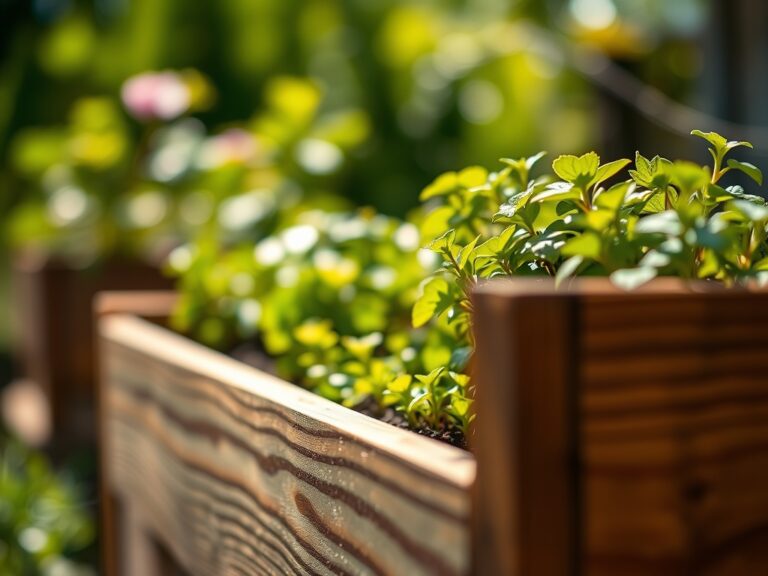
Once the fountain is mounted, adjust the surrounding flora. Move plants that require high humidity, such as Adiantum species, closer to the splash zone. Use a hori-hori knife to cleanly slice through soil and roots during relocation to minimize transplant shock.
Pro-Tip: Apply a mycorrhizal inoculant to the roots of relocated plants. This mycorrhizal symbiosis expands the root surface area; it allows the plant to better manage the increased moisture levels and potential nutrient leaching caused by fountain spray.
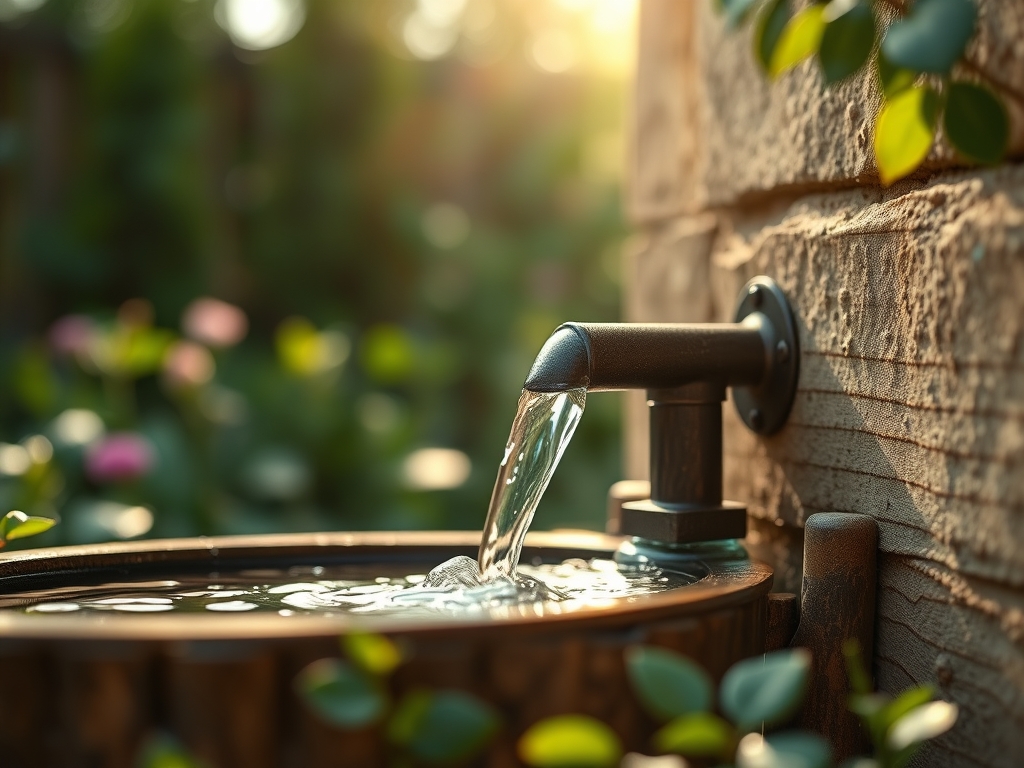
Establishing the Hydrological Cycle
Fill the reservoir with dechlorinated water. Start the pump at its lowest setting to observe the flow pattern. Adjust the flow to ensure the water remains within the basin; excessive runoff can lead to soil anaerobic conditions and root rot.
Pro-Tip: Keep the water moving to prevent the accumulation of stagnant pools. Moving water increases dissolved oxygen levels; this inhibits the growth of anaerobic bacteria that can produce phytotoxic compounds harmful to the rhizosphere.
The Clinic:
Physiological disorders often arise when a water feature alters the local environment. Monitor your plants for these specific symptoms:
- Symptom: Nitrogen Chlorosis. Leaves turn pale yellow starting with the oldest growth.
Solution: Check for over-saturation. Excessive water leaches nitrogen from the soil. Fix-It: Apply a liquid seaweed extract or a high-nitrogen (10-0-0) fertilizer to restore leaf color. - Symptom: Edema. Small, corky blisters appear on the undersides of leaves.
Solution: This is caused by the plant taking up water faster than it can transpire. Fix-It: Reduce fountain spray or improve air circulation to lower local humidity. - Symptom: Iron Deficiency. Interveinal chlorosis on new leaves.
Solution: High water turnover can raise soil pH. Fix-It: Apply chelated iron and adjust soil pH back to 6.5 using elemental sulfur.
Maintenance:
Maintain a strict schedule to ensure the fountain and the surrounding ecosystem remain in equilibrium. Check the water level every 48 hours; evaporation can concentrate minerals and salts, leading to a high Electrical Conductivity (EC) in the water, which may harm sensitive plants.
Clean the pump filter every 30 days to prevent mechanical failure. For the surrounding plants, provide 1.5 inches of water per week at the drip line, adjusting for the moisture provided by the fountain's mist. Use bypass pruners to remove any foliage that touches the water surface; this prevents senescence triggered by constant leaf wetness and reduces the risk of fungal pathogens. Use a soil moisture meter weekly at a depth of 4 inches to ensure the root zone is not becoming waterlogged.
The Yield:
If your wall fountain is surrounded by edible watercress or ornamental mosses, the harvest timing is critical. Harvest watercress before the plant enters its reproductive stage and flowers; this ensures the leaves maintain maximum turgor and flavor. Use sharp scissors to cut only the top 3 inches of growth.
For mosses, harvest small sections using a hori-hori knife only when the colony is fully saturated. To maintain "day-one" freshness, place harvested greens immediately into a sealed container with a damp paper towel and refrigerate at 40 degrees Fahrenheit. This slows the metabolic rate and prevents the breakdown of cellular walls.
FAQ:
How do I prevent the fountain from overwatering nearby plants?
Install a splash guard or adjust the pump flow rate. Monitor the soil with a moisture meter to ensure the volumetric water content stays within the "field capacity" range for your specific plant species.
What is the best way to clean algae without harming my garden?
Avoid harsh chemicals or bleach. Use a stiff brush and a solution of 90% water and 10% white vinegar. This organic approach prevents phytotoxic runoff from altering the soil pH or damaging the rhizosphere.
Can I run the fountain during the winter?
In zones where temperatures drop below 32 degrees Fahrenheit, drain the fountain and remove the pump. Water expansion during freezing will crack the basin and stone; this can lead to structural failure and soil erosion.
How does the fountain affect local soil pH?
Splashing water can leach calcium from stone fountains into the soil. This may gradually increase the pH. Test your soil every six months to ensure it remains within the optimal 6.2 to 6.8 range.