8 Simple Steps to Pot a Large Shrub
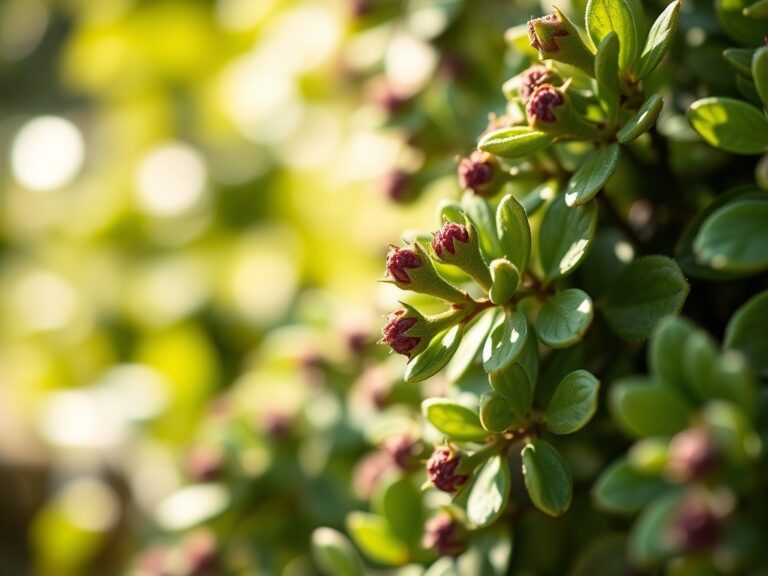
Crushing a handful of moist substrate reveals the distinct, earthy scent of geosmin produced by Actinomycetes. A healthy shrub displays high turgor pressure; its leaves are rigid and its vascular system is fully hydrated. Mastering the steps to pot a large shrub requires more than aesthetic placement. It demands an understanding of root architecture and the mechanical stability of the container. Large specimens exert significant lateral pressure on pot walls. Proper execution ensures the rhizosphere remains aerated while maintaining the hydraulic conductivity necessary for long term survival.
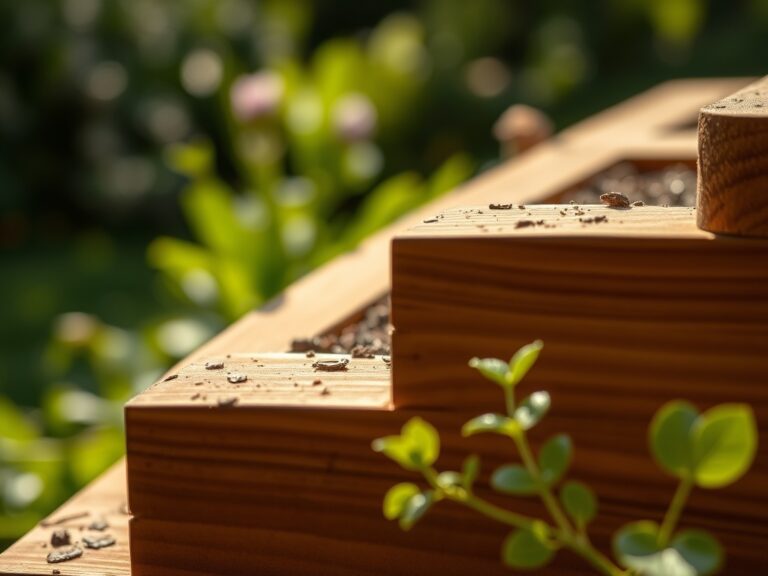
Successful container gardening hinges on the physical properties of the medium and the volume of the vessel. For a shrub with a root ball of 15 inches, the container must provide at least a 4 inch buffer on all sides. This space allows for the expansion of lateral roots and the establishment of a functional nutrient buffer zone. Without this volume, the plant quickly becomes root bound; this leads to a decline in vigor and increased susceptibility to environmental stressors. Follow these technical protocols to ensure a successful transition from field or nursery pot to a permanent large scale container.
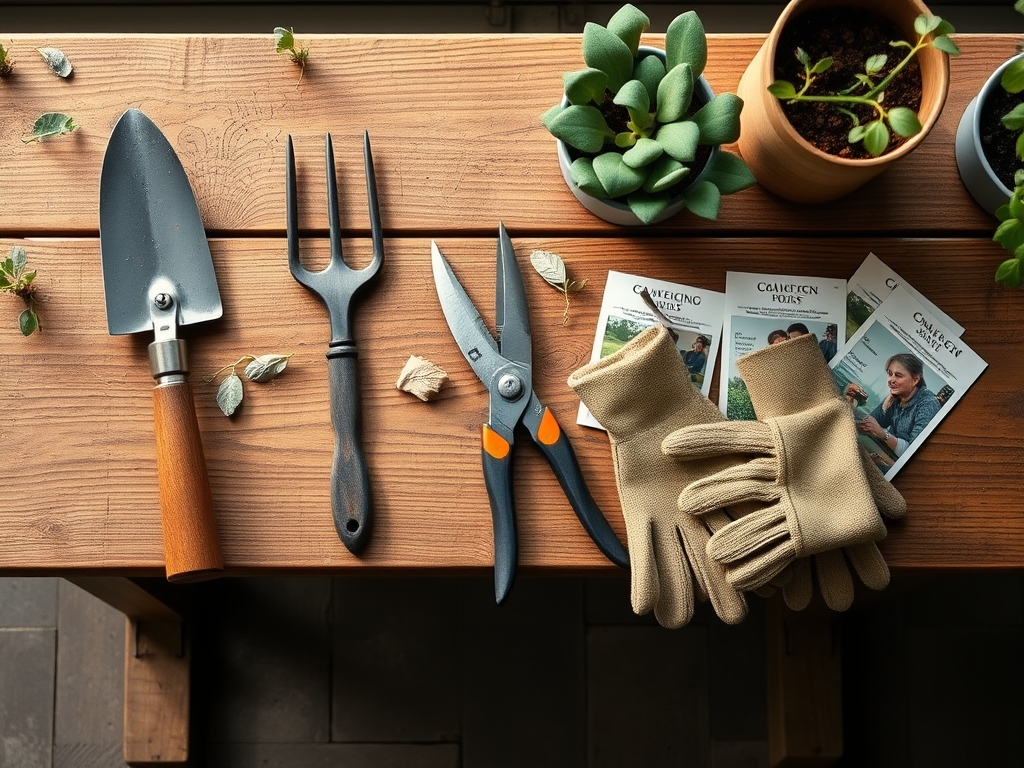
Materials
The substrate must be a friable loam with high porosity. Avoid standard "garden soil" which lacks the structural integrity for long term container use. Your mix should consist of 40 percent composted pine bark, 30 percent peat moss or coconut coir, and 30 percent perlite or coarse sand. This ratio ensures a high Cation Exchange Capacity (CEC), allowing the medium to hold and release essential ions like Potassium (K+) and Ammonium (NH4+).
Target a soil pH between 6.0 and 6.5 for general woody shrubs. Incorporate a controlled release fertilizer with an NPK ratio of 10-10-10 or 14-14-14. Use a dosage of 1 tablespoon per gallon of substrate. The container must be constructed of non porous materials like glazed ceramic or thick walled UV resistant plastic to minimize moisture loss through evaporation. Ensure at least three drainage holes of 1 inch diameter are present at the base to prevent anaerobic conditions.
Timing
Timing is dictated by the plant's biological clock and local Hardiness Zones. In Zones 5 through 7, the ideal window is early spring before bud break or late autumn after the onset of dormancy. This minimizes transplant shock by ensuring the shrub is not actively supporting high transpiration rates from lush foliage.
The transition from the vegetative stage to dormancy is marked by the production of abscisic acid. This hormone triggers the senescence of leaves in deciduous species and slows metabolic activity. Potting during this phase allows the root system to establish in the new medium without the immediate demand of supporting apical growth. Avoid potting when ambient temperatures exceed 85 degrees Fahrenheit or when a hard frost is predicted within 48 hours.
Phases
Sowing and Preparation
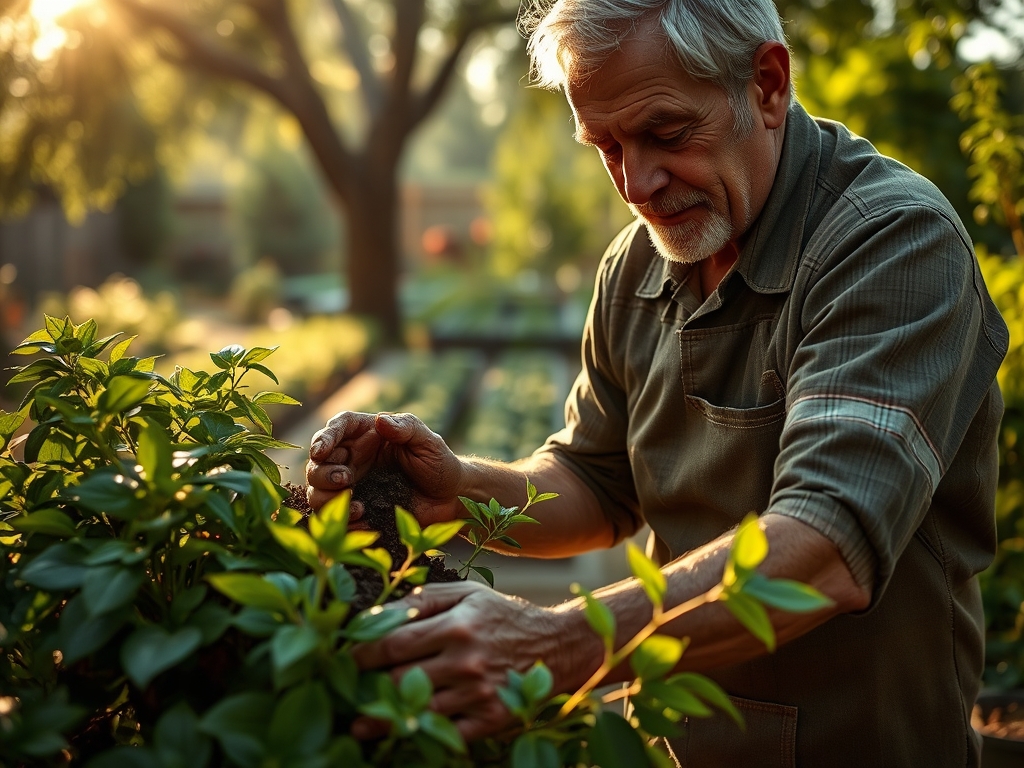
Prepare the shrub by hydrating it 24 hours before the move. This ensures maximum turgidity within the cells. Use a hori-hori knife to score the sides of the root ball if the plant is root bound. This mechanical disruption encourages the growth of new adventitious roots.
Pro-Tip: Scoring the roots breaks apical dominance in the root tips. This triggers the release of auxins that stimulate lateral branching; this creates a denser and more efficient root system within the container.
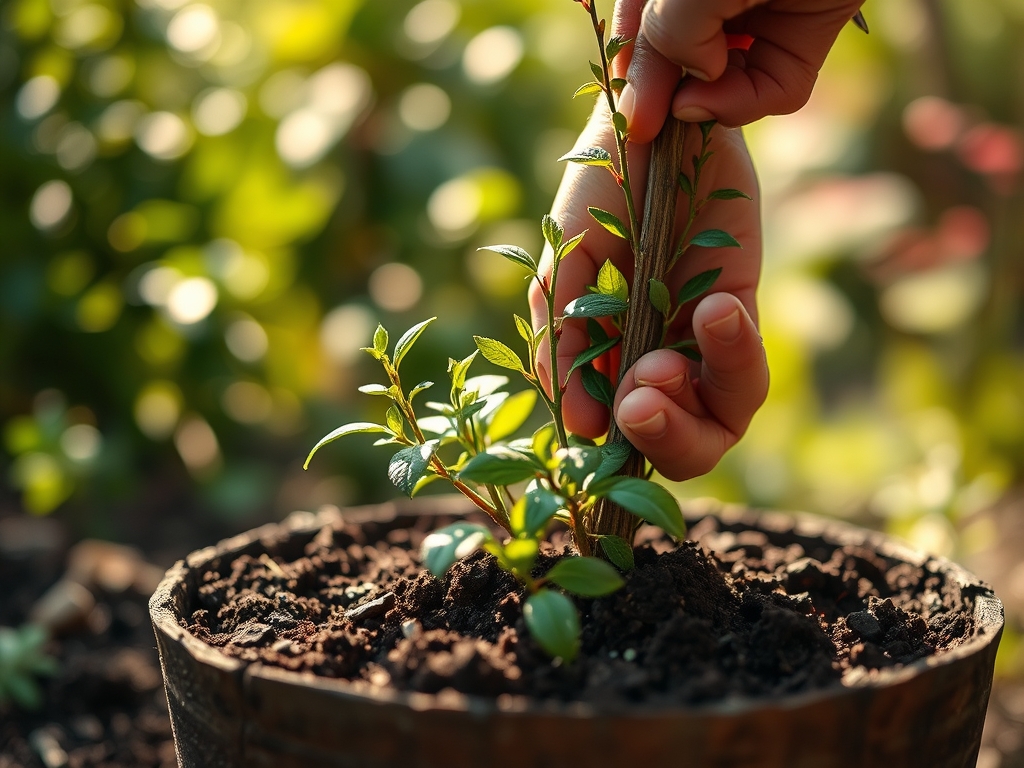
Transplanting
Place a layer of substrate at the bottom of the pot. Position the shrub so the root flare is exactly 1 inch below the rim of the container. Do not bury the trunk deeper than its previous soil line. Fill the gaps with substrate, tamping down firmly with your hands to eliminate large air pockets while maintaining a bulk density that allows for gas exchange.
Pro-Tip: Maintaining the root flare at the surface prevents stem rot. It also ensures the "zone of rapid root taper" receives adequate oxygen; this is essential for the aerobic respiration of the plant's primary structural roots.
Establishing
Water the shrub immediately until liquid exits the drainage holes. This "settling in" period is critical for establishing capillary action between the old root ball and the new substrate. Apply a 2 inch layer of organic mulch to the surface to regulate soil temperature and reduce evaporation.
Pro-Tip: Mycorrhizal fungi inoculation during this phase can increase nutrient uptake by up to 30 percent. These fungi form a symbiotic relationship with the roots; they extend the reach of the root system into the microscopic pores of the substrate.
The Clinic
Physiological disorders often manifest shortly after potting. Monitoring the foliage provides a direct window into the health of the root system.
- Symptom: Interveinal chlorosis (yellowing between green veins) on new growth.
- Solution: This indicates an Iron (Fe) deficiency, often caused by high pH. Apply chelated iron and verify the substrate pH is below 7.0.
- Symptom: Marginal leaf burn or scorching.
- Solution: This is a sign of salt accumulation from over fertilization or poor drainage. Flush the container with a volume of water equal to twice the pot volume.
- Symptom: Wilting despite moist soil.
- Solution: This suggests root rot (Phytophthora) caused by anaerobic conditions. Improve drainage and reduce watering frequency.
- Fix-It for Nitrogen Chlorosis: If older leaves turn uniform pale yellow, the plant lacks Nitrogen. Apply a liquid 20-20-20 fertilizer at half strength to provide an immediate nitrate boost.
Maintenance
Precision is required for long term container health. Use a soil moisture meter to check the moisture levels 4 inches below the surface. A large shrub typically requires 1.5 inches of water per week at the drip line. Adjust this based on wind exposure and ambient temperature.
Pruning is essential to maintain the balance between the root mass and the canopy. Use bypass pruners to remove dead, damaged, or crossing branches in late winter. This directs the plant's energy toward healthy, productive growth. Every three years, perform root pruning. Remove the shrub from the pot and trim 2 inches off the outer root mass before repotting with fresh substrate. This prevents the plant from becoming pot bound and maintains its vigor.
The Yield
For flowering shrubs like Hydrangeas or Camellias, timing the harvest of blooms is critical for longevity. Cut stems in the early morning when turgor pressure is at its peak. Use a sharp knife to make a diagonal cut; this increases the surface area for water uptake.
Immediately plunge the stems into 100 degree Fahrenheit water. This "hardening off" process removes air bubbles from the xylem, ensuring continuous water transport. Store the cut flowers in a cool, dark location for two hours before moving them to a final display. This technique preserves the "day-one" freshness by slowing the rate of cellular respiration and ethylene production.
FAQ
How large should the pot be for a 5-gallon shrub?
Select a container with a 14 to 16 inch diameter. This provides 2 to 3 inches of space around the root ball for new growth and nutrient storage while maintaining stable soil moisture levels.
Can I use rocks at the bottom for drainage?
No. This creates a "perched water table" where the saturation zone rises higher into the root area. Use a high quality, porous substrate and ensure the container has functional drainage holes instead.
How often should I fertilize a potted shrub?
Apply a balanced, controlled release fertilizer in early spring. Supplement with a water soluble fertilizer every 4 weeks during the active growing season (April through August) to replace nutrients lost through leaching.
What is the best way to prevent wind topple?
Use heavy materials like stone or ceramic for the container. If using plastic, place a 2 inch layer of heavy gravel at the very bottom, beneath the substrate, to lower the center of gravity.