10 Versatile Ways How to Design a Container Garden
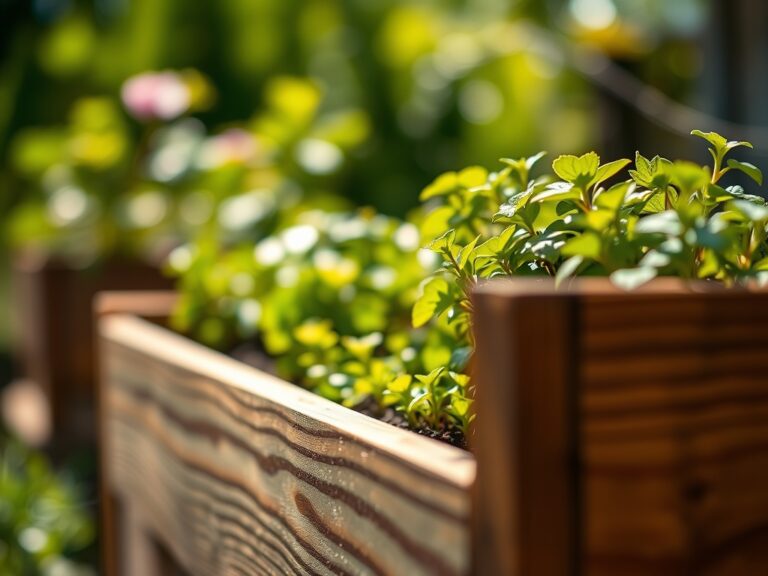
Damp earth carries the scent of geosmin; it is the olfactory signature of a productive substrate. When you understand how to design a container garden, you move beyond aesthetics into the realm of precision horticulture. A healthy leaf possesses high turgor pressure, standing rigid against gravity because its vacuoles are fully hydrated. This structural integrity depends on the intersection of container volume, drainage capacity, and nutrient availability. Success in small-scale cultivation requires an uncompromising approach to the rhizosphere. You are not merely placing plants in pots; you are engineering a closed-loop ecosystem. Every choice, from the porosity of the ceramic to the particle size of the perlite, dictates the metabolic rate of the specimen. By controlling the microclimate within a five-gallon radius, you bypass the limitations of native soil. This guide provides the technical framework to maximize biomass and floral density in confined spaces, ensuring that your container design functions with the efficiency of a laboratory experiment.
Materials:
The foundation of a container garden is the substrate. Never use garden soil; its high clay content leads to compaction and anaerobic conditions. Instead, utilize a friable loam substitute consisting of 40 percent peat moss or coconut coir, 30 percent compost, and 30 percent perlite or vermiculite. This mixture ensures a high Cation Exchange Capacity (CEC), allowing the medium to hold and release essential nutrients.
For vegetative growth, target a pH range of 6.0 to 7.0. Nutrient availability shifts based on these levels; for instance, phosphorus becomes locked in the soil if the pH exceeds 7.5. Your base fertilizer should follow specific NPK ratios depending on the plant's life cycle. Use a 10-10-10 balanced ratio for general establishment. Transition to a 5-10-10 ratio (high phosphorus) when inducing flowering to support reproductive development. Ensure the container has at least three 0.5-inch drainage holes to prevent root rot caused by stagnant water in the lower third of the pot.
Timing:
Successful design requires synchronization with the local USDA Hardiness Zone. In Zones 5 through 7, the primary planting window opens after the last spring frost, typically when overnight temperatures consistently remain above 50 degrees Fahrenheit. Soil temperature is more critical than air temperature; use a probe to ensure the substrate has reached at least 65 degrees Fahrenheit for heat-loving species like Solanum lycopersicum.
Understanding the "Biological Clock" is essential for timing your design. Most annuals transition from the vegetative stage to the reproductive stage based on the photoperiod. Long-day plants require more than 12 hours of light to trigger flowering. If you plant too late in the season, the decreasing day length will induce senescence (biological aging) before the plant reaches its full aesthetic or productive potential. Monitor the frost-date windows closely; a sudden drop to 32 degrees Fahrenheit will rupture cell walls through ice crystal formation, leading to immediate systemic collapse.
Phases:
Sowing
Start seeds in a sterile, fine-textured medium to prevent "damping off" caused by fungal pathogens. Sow seeds at a depth two times their diameter. Maintain a constant moisture level to facilitate the imbibition of water through the seed coat.
Pro-Tip: Monitor for phototropism. Seedlings will lean toward the strongest light source due to the elongation of cells on the shaded side of the stem. Rotate containers 90 degrees every 24 hours to ensure straight, sturdy stems and even distribution of auxins.
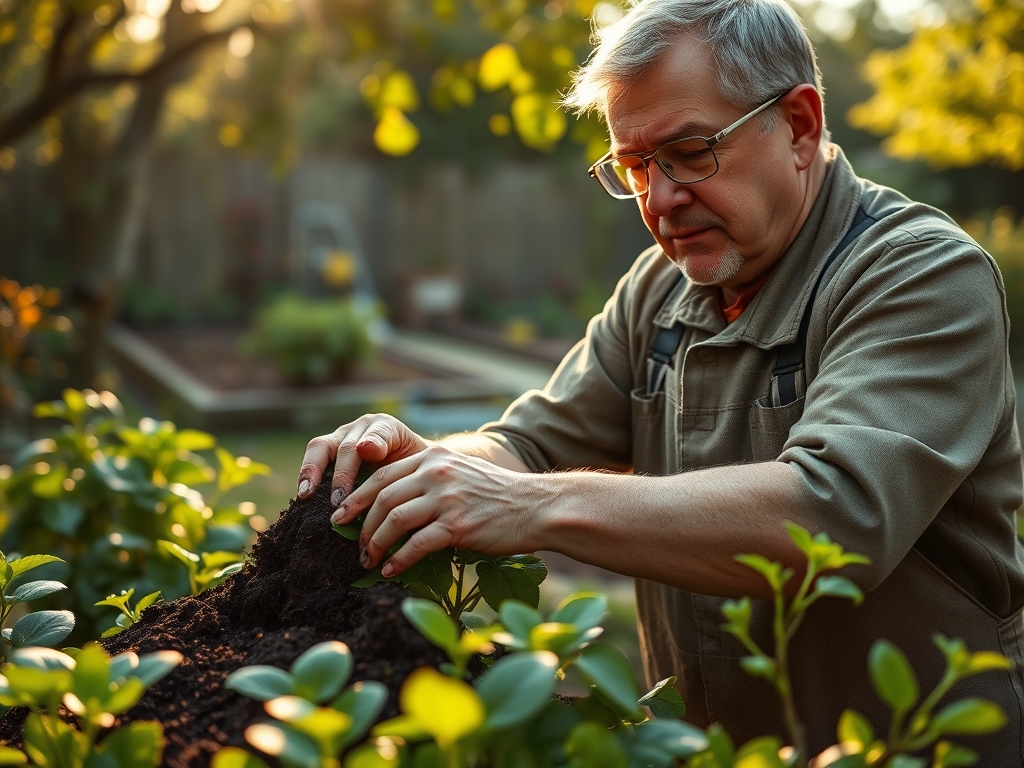
Transplanting
When the specimen develops its second set of "true leaves," move it to its permanent container. Dig a hole twice the width of the root ball. Gently tease the outer roots if they have begun to circle the pot to prevent "root girdling."
Pro-Tip: Inoculate the root zone with mycorrhizal fungi. This symbiotic relationship extends the root system's reach, increasing the surface area for water and phosphorus absorption by up to 100 times.
Establishing
During the first 14 days, the plant focuses on root expansion rather than leaf production. Keep the container in a sheltered area to reduce transpiration stress. Once new growth appears, the root system has successfully anchored.
Pro-Tip: Practice auxin suppression by pinching off the terminal bud (the top growth point). This halts apical dominance and forces the plant to redirect energy to lateral buds, resulting in a bushier, more structurally sound plant.
The Clinic:
Physiological disorders often mimic infectious diseases but result from environmental stress.
-
Symptom: Interveinal chlorosis (yellowing between green veins) on new leaves.
Solution: This indicates an Iron (Fe) deficiency, often caused by a pH above 7.0. Lower the pH using elemental sulfur or apply chelated iron. -
Symptom: Blossom end rot (dark, leathery spots on the bottom of fruit).
Solution: This is a Calcium (Ca) transport issue. It is rarely a lack of calcium in the soil but rather inconsistent watering. Maintain steady moisture to ensure calcium moves through the xylem. -
Symptom: Marginal leaf burn (brown, crispy edges).
Solution: This suggests Fertilizer Burn or high salinity. Flush the container with a volume of water equal to two times the pot capacity to leach out excess salts. -
Symptom: Nitrogen Chlorosis (uniform yellowing of older, lower leaves).
Solution: Apply a high-nitrogen liquid fertilizer (e.g., Fish Emulsion 5-1-1) to restore chlorophyll production.
Maintenance:
Precision maintenance is the difference between a surviving plant and a thriving one. Use a soil moisture meter to check the hydration level at a depth of 4 inches. As a general rule, containers require 1.5 inches of water per week, delivered directly to the drip line to avoid wetting the foliage, which can invite fungal spores.
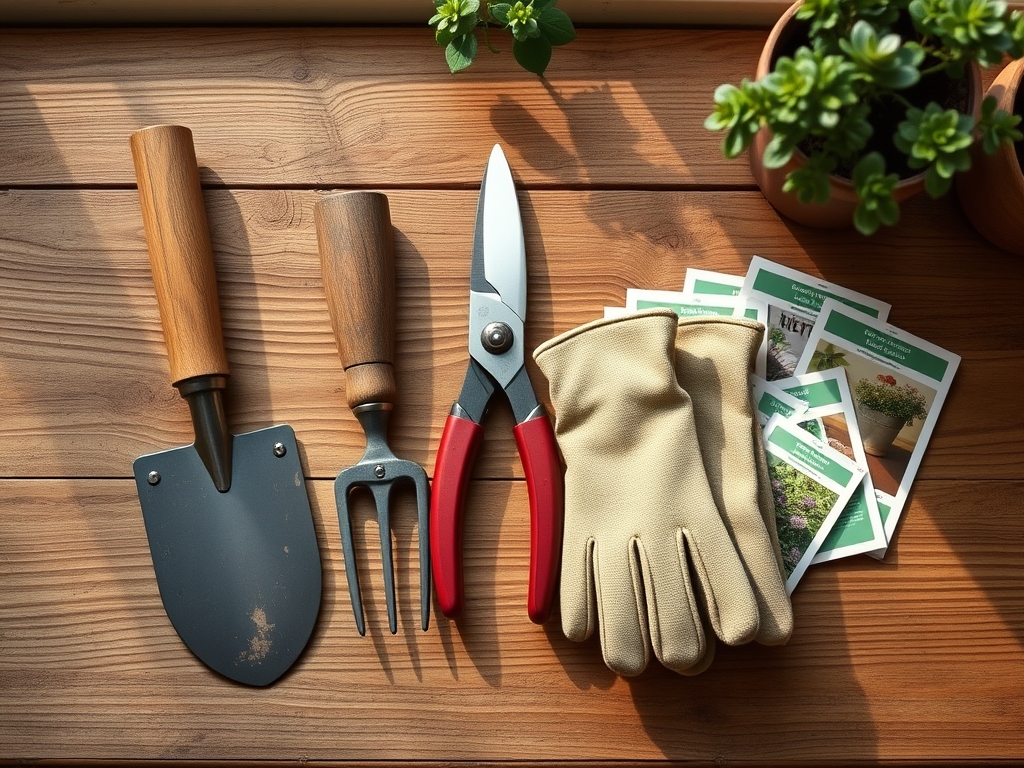
Use a hori-hori knife for weeding and deep-soil aeration. For pruning, utilize bypass pruners to make clean, slanted cuts that allow water to run off the wound, preventing rot. Sterilize your tools with 70 percent isopropyl alcohol between plants to prevent cross-contamination of pathogens. Monitor the Electrical Conductivity (EC) of your runoff water; an EC above 2.5 mS/cm indicates a dangerous buildup of mineral salts that requires immediate leaching.
The Yield:
Harvesting is the final stage of the design process. For flowering plants, deadhead spent blooms daily to prevent the plant from putting energy into seed production; this extends the flowering window. For edibles, harvest in the early morning when the plant's turgor pressure is at its peak. This ensures the highest concentration of sugars and essential oils.
Post-harvest handling is critical. Use sharp shears to minimize tissue damage at the site of the cut. For leafy greens or cut flowers, submerge the stems in 40-degree Fahrenheit water immediately to remove field heat and slow the metabolic rate. This technique preserves "day-one" freshness by delaying the onset of cellular breakdown.
FAQ:
How do I choose the right container size?
Select a pot based on the mature root mass. Most annuals require a minimum depth of 8 inches. Large perennials or vegetables like tomatoes need 5 to 10 gallons of volume to prevent root constriction and rapid dehydration.
Why are my container plants wilting even when the soil is wet?
This indicates root asphyxiation or "drowning." When pore spaces stay saturated, roots cannot access oxygen. This leads to root rot. Ensure your substrate has 30 percent porosity using perlite or coarse sand to facilitate gas exchange.
How often should I fertilize container gardens?
Containers leach nutrients rapidly due to frequent watering. Apply a half-strength liquid fertilizer every 14 days. Alternatively, incorporate slow-release granules into the top 2 inches of soil at the beginning of the season for sustained nutrient delivery.
Can I reuse potting soil for next year's design?
Reuse is risky due to pathogen buildup and nutrient depletion. If you must reuse it, solarize the soil in black plastic bags for six weeks. Better practice involves replacing at least 50 percent of the old medium with fresh, sterilized compost.