5 Best Post Hole Diggers for DIY
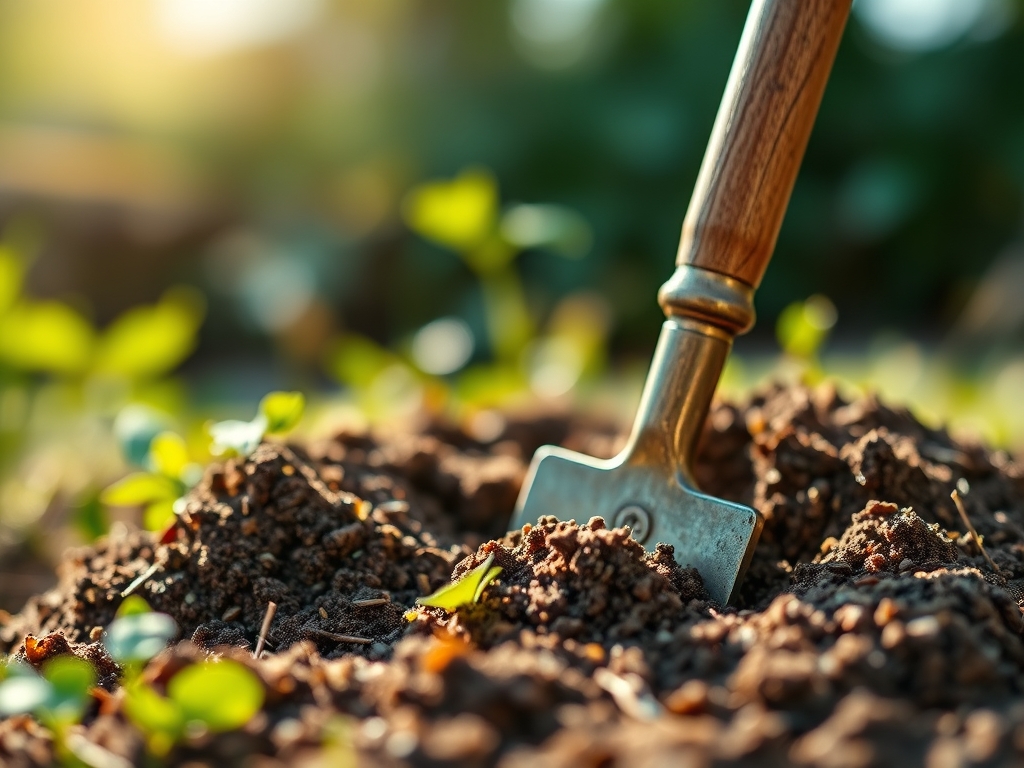
Damp earth releases a sharp, geosmin-heavy scent as the spade breaks the surface tension of the soil. A healthy plant maintains high turgor pressure; its cells are rigid and swollen with water. To ensure this cellular stability in a structural landscape, you must secure your supports with precision. Selecting the best post hole diggers for DIY projects is the first step in managing the physical integrity of your garden's infrastructure without compromising the delicate rhizosphere of surrounding perennial systems.
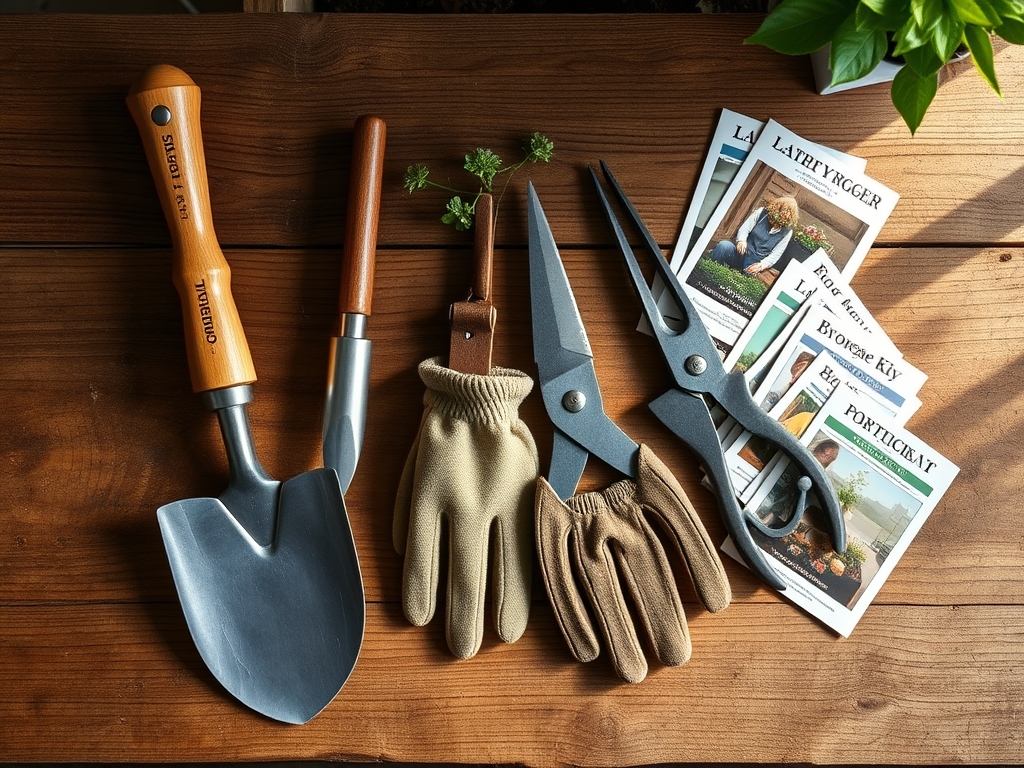
Materials:
Successful installation begins with a soil analysis. Ideal substrate for post-setting is a friable loam with a **pH between 6.0 and 7.0**. High clay content increases the Cation Exchange Capacity (CEC), meaning the soil holds nutrients like Ammonium (N) and Potassium (K) tightly, but it also increases resistance against the digger blades. For backfilling around posts, use a mixture that mimics the native soil to prevent water pooling. If you are planting near the post, ensure an NPK ratio of **10-10-10** is integrated into the top six inches. Sandy soils with low CEC require organic matter to improve structural grip and nutrient retention.
Timing:
Installation should occur when the soil is moist but not saturated. In Hardiness Zones 4 through 7, the window opens after the spring thaw but before the summer heat induces soil compaction. This timing aligns with the "Biological Clock" of most woody ornamentals, transitioning from winter dormancy to the vegetative stage. Digging during the reproductive stage (flowering) can cause unnecessary stress to nearby root systems. Aim for a soil temperature of at least 55 degrees Fahrenheit to ensure any disturbed roots can initiate rapid cellular repair.
Phases:

Sowing and Site Preparation
Clear a radius of 24 inches around your target site. Use a soil moisture meter to confirm the ground is not in a state of permanent wilting point. A dry soil profile increases the friction on the digger, leading to physical fatigue and jagged hole walls.
Pro-Tip: Maintaining a clean cut at the hole's edge prevents excessive root shearing of neighboring plants. This protects the mycorrhizal symbiosis, the fungal network that extends the reach of root systems to absorb phosphorus.
Transplanting and Post Setting
When using the best post hole diggers for DIY, drive the blades vertically. For a standard 4×4 post, the hole must be 36 inches deep in frost-prone zones to prevent heave. Ensure the bottom of the hole is compacted to prevent settling, which can crush the root hairs of nearby vegetation.
Pro-Tip: Avoid over-compacting the backfill. Excessive density limits oxygen availability in the rhizosphere, leading to anaerobic conditions that can kill beneficial aerobic bacteria and trigger root rot.
Establishing the Perimeter
Once the post is plumb, backfill with a mix of native soil and crushed stone for drainage. If you are planting climbers like Clematis at the base, ensure the soil remains loose enough for easy root penetration.
Pro-Tip: Orient your plantings to account for phototropism. Plants will naturally lean toward the light source; placing structural posts on the north side of sun-loving species prevents the post from casting a shadow that stunts growth.
The Clinic:
Physiological disorders often manifest after soil disturbance. Monitor nearby plants for these specific symptoms.
Symptom: Interveinal chlorosis (yellowing leaves with green veins).
Solution: This indicates a lack of iron or magnesium. Check the pH level; if it is above 7.5, iron becomes insoluble. Apply chelated iron to the soil.
Symptom: Marginal leaf burn.
Solution: Likely salt accumulation or potassium deficiency. Flush the area with 2 gallons of water per square foot to leach excess salts away from the root zone.
Symptom: Nitrogen chlorosis (uniform paling of older leaves).
Fix-It: Apply a high-nitrogen fertilizer with an NPK of 20-10-10. Nitrogen is highly mobile; it moves from old growth to new growth, leaving the base of the plant depleted.
Maintenance:
Precision tool care is mandatory. After digging, clean your post hole digger and hori-hori knife with a 10 percent bleach solution to prevent the spread of soil-borne pathogens like Phytophthora. For the surrounding plants, provide 1.5 inches of water per week at the drip line. Use bypass pruners to remove any branches that were damaged during the DIY process. Make cuts at a 45-degree angle just above a lateral bud to encourage healthy regrowth and prevent water from sitting on the wound, which leads to senescence.
The Yield:
If your posts support fruiting vines like Vitis vinifera, harvest timing is critical. Measure the Brix level (sugar content) using a refractometer. For most table grapes, a Brix reading of 18 to 20 is ideal. Harvest in the early morning when the fruit has maximum turgor and cool pulp temperatures. This preserves the "day-one" freshness by slowing down the metabolic rate and enzymatic degradation of the fruit.
FAQ:
What is the best depth for a fence post?
In most climates, dig to a depth of 36 inches. This depth reaches below the frost line in many regions, preventing the ground from pushing the post upward during freeze-thaw cycles.
How do I dig in heavy clay soil?
Use a post hole digger with sharpened steel blades. Wet the soil slightly 24 hours prior to digging to lubricate the clay particles, making the substrate more friable and easier to extract.
Can I use a power auger for DIY?
Power augers are efficient for large projects but require significant physical strength to manage torque. For individual posts or sensitive areas near existing root systems, a manual clamshell digger offers better control.
How do I prevent root rot near new posts?
Ensure the soil slopes away from the post at the surface. Use a soil moisture meter to ensure the area maintains a consistent moisture level without becoming waterlogged, which prevents anaerobic root death.