10 Careful Steps to Change Chipper Blades
The smell of damp earth after a hard rain signals a period of high turgor pressure in the garden; it is the moment when woody perennials and annuals alike are most resilient to structural pruning. Maintaining a productive orchard or woodlot requires processing massive amounts of cellulose and lignin. This work depends entirely on the efficiency of your equipment. Knowing the precise steps to change chipper blades ensures that your organic matter is reduced to a uniform size, facilitating rapid decomposition in the compost pile. Dull blades tear at the wood fibers rather than slicing them. This creates jagged chips that resist microbial breakdown and puts unnecessary mechanical stress on the engine. A sharp edge is the difference between a healthy nitrogen-to-carbon ratio and a pile of stagnant debris.
Materials:
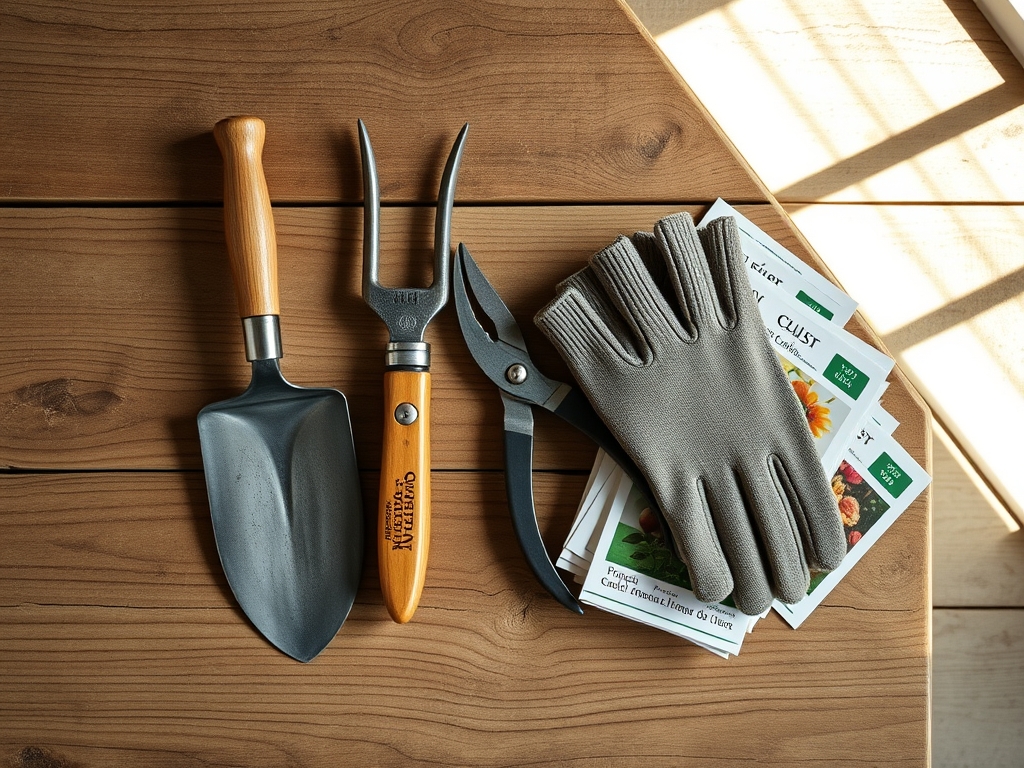
Before addressing the mechanical hardware, evaluate the substrate where your wood chips will eventually reside. For a standard vegetable garden, aim for a **friable loam** with a **pH between 6.2 and 6.8**. If you are mulching acid-loving shrubs like blueberries, a **pH of 4.5 to 5.5** is required. The nutrient profile of the resulting mulch will eventually influence the **NPK ratio** of your topsoil. Hardwood chips typically provide a slow-release source of carbon, while green material adds nitrogen. To facilitate this chemical transition, keep the following mechanical tools ready: a socket wrench set, a torque wrench calibrated in foot-pounds, protective gloves, and a block of wood to jam the impeller.
Timing:
In Hardiness Zones 4 through 7, the ideal window for processing wood is late winter or early spring before the first frost-free date. This aligns with the "Biological Clock" of most deciduous species. During dormancy, the sap flow is minimal, and the wood is less likely to gum up the internal housing of the machine. Once the plant enters the vegetative stage and auxin production increases at the terminal buds, the wood becomes more pliable and difficult to chip cleanly. Performing maintenance during the transition from the dormant stage to the reproductive stage ensures your equipment is ready for the heavy pruning required after the spring flush.
Phases:

Sowing the Safety Protocol
The first of the steps to change chipper blades is the total isolation of the power source. Disconnect the spark plug wire or remove the battery. This prevents accidental ignition during the procedure. Open the access plate to expose the impeller disc. Use a pressurized air canister to clear out any fine dust or resin that has accumulated in the rhizosphere of the machine's internal housing.
Pro-Tip: Removing debris prevents anaerobic pockets from forming within the machine housing. This is vital because moisture trapped against steel leads to oxidation, which can compromise the structural integrity of the blade bolts.
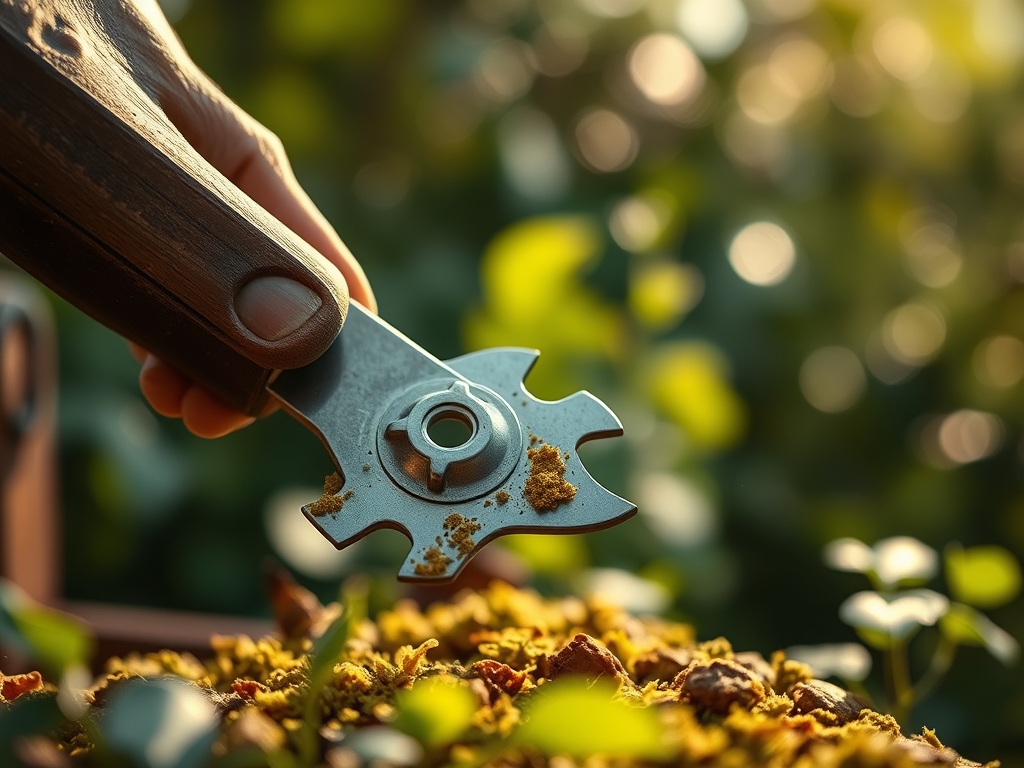
Transplanting the New Edges
Carefully rotate the impeller until the first blade is visible. Wedge a block of wood against the housing to prevent rotation. Loosen the mounting bolts using a high-quality socket. If the bolts are seized, apply a penetrating oil and wait ten minutes. Remove the old blade and inspect the "bed knife" or anvil. This stationary part must have a sharp 90-degree edge to work in tandem with the rotating blade. Install the new blade, ensuring it sits flush against the impeller seat.
Pro-Tip: Proper blade seating is essential for maintaining consistent centrifugal force. If a blade is misaligned by even a fraction of a millimeter, the resulting vibration can damage the bearings, much like how uneven soil compaction can lead to restricted root expansion in a container-grown plant.
Establishing the Torque
Use a torque wrench to tighten the bolts to the manufacturer's specific foot-pound rating. This is usually between 40 and 60 foot-pounds depending on the model. Reattach the access plate and ensure all safety shields are locked. Rotate the impeller by hand one full revolution to check for any mechanical interference or clicking sounds before reconnecting the power.
Pro-Tip: High-torque precision prevents "metal fatigue," a process similar to senescence in plants where repeated stress leads to cellular or structural failure. Correct tension ensures the machine can handle the high-impact resistance of dense hardwoods like Oak or Hickory.
The Clinic:
When wood chips appear shredded rather than sliced, the machine is suffering from a "Symptom" of dull blades. This results in poor airflow and can cause the discharge chute to clog.
Symptom: Discolored or "burnt" edges on the wood chips.
Solution: This indicates excessive friction. Check the gap between the blade and the anvil. It should typically be 0.010 to 0.030 inches.
Symptom: Engine stalling under light loads.
Solution: Inspect the drive belt for slippage or the blades for severe rounding.
Fix-It for Nutrient Deficiencies: If your garden exhibits Nitrogen chlorosis (yellowing of older leaves), your mulch layer may be too thick. Microbes consume soil nitrogen to break down the carbon-heavy wood chips. To fix this, broadcast a high-nitrogen fertilizer with an NPK ratio of 21-0-0 (Ammonium Sulfate) over the chips to balance the C:N ratio.
Maintenance:
Long-term soil health depends on the quality of the organic matter you introduce. Use a soil moisture meter to ensure the area under your wood chips maintains a consistent moisture level. Aim for 1.5 inches of water per week at the drip line of your trees. When working in the beds, use a hori-hori knife to slice through the mulch layer and check the Cation Exchange Capacity (CEC) of the soil beneath. High CEC indicates the soil can hold onto essential nutrients like Potassium and Magnesium. Regularly sharpen your bypass pruners to ensure clean cuts on the source material before it ever reaches the chipper.
The Yield:
The "yield" in this context is the volume of high-quality mulch produced. For the best results, process wood within 48 hours of cutting. This preserves the moisture content and makes the wood easier to slice. Post-harvest, store your chips in a pile no higher than 4 feet to allow for aerobic respiration. This prevents the center of the pile from becoming "sour" or acidic, which can harm delicate root systems when the mulch is finally spread. Properly processed chips will have a clean, earthy scent and a uniform size of approximately 0.5 to 1 inch.
FAQ:
How often should I change chipper blades?
Change blades every 25 to 50 hours of operation. If you process sandy wood or dirty brush, the abrasive particles will dull the hardened steel faster. Monitor the chip quality for signs of tearing or fraying.
Can I sharpen chipper blades myself?
Yes, if you use a wet stone or a low-speed grinder to avoid overheating the metal. Overheating ruins the temper. Maintain the original factory bevel angle, usually 30 to 35 degrees, for optimal slicing action.
What happens if the blade gap is too wide?
A wide gap allows thin twigs to pass through without being cut. This leads to "stringy" discharge that clogs the machine. Keep the clearance between the blade and anvil at approximately 0.020 inches for most residential units.
Why are my new blades vibrating?
Vibration usually indicates an imbalance. Ensure all blades in the set are changed simultaneously and tightened to the same torque specifications. Even a small weight difference from uneven wear or debris buildup can cause significant harmonic imbalance.