7 Professional Ways How to Build a Garden Shed
The sharp scent of wet cedar and the metallic tang of a spade cutting through compacted clay signal the start of a structural project. Success in learning how to build a garden shed begins with the ground beneath the floor joists. A stable structure requires more than just lumber; it demands a deep understanding of soil mechanics and site drainage. To ensure the longevity of your storage unit, you must account for the hydrostatic pressure and the frost heave potential of your specific soil profile.
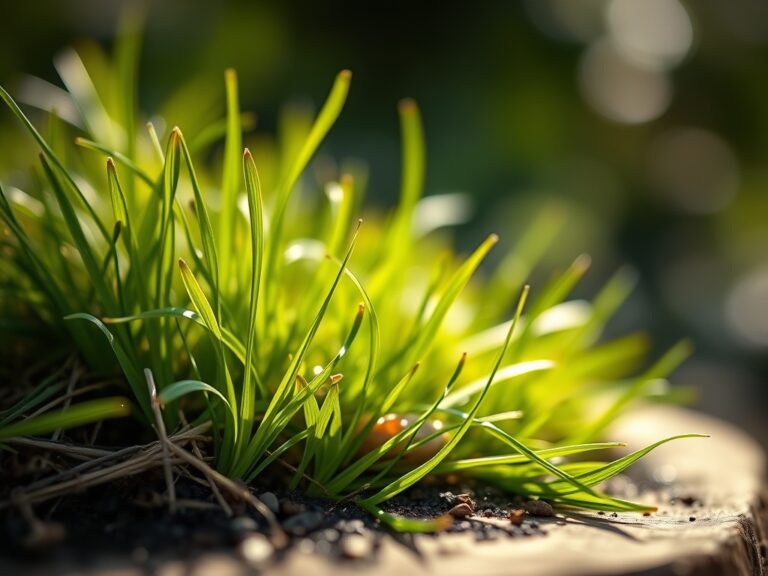
The foundation of any garden structure interacts directly with the rhizosphere, the complex zone surrounding plant roots. When you clear a site, you disrupt the existing mycorrhizal networks and alter the local water table. Professional construction requires a site assessment that prioritizes high-ground placement to prevent anaerobic conditions in the surrounding soil. Stagnant water around a shed foundation leads to wood rot and fungal pathogens that can migrate to your high-value perennials. You are not just building a box; you are integrating a permanent fixture into a living ecosystem.
Materials:

Before the first timber is cut, analyze the substrate. The ideal base is a **friable loam** with a **Soil Cation Exchange Capacity (CEC)** of 15 to 25. This ensures that the soil surrounding the shed can manage nutrient runoff from the roofline. If your soil is heavy clay, you must excavate and backfill with structural fill to prevent shifting.
For the surrounding vegetation, maintain a soil pH of 6.2 to 6.8. Apply a balanced NPK ratio of 10-10-10 to the disturbed area post-construction to encourage rapid re-establishment of ground cover. Use pressure-treated lumber rated for ground contact (UC4A or higher) for the skids. This material resists the cellulolytic fungi that thrive in damp, dark environments. Stainless steel or hot-dipped galvanized fasteners are mandatory to prevent oxidation caused by the acidic nature of modern wood preservatives.
Timing:
Construction must align with your local Hardiness Zone and the specific frost-date windows. In Zones 4 through 6, the optimal window for foundation work is late spring, once the soil has reached a consistent temperature of 55 degrees Fahrenheit (13 degrees Celsius). Working frozen or overly saturated soil destroys its structure; it collapses the macropores necessary for oxygen exchange.
The "Biological Clock" of your garden also dictates the schedule. Aim to complete heavy construction during the vegetative stage of your primary garden plants, typically before the summer solstice. This avoids the high-stress reproductive stage where plants allocate energy to flowering and fruit production. Disturbing the root zones of nearby trees during their peak transpiration period in July or August can lead to permanent leaf scorch or premature senescence.
Phases:

### Sowing the Site
Clear the footprint and a three-foot perimeter. Remove all organic matter down to the mineral soil. If you are planting a “green roof” on your shed, sow seeds into a lightweight engineered substrate with a depth of at least **4 inches**.
Pro-Tip: Utilize mycorrhizal symbiosis by inoculating the surrounding soil with beneficial fungi after the heavy machinery leaves. This restores the nutrient pathways disrupted by soil compaction.
Transplanting the Structure
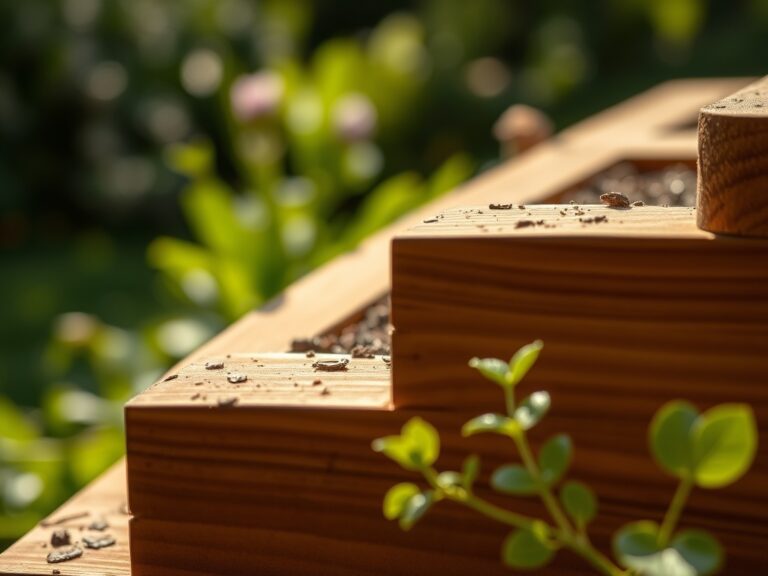
Assemble the floor frame on a level bed of 4 inches of compacted 3/4-inch crushed stone. This layer provides a capillary break, preventing moisture from wicking up into the wood. Ensure the joists are spaced 16 inches on center to handle the dead load of equipment.
Pro-Tip: Account for phototropism when positioning the shed. A tall structure creates a "rain shadow" and a permanent shade zone. Place the shed on the north side of the property to minimize the impact on sun-loving crops.
Establishing the Envelope
Sheath the walls and install a breathable house wrap. This prevents liquid water ingress while allowing water vapor to escape. Install a drip edge on the roof to direct runoff away from the foundation.
Pro-Tip: Manage auxin suppression by pruning nearby overhanging branches. Removing the apical meristem of encroaching limbs encourages lateral growth away from the shed, reducing the risk of moss and algae buildup on the siding.
The Clinic:
Physiological disorders in the garden often manifest after construction due to altered drainage or light.
- Symptom: Yellowing of lower leaves on nearby shrubs (Chlorosis).
- Solution: Check for soil compaction. Use a soil moisture meter to ensure the new shed footprint hasn't created a boggy area.
- Symptom: Stunted growth and purple tint on foliage.
- Solution: This indicates a Phosphorus deficiency, often caused by cold, wet soils. Improve drainage around the shed base.
- Symptom: Rapid wilting despite moist soil.
- Solution: Root rot (Phytophthora). The shed may be blocking airflow. Increase spacing between the structure and the plantings.
Fix-It for Nitrogen Chlorosis: If the disturbed soil shows a Nitrogen deficit, apply a quick-release 20-0-0 fertilizer at a rate of 0.5 pounds of actual Nitrogen per 1,000 square feet to jumpstart the recovery of the "green zone" around the shed.
Maintenance:
A professional garden shed requires active site management. Inspect the perimeter monthly for signs of termite galleries or carpenter ant activity. Maintain a clear "air gap" of at least 12 inches between the shed siding and any ornamental plantings.
Watering around the shed must be precise. Deliver 1.5 inches of water per week at the drip line of nearby plants using a soaker hose to prevent splashing soil onto the shed's finish. Use a hori-hori knife to remove deep-rooted weeds that emerge near the foundation. For woody encroachment, use bypass pruners to make clean, angled cuts that promote rapid callusing. Use a soil moisture meter at three different depths (2, 4, and 6 inches) to monitor the "shadow effect" the shed has on soil hydration.
The Yield:
If your shed includes an integrated greenhouse or potting bench, the "yield" is the health of your starts. Harvest seedlings for transplanting when they have developed their second set of true leaves. Handle them by the root ball or a single leaf; never touch the stem to avoid crushing the vascular bundles (xylem and phloem).
To maintain "day-one" freshness for harvested herbs or flowers kept in the shed, ensure the internal temperature remains below 70 degrees Fahrenheit. Use a thermometer to monitor the "heat island" effect of the shed roof. High temperatures accelerate respiration rates, causing the plant to consume its stored sugars and wilt prematurely.
FAQ:
How deep should shed foundation posts be?
Posts must extend 12 inches below the frost line for your specific region. This prevents vertical movement during freeze-thaw cycles. In many temperate zones, this requires a depth of 36 to 48 inches.
What is the best wood for a garden shed?
Use Western Red Cedar or Redwood for siding due to their natural tannins, which resist rot. For structural components, use Pressure-Treated Southern Yellow Pine rated for ground contact to ensure longevity.
How do I stop weeds from growing under my shed?
Lay a heavy-duty geotextile fabric over the bare mineral soil before adding the gravel base. This prevents weed emergence while allowing for essential drainage and gas exchange in the soil profile.
Does a garden shed need ventilation?
Yes. You must install soffit and ridge vents to allow for passive airflow. Proper ventilation prevents the accumulation of heat and moisture, which causes wood warping and promotes the growth of wood-destroying fungi.