6 Safe Ways How to Maintain a Flame Weeder
The smell of damp earth and the high turgor pressure of a healthy leaf signify a thriving garden; however, invasive species often threaten this equilibrium. Utilizing thermal weeding allows for the rapid denaturation of plant proteins without disrupting the soil rhizosphere. To ensure long term tool efficacy and operator safety, you must understand how to maintain a flame weeder through rigorous inspection and cleaning protocols. Neglecting these mechanical requirements leads to fuel inefficiency and dangerous flash-back risks.
Materials:
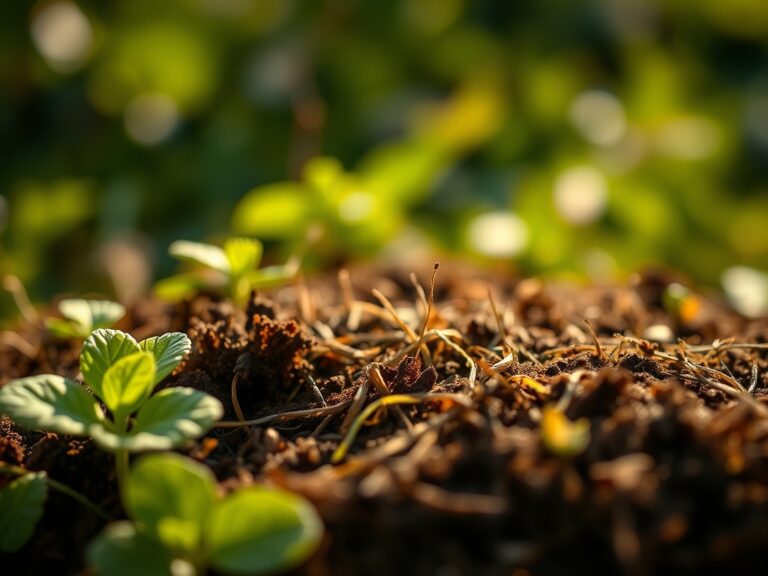
Maintaining the surrounding environment is as critical as maintaining the tool itself. Successful thermal weeding occurs on **friable loam** with a **pH between 6.0 and 7.0**, where the soil Cation Exchange Capacity (CEC) is high enough to buffer localized heat spikes. Before operation, ensure the soil contains adequate moisture to prevent the combustion of organic matter. If the soil is depleted, integrate a slow release fertilizer with an **NPK ratio of 10-10-10** to support the recovery of desirable plants. Avoid sandy substrates with low water retention; these allow heat to penetrate deeper into the root zone, potentially damaging beneficial mycorrhizal fungi.
Timing:
Thermal weeding is most effective during the early vegetative stage, specifically between Hardiness Zones 4 and 9. The ideal window for operation is after the final spring frost but before the summer solstice, targeting weeds when they are less than 2 inches tall. This timing exploits the biological clock of the plant; young seedlings have not yet transitioned to the reproductive stage and lack the carbohydrate reserves in their roots to survive cell wall rupture. Perform maintenance checks during the "dormant" winter months to ensure the torch is ready for the first flush of spring growth.
Phases:

### Sowing and Site Preparation
Before the first seed hits the soil, use the flame weeder to create a “stale seedbed.” This involves watering the area to stimulate weed germination, then searing the emerging sprouts. This process ensures that your primary crop does not have to compete for nitrogen or sunlight.
Pro-Tip: Target weeds at the cotyledon stage to induce rapid senescence. The Biological Why is simple: young plants have thin cuticles and minimal lignin, making their cellular structures highly susceptible to thermal expansion and subsequent bursting.
Transplanting and Thermal Buffering
When moving seedlings from a greenhouse to the field, maintain a 6 inch buffer zone between the flame and the transplant. Use a heat shield if necessary to protect the delicate apical meristem of your crops.
Pro-Tip: Always flame weed when the wind speed is below 5 miles per hour. The Biological Why involves avoiding accidental auxin suppression; heat drift can damage the growth hormones in the tips of your desired plants, leading to stunted development or lateral branching.
Establishing the Stand
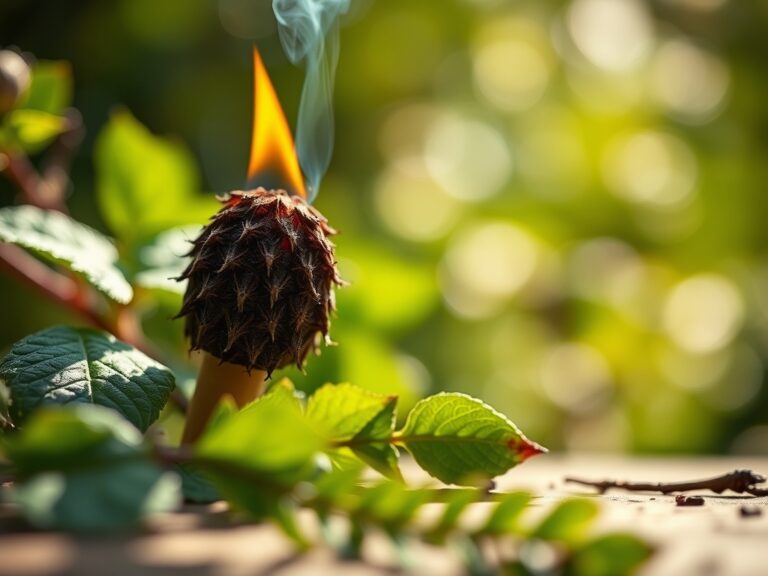
As the crop matures, maintain the flame weeder by checking the brass fittings for leaks using a soapy water solution. A steady, blue flame indicates a proper oxygen to propane ratio, ensuring maximum heat delivery to the weed tissue without wasting fuel.
Pro-Tip: Focus the heat on the growing point of the weed rather than trying to incinerate the entire plant. The Biological Why is rooted in phototropism; by destroying the light sensing tissues at the top of the plant, you terminate its ability to orient toward the sun, effectively ending its metabolic cycle.
The Clinic:
Mechanical and physiological issues can arise if equipment or plants are mismanaged.
- Symptom: Yellowing of crop leaves (Chlorosis) near the weeding site.
- Solution: This often indicates heat stress or Nitrogen deficiency. Check the flame distance.
- Symptom: Sputtering or orange flame on the torch.
- Solution: Carbon buildup in the burner orifice. Clean the nozzle with a fine wire brush.
- Symptom: Weed regrowth within 48 hours.
- Solution: The weed has a taproot system (like dandelion). Increase exposure time to ensure heat reaches the crown.
Fix-It Section: For Nitrogen chlorosis, apply a liquid kelp meal or a 5-1-1 fish emulsion to provide immediate bioavailable nutrients to the stressed rhizosphere.
Maintenance:
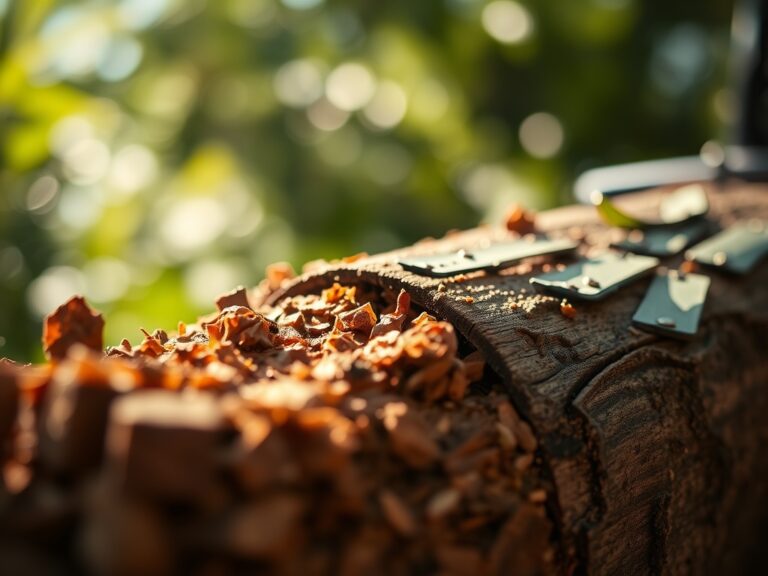
Precision is the hallmark of a master horticulturist. Use a soil moisture meter to verify that the ground is at 25 percent to 30 percent volumetric water content before flaming; this prevents deep soil sterilization. After each use, wipe the torch wand with a damp cloth to remove soot. Inspect the hose for cracks or "checking" every 30 days. Use a hori-hori knife to pry out charred debris from the burner head. Store the propane tank in a cool, dry place where temperatures do not exceed 120 degrees Fahrenheit to prevent pressure relief valve activation.
The Yield:
While a flame weeder does not produce a harvest directly, it ensures the "day-one" freshness of your produce by eliminating competition. For leafy greens, harvest when turgor is highest, typically between 5:00 AM and 8:00 AM. Use bypass pruners for clean vascular cuts, which reduces water loss through the xylem. Immediately hydro-cool the harvest in 40 degree Fahrenheit water to remove field heat and slow the rate of respiration.
FAQ:
How often should I check for gas leaks?
Perform a leak test with soapy water every time you reconnect the propane cylinder. Inspect the hose for abrasions or cracks before each use to prevent hazardous gas escape and ensure consistent pressure.
Can I use a flame weeder on mulch?
Never use a flame weeder on dry organic mulches like straw or wood chips. These materials have low moisture content and high surface area; they ignite easily and can cause uncontrolled ground fires.
What is the best flame color for weeding?
A tight, blue flame is ideal. This indicates a high temperature and efficient combustion. An orange or yellow flame suggests a clogged orifice or improper air mixing, which reduces thermal effectiveness on plant tissue.
Does flaming kill weed seeds in the soil?
Flame weeding primarily kills emerged seedlings. It does not typically kill seeds buried more than 0.5 inches deep. However, it prevents current weeds from reaching the reproductive stage and dropping new seeds into the seed bank.