9 Best Igniters for Garden Torches
The smell of damp earth after a heavy rain indicates a high concentration of geosmin; this organic compound signals a healthy microbial population within the rhizosphere. Maintaining a garden requires more than just water and sunlight. It demands precise environmental control, especially when managing evening temperatures or light cycles with supplemental heat sources. Selecting the best igniters for garden torches is a critical step for the horticulturist who manages outdoor spaces during the transition from dusk to night. These tools provide the necessary spark to initiate combustion in citronella or paraffin fuels, which can help manage local insect populations without resorting to heavy chemical applications. A reliable igniter ensures that the thermal output remains consistent, providing a stable microclimate for sensitive perimeter plants. High-quality ignition systems must withstand the humidity levels found in dense foliage, where relative humidity often exceeds 70 percent. By choosing a durable, windproof ignition source, you ensure that your garden lighting remains functional throughout the growing season. This reliability allows for better monitoring of plant turgor and nocturnal pest activity during late-night inspections.
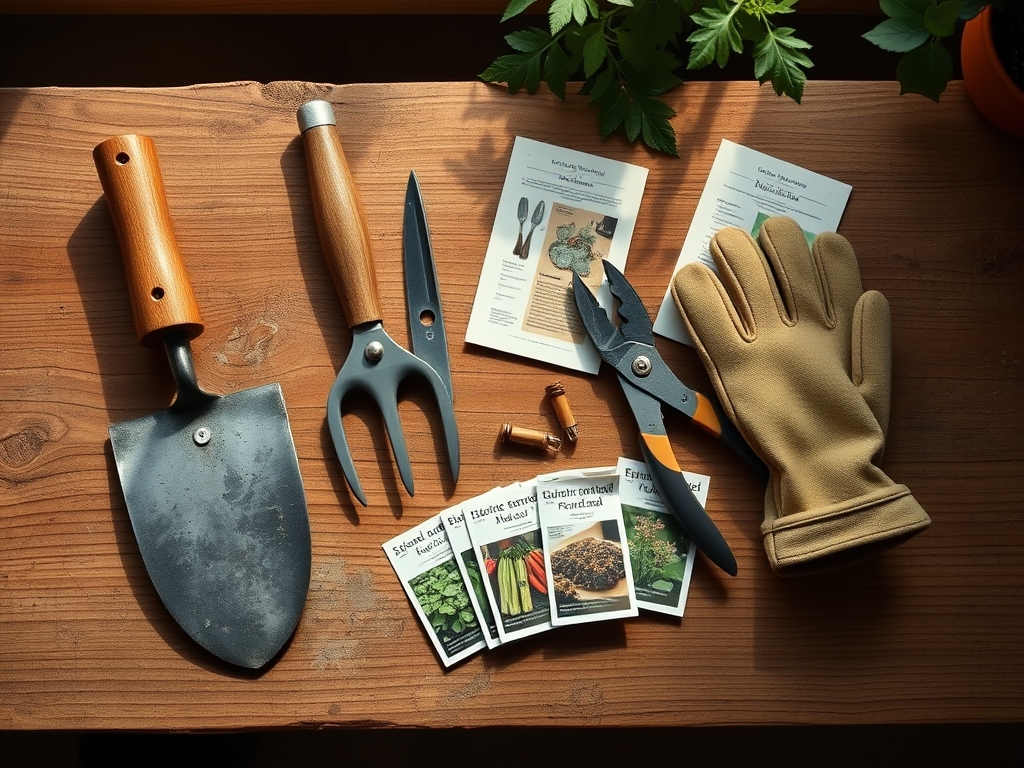
Materials:
A successful garden starts with the substrate. For most ornamental and torch-lined pathways, a **friable loam** with a Cation Exchange Capacity (CEC) between **15 and 25 meq/100g** is ideal. This measurement dictates the soil’s ability to hold essential nutrients like potassium and magnesium. The soil pH should be maintained between **6.2 and 6.8** to ensure maximum bioavailability of micronutrients.
When preparing the area around your torch installations, consider the NPK ratios of your amendments. A balanced 10-10-10 NPK fertilizer supports steady vegetative growth without causing the rapid, weak cell elongation associated with high nitrogen levels. For flowering plants that frame your torches, a 5-10-10 NPK ratio encourages robust root development and high bud density. The physical texture of the soil must allow for rapid drainage to prevent root rot; ensure your soil contains at least 20 percent organic matter to facilitate proper aeration and moisture retention.
Timing:
Timing your garden activities requires an understanding of your specific USDA Hardiness Zone. In Zones 7 through 9, the window for establishing perennial borders around torches begins in early spring, once soil temperatures consistently reach 55 degrees Fahrenheit. This temperature threshold is necessary for root metabolic activity to overcome winter dormancy.
The biological clock of the plant, or its photoperiodism, dictates the transition from the vegetative stage to the reproductive stage. As the days shorten after the summer solstice, plants shift energy from leaf production to seed and flower development. This transition is triggered by the accumulation of phytochrome proteins. Monitoring these stages allows you to adjust your torch placement; heat from the torches should not interfere with the plant's natural cooling cycle during the dark period. Aim to install torches at least 3 feet away from sensitive foliage to prevent thermal leaf scorch or unintended disruption of the plant's circadian rhythm.
Phases:
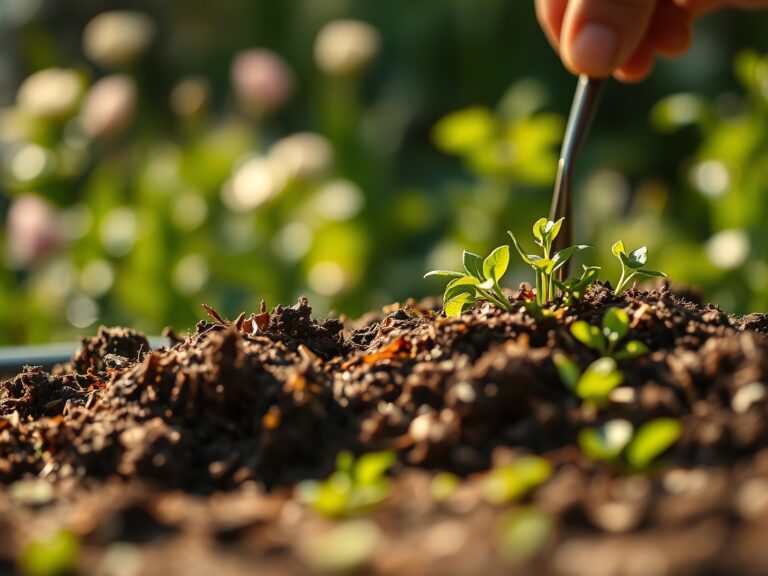
Sowing and Germination
Success begins with seed depth and moisture consistency. For most ornamental grasses used near torch paths, sow seeds at a depth of twice the seed's diameter. Maintain a constant moisture level in the top 0.5 inches of soil to prevent the delicate radicle from desiccating.
Pro-Tip: Maintaining consistent moisture is vital because of imbibition. This is the process where the seed coat absorbs water, triggering the metabolic enzymes that break down stored starches into energy for the emerging embryo.
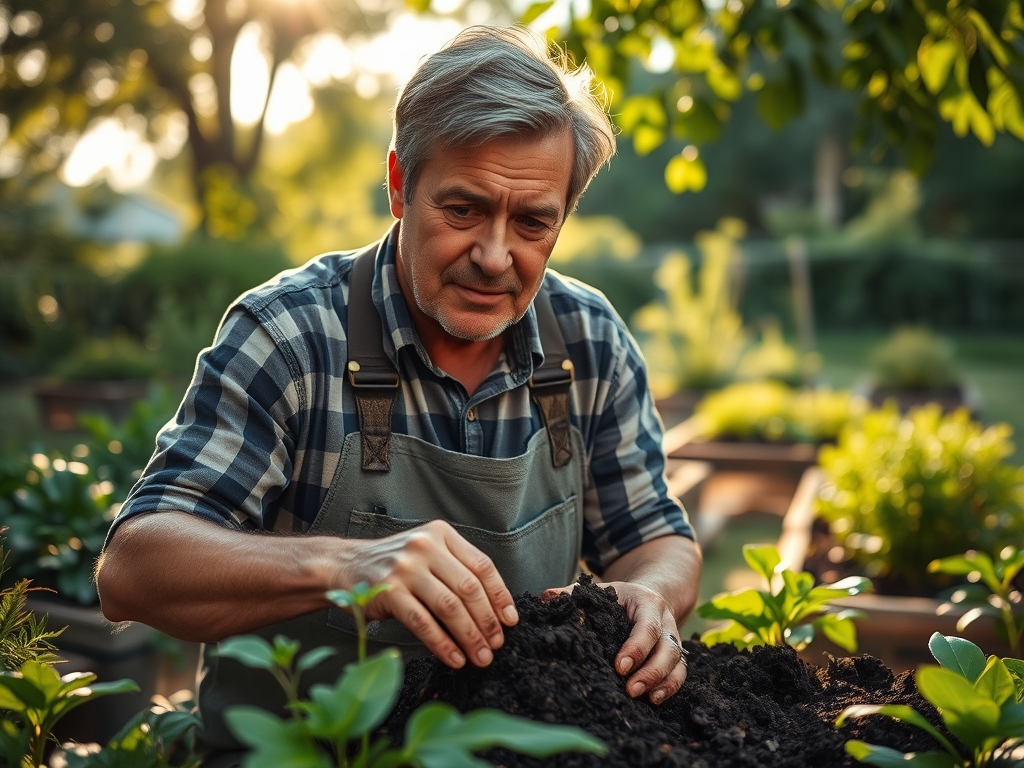
Transplanting and Root Establishment
When moving nursery stock into the garden, ensure the root ball is saturated. Dig a hole two times wider than the root mass but no deeper. This encourages lateral root expansion into the native soil. Apply a mycorrhizal inoculant to the planting hole to enhance the symbiotic relationship between fungi and roots.
Pro-Tip: Avoid over-fertilizing during transplanting to prevent auxin suppression. High nitrogen levels can sometimes inhibit the natural production of auxins, the hormones responsible for root elongation and downward growth.
Establishing the Canopy
As plants reach their mature height, focus on structural integrity. Use a hori-hori knife to remove competing weeds within a 12-inch radius of the base. This reduces competition for nitrogen and water. Ensure the plants have sufficient space for airflow to prevent fungal pathogens from colonizing the leaf surfaces.
Pro-Tip: Space plants according to their mature width to maximize phototropism. When plants are too crowded, they compete for light, leading to "leggy" growth as they stretch toward the sun, which weakens the overall vascular structure.
The Clinic:
Physiological disorders often mimic disease but are usually rooted in environmental stress or nutrient imbalances.
- Symptom: Interveinal chlorosis on young leaves.
Solution: This indicates an Iron (Fe) deficiency, often caused by a soil pH above 7.0. Lower the pH using elemental sulfur to increase iron solubility. - Symptom: Necrotic leaf margins and weak stems.
Solution: This is a sign of Potassium (K) deficiency. Apply a high-potash fertilizer to restore osmotic pressure and strengthen cell walls. - Symptom: Blossom end rot in fruiting plants near torches.
Solution: This is a Calcium (Ca) transport issue, often caused by erratic watering. Maintain a consistent 1.5 inches of water per week to ensure calcium moves through the xylem efficiently.
Fix-It: For general Nitrogen chlorosis (yellowing of older leaves), apply a quick-release nitrate-based fertilizer. Nitrogen is mobile within the plant; the organism will sacrifice older leaves to provide nutrients for new growth if soil levels are depleted.
Maintenance:
Precision maintenance requires the right tools and data. Use a soil moisture meter daily to check the hydration levels at a depth of 6 inches. Most established garden plants require 1 to 1.5 inches of water per week, delivered at the drip line rather than the base of the stem. This encourages the root system to expand outward, increasing the plant's stability.
Pruning should be done with sharp bypass pruners to ensure clean cuts that heal quickly. Remove any dead or senescing material to prevent the spread of saprophytic fungi. When cleaning around your torch igniters, ensure no flammable debris like dried mulch or fallen leaves accumulates within a 24-inch radius. This safety zone prevents accidental ignition of the substrate. Use your hori-hori knife to edge the beds, creating a physical barrier that prevents turf grass from encroaching on your ornamental zones.
The Yield:
For those growing flowers or herbs for harvest, timing is everything. Harvest flowers in the early morning when turgor pressure is at its peak. This ensures the stems are rigid and the cells are fully hydrated. Use a sharp blade to make a 45-degree cut, which increases the surface area for water uptake.
Post-harvest, immediately submerge the stems in water set to 100 degrees Fahrenheit. This warm water moves more quickly through the vascular system than cold water, purging air bubbles that can cause "bent neck" in roses or hydrangeas. Keep harvested material in a cool, dark location to slow down the rate of senescence, the natural aging process of the plant tissue.
FAQ:
What is the best way to light garden torches in high wind?
Use a windproof plasma igniter or a high-output butane torch. These tools provide a concentrated flame that resists gusting. Ensure the wick is trimmed to 0.25 inches for the most stable flame ignition in turbulent conditions.
How does soil pH affect torch placement?
Soil pH does not directly affect the torch, but fuel spills can acidify the rhizosphere. If fuel leaks, neutralize the area with garden lime and flush with water to maintain a pH between 6.0 and 7.0.
Can torch heat damage my plants?
Yes, excessive infrared radiation can cause stomata closure and leaf scorch. Maintain a minimum distance of 36 inches between the flame and any foliage to prevent thermal stress and maintain proper gas exchange within the leaves.
How often should I check torch wicks for garden safety?
Inspect wicks every 30 days for carbon buildup. A clean wick ensures efficient combustion and prevents "sooting," which can deposit heavy carbon particles on nearby leaf surfaces, blocking the light necessary for photosynthesis.