5 Quick Steps to Clean a Blower Filter
The smell of damp earth and the high turgor pressure of a healthy leaf signify a thriving garden; however, maintaining this environment requires functional machinery. A clogged air intake on a leaf blower starves the engine of oxygen, leading to incomplete combustion and carbon buildup. To maintain peak performance, you must master the steps to clean a blower filter before the engine suffers from thermal stress. Proper filtration ensures that the internal combustion process remains efficient, preventing fine particulate matter from entering the cylinder where it can score the metal walls.
A leaf blower operates on the same principles of gas exchange as a plant's stomata. When the filter is obstructed, the fuel-to-air ratio becomes too rich. This results in reduced RPMs and excessive exhaust heat. For gardeners managing large landscapes, a malfunctioning blower disrupts the seasonal workflow. Cleaning the filter is not merely maintenance; it is a mechanical necessity that mirrors the way we clear debris from a rhizosphere to ensure proper aeration. By following precise steps to clean a blower filter, you extend the lifespan of the tool and ensure that your horticultural tasks are completed with maximum efficiency.
Materials:
The ideal environment for horticultural success begins with a friable loam substrate. This soil texture consists of approximately 40 percent sand, 40 percent silt, and 20 percent clay. Maintaining a soil pH between 6.2 and 6.8 is critical for maximizing the Cation Exchange Capacity (CEC), which dictates how well the soil retains essential nutrients like ammonium and potassium.
When preparing your workspace for mechanical maintenance and planting, categorize your inputs by their NPK ratios. For vegetative growth, utilize a high-nitrogen fertilizer (10-5-5) to drive chlorophyll production. During the transition to the reproductive phase, shift to a phosphorus-heavy blend (5-10-5) to support root development and floral initiation. Keep a container of warm, soapy water and a soft-bristle brush nearby. These tools are essential for the mechanical agitation required during the steps to clean a blower filter, ensuring that no abrasive particles remain to bypass the intake system.
Timing:
Successful gardening is dictated by the hardiness zone and the biological clock of the species in question. In Zones 5 through 7, the window for spring planting typically opens after the last frost date, which often falls between mid-April and early May. Understanding the transition from the vegetative stage to the reproductive stage is paramount. This shift is triggered by the photoperiod, where the ratio of light to darkness signals the plant to cease leaf production and begin flowering.
Mechanical maintenance should follow a similar seasonal cadence. Perform a deep clean of your equipment filters every 25 hours of operation or at the start of each new growing season. Just as a plant undergoes senescence in the autumn, your tools require a period of dormancy preparation. Cleaning the filter before winter storage prevents residual oils and dust from hardening, which can cause the filter material to degrade over time.
Phases:

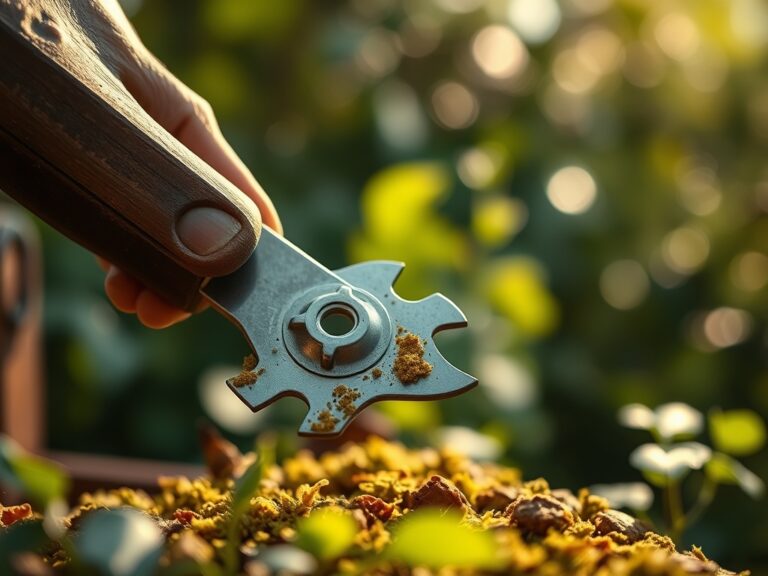
Sowing and Filter Access
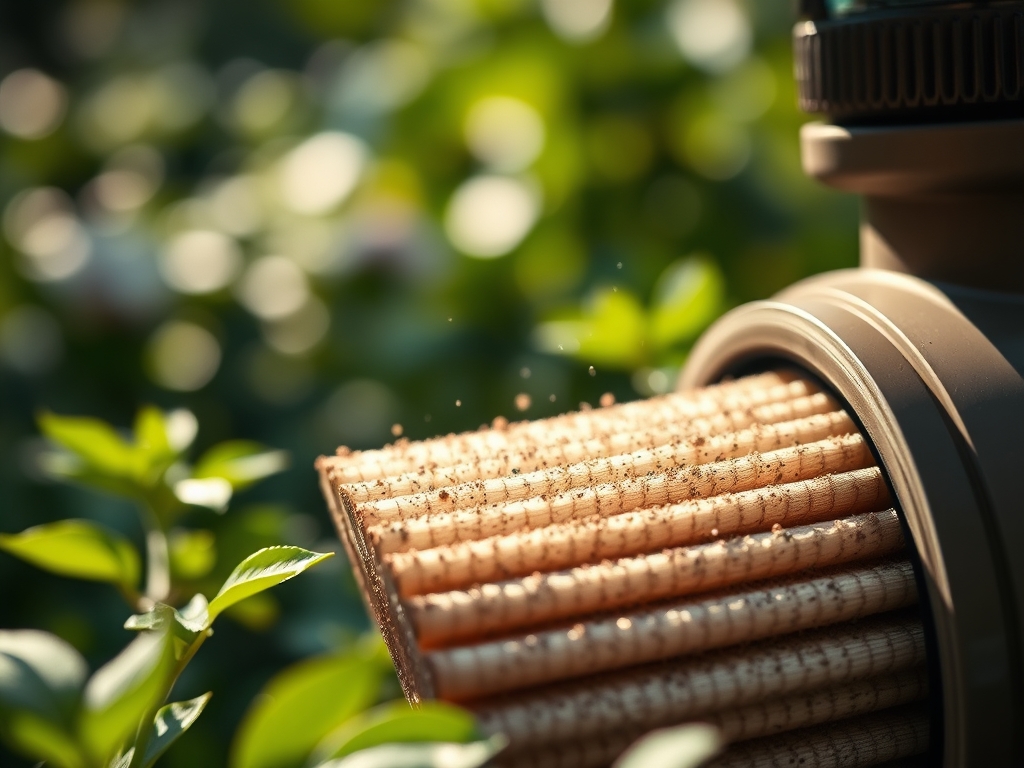
Begin by accessing the air filter cover, usually secured by a thumb screw or a tension clip. For seeds, ensure a planting depth of two to three times the seed diameter. In the mechanical context, removing the cover reveals the primary filter element. If the filter is foam, it will likely be saturated with oil and fine dust. If it is pleated paper, look for gray or black discoloration between the folds.
Pro-Tip: Always keep the intake port covered with a clean cloth while the filter is removed. This prevents foreign object damage (FOD) from entering the carburetor. In botany, this is analogous to protecting a graft union from pathogens to prevent systemic infection.
Transplanting and Cleaning
For foam filters, submerge the element in a solution of warm water and liquid detergent. Squeeze the filter to agitate the debris but do not wring or twist it, as this can tear the cellular structure of the foam. For paper filters, tap them gently against a hard surface to dislodge loose particles. If the paper is stained with oil, it must be replaced rather than cleaned.
Pro-Tip: When transplanting seedlings, minimize root exposure to prevent transplant shock. The biological why involves turgor pressure; once roots are exposed to air, the xylem can no longer transport water effectively, leading to rapid wilting. Similarly, a damp filter must be completely dry before reinstallation to prevent water droplets from being sucked into the engine.
Establishing and Re-Oiling
Once a foam filter is bone dry, apply a small amount of SAE 30 engine oil or specialized filter oil. Massage the oil into the foam until it is evenly distributed, then squeeze out the excess using a clean paper towel. The oil acts as a secondary barrier, using surface tension to trap microscopic particles that the foam pores might miss.
Pro-Tip: This step is vital because of impaction physics. As air moves through the oiled foam, the change in direction causes heavier dust particles to strike the sticky oil film. This is similar to how trichomes on certain leaves trap moisture or deter pests through physical and chemical barriers.
The Clinic:
Symptom: Interveinal Chlorosis
Solution: This is often a sign of Magnesium deficiency. Magnesium is the central atom in the chlorophyll molecule. Apply Epsom salts (magnesium sulfate) at a rate of 1 tablespoon per gallon of water to restore the deep green color to the foliage.
Symptom: Blossom End Rot
Solution: Caused by a Calcium deficiency, often exacerbated by inconsistent watering. Ensure the soil remains consistently moist to facilitate the transport of calcium through the xylem. Maintain a soil moisture level of 60 to 70 percent capacity.
Symptom: Nitrogen Chlorosis
Fix-It: If the older leaves are turning yellow while the new growth remains green, the plant is scavenging nitrogen. Apply a blood meal or a 21-0-0 ammonium sulfate fertilizer to provide an immediate boost to the rhizosphere.
Maintenance:
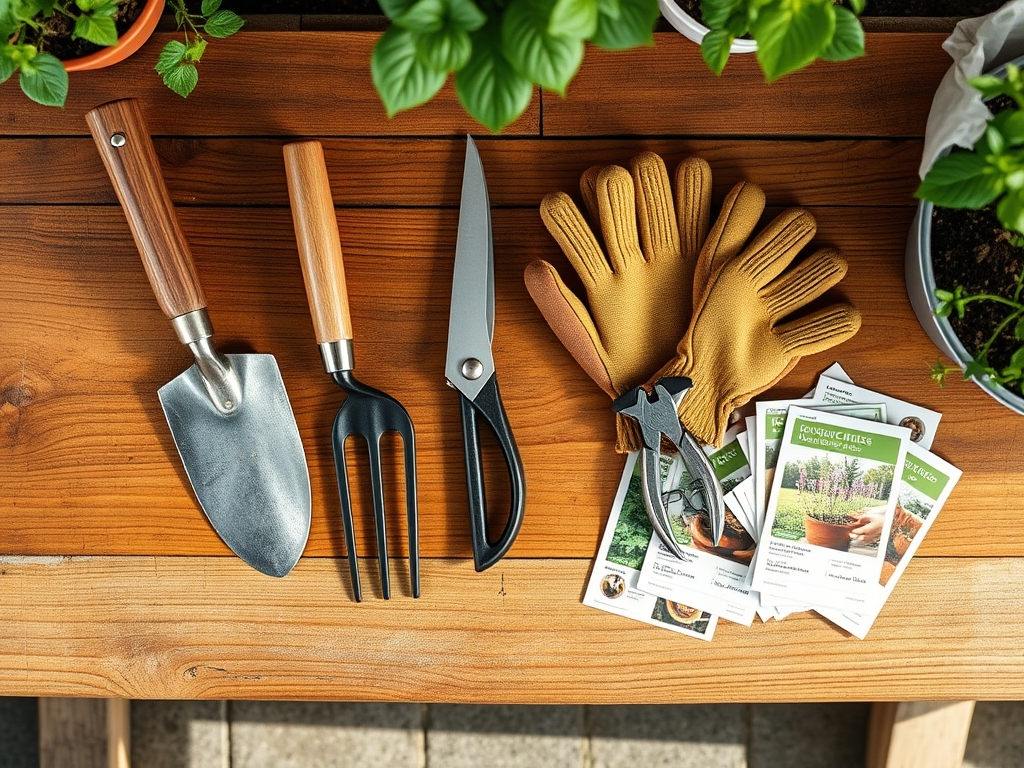
Precision is the hallmark of a master horticulturist. Use a soil moisture meter to ensure your plants receive exactly 1.5 inches of water per week at the drip line. Watering at the base of the plant prevents foliar diseases by keeping the canopy dry. Utilize a hori-hori knife for weeding and planting; its serrated edge is perfect for cutting through stubborn root mats.
For woody perennials, use bypass pruners to make clean, angled cuts just above a lateral bud. This encourages the plant to direct its energy toward new growth rather than repairing jagged tissue. Clean your tools with 70 percent isopropyl alcohol between plants to prevent the spread of soil-borne pathogens. This level of hygiene is the botanical equivalent of the steps to clean a blower filter; both processes remove contaminants that hinder biological or mechanical performance.
The Yield:
Harvesting is the culmination of the biological cycle. For most fruiting crops, harvest when the fruit reaches its characteristic color and firmness. For leafy greens, harvest in the early morning when turgor pressure is highest; this ensures the leaves are crisp and have a longer shelf life. Use a sharp blade to make clean cuts, minimizing the surface area exposed to the air.
Post-harvest handling is critical for "day-one" freshness. Immediately submerge harvested greens in 40-degree Fahrenheit water to remove field heat. This slows down the rate of respiration and senescence, preserving the sugars and nutrients within the plant tissues. For flowers, a diagonal cut to the stem while submerged in water prevents air bubbles from blocking the xylem, ensuring continued hydration.
FAQ:
How often should I perform the steps to clean a blower filter?
Clean the filter every 25 hours of use. In extremely dusty conditions, inspect the filter every 5 hours. Regular maintenance prevents engine overheating and ensures a consistent fuel-to-air ratio for optimal combustion.
Can I use gasoline to clean a foam filter?
No. Gasoline degrades the cellular structure of foam filters and poses a significant fire hazard. Use warm, soapy water or a dedicated non-flammable degreaser to safely remove oil and debris from the filter element.
What happens if I run a blower without a filter?
Operating without a filter allows abrasive particulates to enter the combustion chamber. This causes rapid wear on the piston rings and cylinder walls, leading to a loss of compression and eventual total engine failure.
Why is my plant's growth stunted despite fertilizing?
Check the soil pH. If the pH is outside the 6.0 to 7.0 range, nutrients become chemically "locked" and unavailable to the roots. Use a digital meter to verify the pH before adding more amendments.