7 Precise Steps to Hone a Sickle Blade
Turgor pressure within a stalk of cereal rye or orchard grass dictates the clean snap of a successful harvest. When the dew point aligns with early morning temperatures, the cellular walls of the vegetation are at their most rigid; this is the moment of peak mechanical efficiency. A dull edge does not cut; it crushes vascular tissue and slows the plant's ability to seal its wounds. Mastering the steps to hone a sickle blade ensures that every pass through the field is a surgical strike rather than a blunt trauma. This maintenance is the difference between a clean harvest and a field of mangled stalks that invite fungal pathogens into the rhizosphere. Precision sharpening requires a steady hand and an understanding of metallurgical friction. You must respect the bevel of the steel just as you respect the drainage of your soil. Without a razor edge, the physical labor of land management doubles while the quality of the standing crop diminishes through unnecessary bruising.
Materials:
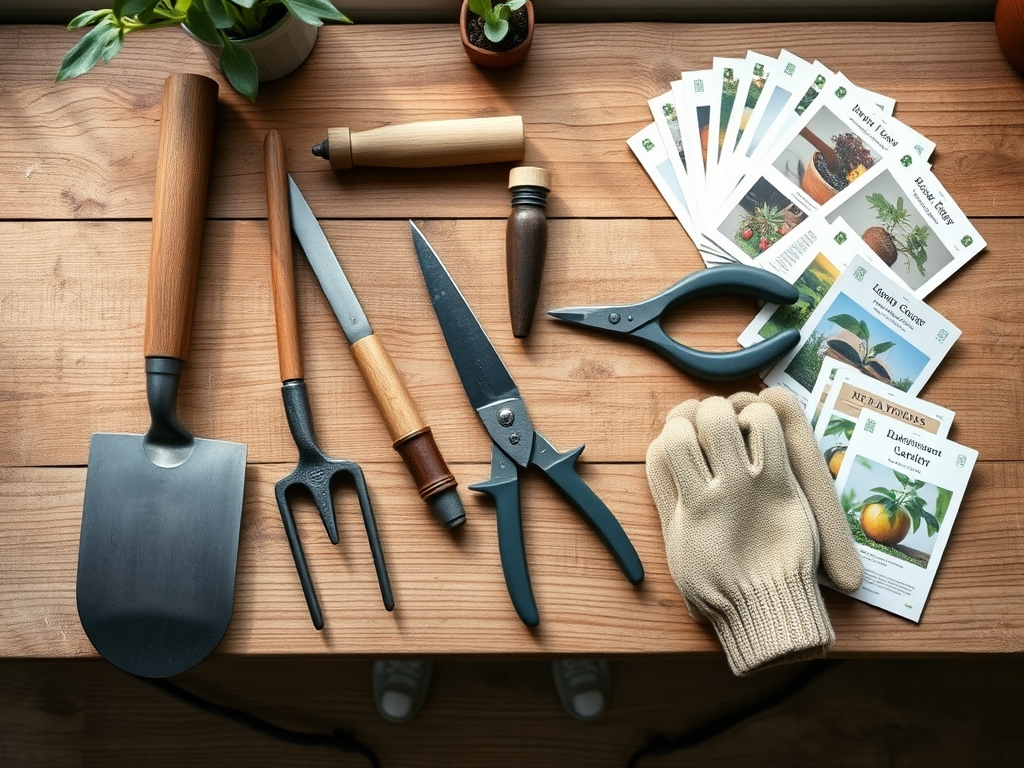
The maintenance of high carbon steel tools occurs in the workshop, but the utility of the tool is proven in **friable loam** with a **pH of 6.5 to 7.0**. To support the growth of the crops these blades harvest, you must manage a soil substrate with a high Cation Exchange Capacity (CEC). For a standard forage crop, utilize a fertilizer with an **NPK ratio of 10-10-10** for general maintenance, or **20-10-10** if high biomass production is the goal. The sharpening process itself requires a **medium-grit whetstone (400-600 grit)**, a **fine-grit finishing stone (1000+ grit)**, and **honing oil** or water as a lubricant. A **vise** is essential for stabilizing the blade, and a **wire brush** is required to remove oxidized organic matter and soil particles from the steel surface before the first pass of the stone.
Timing:
Agricultural success follows the calendar of Hardiness Zones 3 through 9. The sharpening of tools should occur during the dormant winter months or in the brief window before the spring "green-up." In terms of the plant's biological clock, the most critical time for a sharp blade is the transition from the vegetative stage to the reproductive stage. Cutting forage after anthesis (flowering) but before seed set maximizes nutrient density. If you are in Zone 6, your primary sharpening should be completed by late March to prepare for the first flush of cool-season grasses. Failure to maintain the edge before this window results in ragged cuts that increase the rate of senescence in the remaining stubble, reducing the potential for a second hay cutting.
Phases:

Sowing the Edge
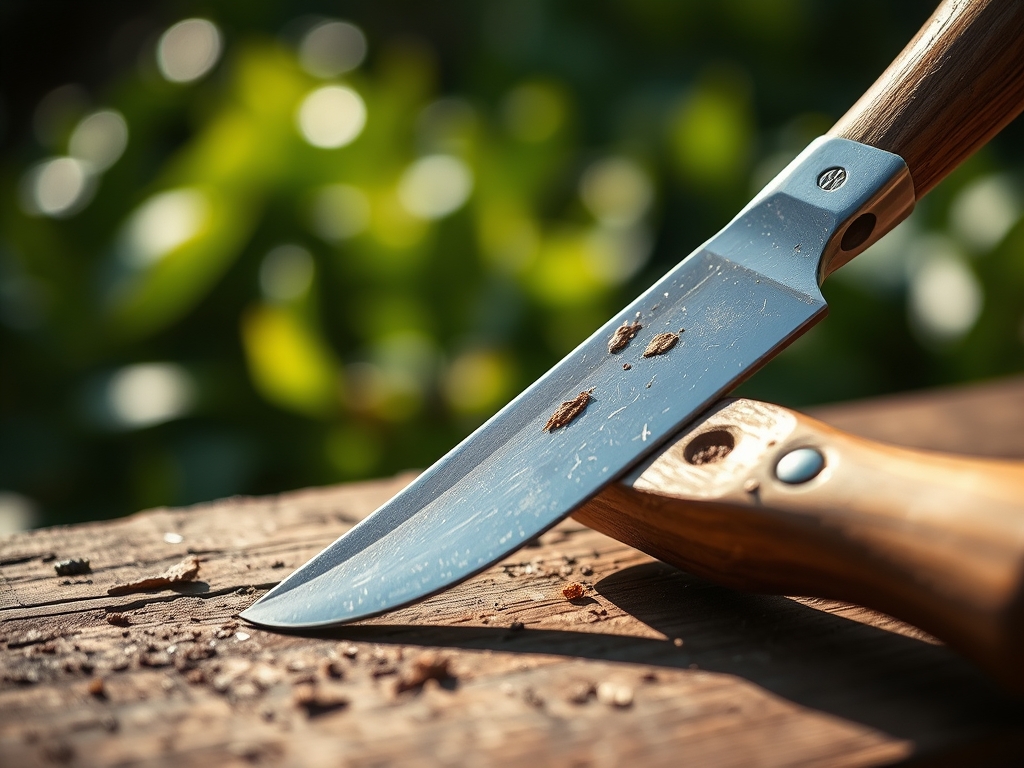
The first phase of sharpening involves establishing the primary bevel. Secure the sickle in a vise with the blade facing away from your body. Use a coarse stone to grind away nicks. Maintain an angle of 15 to 20 degrees. This angle provides the optimal balance between edge retention and sharpness. Move the stone in a rhythmic, circular motion along the length of the curve.
Pro-Tip: Maintaining a consistent angle prevents the formation of a "rounded" edge. In botanical terms, a rounded edge fails to sever the xylem and phloem cleanly; a sharp angle ensures the plant can quickly undergo callous formation to prevent desiccation.
Transplanting the Bur
As you sharpen the primary side, a thin "bur" or wire edge will develop on the flat back of the blade. This indicates that you have successfully ground the metal to a point of intersection. Switch to a finer grit stone to begin the honing process. This phase refines the microscopic teeth of the blade, allowing it to slice through cellulose with minimal resistance.
Pro-Tip: The removal of the bur is essential for reducing friction. High friction during a cut generates localized heat that can damage the apical meristem of the remaining plant crown, inhibiting future regrowth through auxin suppression.
Establishing the Finish
The final phase involves stropping the blade. Use a leather strap or an ultra-fine ceramic stone to polish the edge. This creates a mirror finish that resists rust and glides through dense vegetation. Apply a light coating of mineral oil to the steel to prevent oxidation during storage.
Pro-Tip: A polished blade prevents the accumulation of plant resins and sap. This is critical because accumulated organic matter can harbor pathogenic spores, which are then mechanically "inoculated" into the next plant you cut through horizontal transmission.
The Clinic:
Physiological disorders in the field often mirror tool neglect.
- Symptom: Jagged Stubble. If the cut ends of your grass appear white and shredded, your blade is dull. Solution: Re-hone using the 7 steps to hone a sickle blade, focusing on the 20-degree bevel.
- Symptom: Nitrogen Chlorosis. If the regrowth is pale yellow, the plant lacks Nitrogen. Fix-It: Apply a high-nitrogen top-dressing (e.g., urea 46-0-0) at a rate of 1 lb of actual N per 1,000 square feet.
- Symptom: Tip Burn. This indicates a calcium deficiency or inconsistent moisture. Fix-It: Test soil pH; if it is below 6.0, apply dolomitic lime to increase calcium availability and stabilize the Cation Exchange Capacity.
- Symptom: Blade Rust. Reddish spots on the tool steel. Solution: Scour with steel wool and coat with a hydrophobic barrier to prevent the oxidation of iron.
Maintenance:
A sickle is one tool in a professional arsenal. Use a hori-hori knife for weeding around the base of delicate perennials where a sickle's sweep is too broad. For woody stems exceeding 0.5 inches in diameter, switch to bypass pruners to avoid chipping the sickle's thin edge. Irrigation management is the partner to sharp tools; ensure your crop receives 1.5 inches of water per week at the drip line, monitored by a soil moisture meter. If the soil tension exceeds 60 centibars, the plants will be too flaccid for a clean cut, regardless of how sharp the blade is.
The Yield:
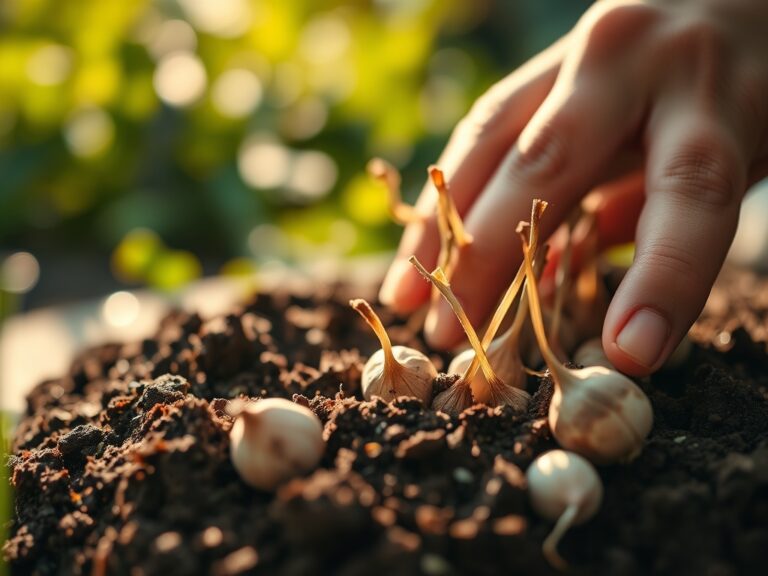
Harvesting should occur when the plant's turgor pressure is highest, typically between 5:00 AM and 8:00 AM. Use a smooth, drawing motion with the sickle; do not hack. For culinary herbs or flowers, immediate post-harvest cooling is required to slow the rate of respiration. Submerge the stems in 40-degree Fahrenheit water within ten minutes of the cut. This preserves "day-one" freshness by maintaining the cellular integrity established by your precise, sharp cuts.
FAQ:
How often should I sharpen my sickle?
Hone the blade every 4 hours of continuous use. If you strike soil or stones, stop immediately to check for nicks. A sharp blade reduces the physical force required for harvest by 30 percent.
What is the best angle for a sickle blade?
Maintain a bevel between 15 and 20 degrees. This specific geometry allows the steel to slice through tough lignified stems without the edge collapsing under the mechanical stress of the stroke.
Can I use a file instead of a stone?
A mill bastard file is acceptable for removing large nicks in the field. However, for a true hone, you must follow up with a 600-grit whetstone to refine the edge and prevent tearing plant tissue.
Why does my blade rust so quickly?
High carbon steel is highly reactive to moisture and plant acids. After each use, wipe the blade dry and apply a thin layer of mineral oil to protect the metal from oxidation and sap corrosion.