5 Easy Ways How to Prep Soil for Bulbs
Damp earth carries the scent of geosmin; it is the olfactory signal of an active microbial community. A healthy bulb possesses high turgor pressure; it feels heavy and firm like a tinned water chestnut. When you understand how to prep soil for bulbs, you are managing a subterranean storage organ that functions as a self-contained biological battery. Success is not found in the bloom but in the rhizosphere. You must engineer a substrate that facilitates rapid root initiation before the first hard freeze. Failure to optimize the soil architecture leads to basal plate rot or stunted floral development. This guide provides the technical protocols for site preparation to ensure maximum nutrient uptake and winter survival.
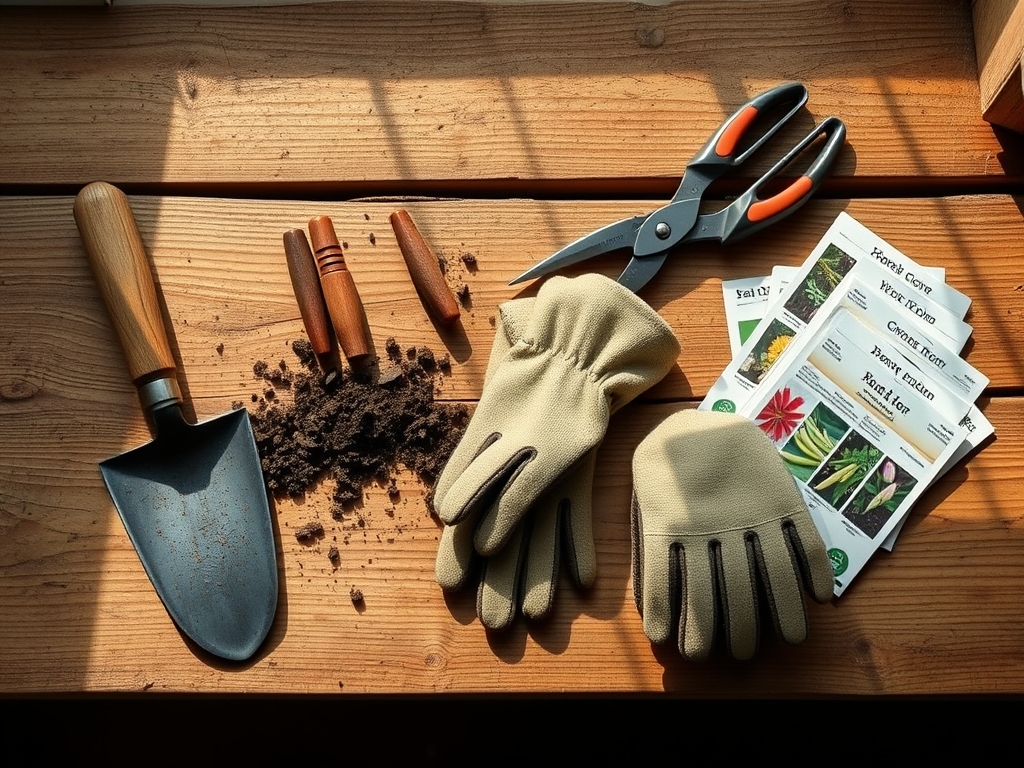
Materials:
The ideal substrate is a **friable loam** with a crumbly structure that allows for gas exchange. For most geophytes, the target **pH is 6.0 to 7.0**. This range ensures that essential micronutrients remain bioavailable. You will need a balanced organic fertilizer with an **NPK ratio of 5-10-12** or 9-9-6. High phosphorus (the middle number) is critical for root elongation, while potassium (the third number) regulates osmotic pressure and cold hardiness. Avoid high-nitrogen fertilizers; excess nitrogen triggers soft, vegetative growth that is highly susceptible to fungal pathogens and frost damage.
To adjust soil chemistry, use elemental sulfur to lower pH or calcitic lime to raise it. Measure your Cation Exchange Capacity (CEC); a higher CEC indicates the soil can hold onto more nutrients like calcium and magnesium without leaching. Incorporate well-aged leaf mold or compost to increase organic matter to a target of 5 to 8 percent. This improves the water-holding capacity while maintaining the macropores necessary for drainage.
Timing:
Hardiness Zones dictate the planting window. In Zones 3 through 5, planting occurs from late September to early October. In Zones 6 through 8, wait until late October or November. The soil temperature at a 6-inch depth must be consistently below 60 degrees Fahrenheit (15 degrees Celsius) before the bulbs are interred. If the soil is too warm, the bulb may break dormancy prematurely, wasting stored carbohydrates on foliage that will be killed by the first freeze.
The "Biological Clock" of a bulb is governed by vernalization. Most spring-flowering bulbs require a chilling period of 12 to 16 weeks at temperatures between 35 and 45 degrees Fahrenheit. This cold exposure triggers the transition from the vegetative stage to the reproductive stage. Without this physiological reset, the bulb will produce foliage but no flower.
Phases:

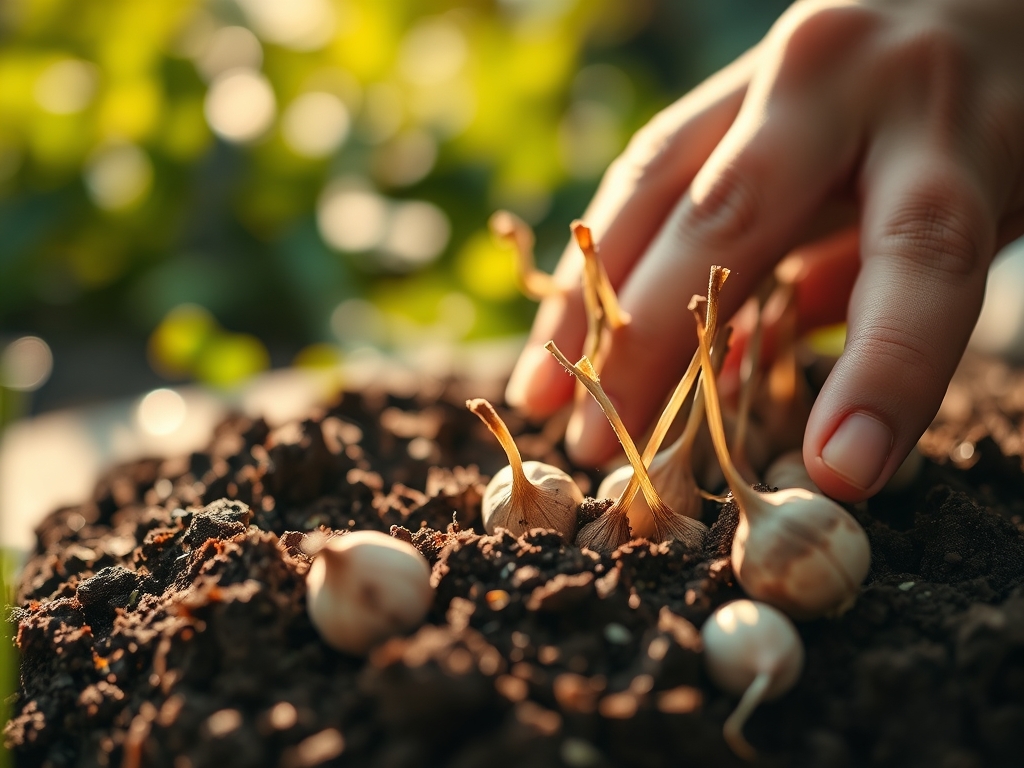
Sowing (Planting)
Excavate the site to a depth of 8 to 10 inches. This allows you to loosen the soil beneath the bulb, ensuring the emerging roots do not hit a compacted "hardpan" layer. Place the bulb with the basal plate (the flat bottom) facing down. The general rule for depth is three times the height of the bulb. Space large bulbs 5 to 6 inches apart and smaller ones 2 to 3 inches apart.
Pro-Tip: Inoculate the planting hole with mycorrhizal fungi. This biological symbiosis extends the root system's reach, allowing the plant to scavenge phosphorus and water more efficiently from the surrounding soil matrix.
Transplanting
If moving established bulbs, wait until senescence is complete. This is when the foliage has turned yellow and withered naturally. Lifting bulbs while the leaves are green interrupts the translocation of sugars back into the bulb. Use a hori-hori knife to lift the entire clump, being careful not to slice the fleshy scales. Store them in a cool, dry location with a temperature of 60 to 65 degrees Fahrenheit and a relative humidity of 50 percent until the next planting season.
Pro-Tip: Proper storage prevents auxin suppression issues. Maintaining the correct temperature ensures the internal hormones remain balanced, preventing the bulb from "blindness," a condition where it fails to produce a flower bud.
Establishing
Once the bulbs are in the ground, backfill with the prepared loam and firm the soil to eliminate air pockets. Air pockets can cause the roots to desiccate. Apply a 2-inch layer of organic mulch, such as shredded bark or pine needles. This acts as an insulator, stabilizing soil temperatures and preventing the "heaving" caused by freeze-thaw cycles.
Pro-Tip: Mulching regulates the photoperiod perception of the bulb. By keeping the soil cool and dark, you prevent the bulb from sensing early spring warmth, which could lead to premature emergence and subsequent frost burn.
The Clinic:
Physiological disorders often stem from poor soil prep or environmental stress.
- Symptom: Stunted growth and yellowing (Chlorosis).
- Solution: This is often a Nitrogen deficiency. While bulbs have internal stores, they need supplemental nitrogen as they emerge. Apply a liquid fertilizer with a 10-5-5 ratio once the shoots are 2 inches tall.
- Symptom: Flower buds blast (turn brown and die before opening).
- Solution: This is usually caused by extreme temperature fluctuations or water stress. Ensure the soil remains moist but not saturated. Check the soil moisture meter; it should read in the "Moist" zone (4-7 range).
- Symptom: Basal Plate Rot.
- Solution: This indicates poor drainage. If your soil is heavy clay, incorporate coarse grit or expanded shale to improve porosity. Never plant bulbs in a depression where water collects.
- Fix-It: Phosphorus Deficiency.
- Symptom: Purplish tint on the underside of leaves.
- Fix: Top-dress with bone meal (0-12-0) or triple superphosphate. Phosphorus is immobile in soil, so it must be worked into the root zone for maximum efficacy.
Maintenance:
Precision is required for long-term bulb health. Provide 1.5 inches of water per week during the active growing season. Use a soil moisture meter to verify that the moisture is reaching the 6-inch depth where the roots reside. Do not rely on surface dampness.
Use a hori-hori knife to remove weeds that compete for nutrients. When flowers fade, use bypass pruners to remove the spent flower head (deadheading). This prevents the plant from diverting energy into seed production. However, leave the foliage intact until it is completely brown. The leaves are the solar panels that recharge the bulb for next year. If you cut them too early, the bulb will shrink and eventually fail to bloom.
The Yield:
For cut flowers, harvest when the bud is in the "colored cracker" stage. This is when the bud shows its full color but has not yet unfurled. Use a sharp knife to cut the stem at a 45-degree angle. This increases the surface area for water uptake. Immediately plunge the stems into a bucket of water at 100 degrees Fahrenheit containing a floral preservative. This "pulse" treatment ensures maximum turgor and "day-one" freshness for up to 10 days in a vase.
FAQ:
How deep should I plant my bulbs?
Plant bulbs at a depth three times their height. For a 2-inch tulip bulb, the base should be 6 inches deep. This protects the bulb from temperature swings and provides physical stability for the stem.
What is the best fertilizer for bulbs?
Use a low-nitrogen, high-potassium fertilizer such as a 5-10-12 ratio. Apply it at planting and again when shoots emerge in spring. Avoid high-nitrogen blends which encourage soft growth and fungal disease.
Can I plant bulbs in clay soil?
Yes, but you must modify the texture. Incorporate 3 inches of organic matter and coarse grit to a depth of 12 inches. This improves drainage and prevents basal rot caused by anaerobic conditions in compacted clay.
Why did my bulbs fail to bloom?
The most common reasons are insufficient chilling hours (vernalization), planting too shallow, or cutting foliage before it naturally senesced. Ensure bulbs receive at least 12 weeks of temperatures below 45 degrees Fahrenheit.
When is the best time to prep the soil?
Begin prepping the soil 2 to 4 weeks before planting. This allows organic amendments to settle and soil chemistry to stabilize. The soil should be moist but not saturated when you begin excavation.