7 Easy Ways How to Use Permaculture Tips
Permaculture transforms gardens through layered observation and ecosystem mimicry. When you learn how to use permaculture tips, the first shift happens in soil structure. Carbon-to-nitrogen ratios begin balancing within weeks. Microbial populations increase by orders of magnitude. Water retention improves without synthetic amendments. Root systems expand laterally rather than seeking nutrients vertically. These seven methods allow any gardener to apply permaculture principles immediately, regardless of property size or climate zone.
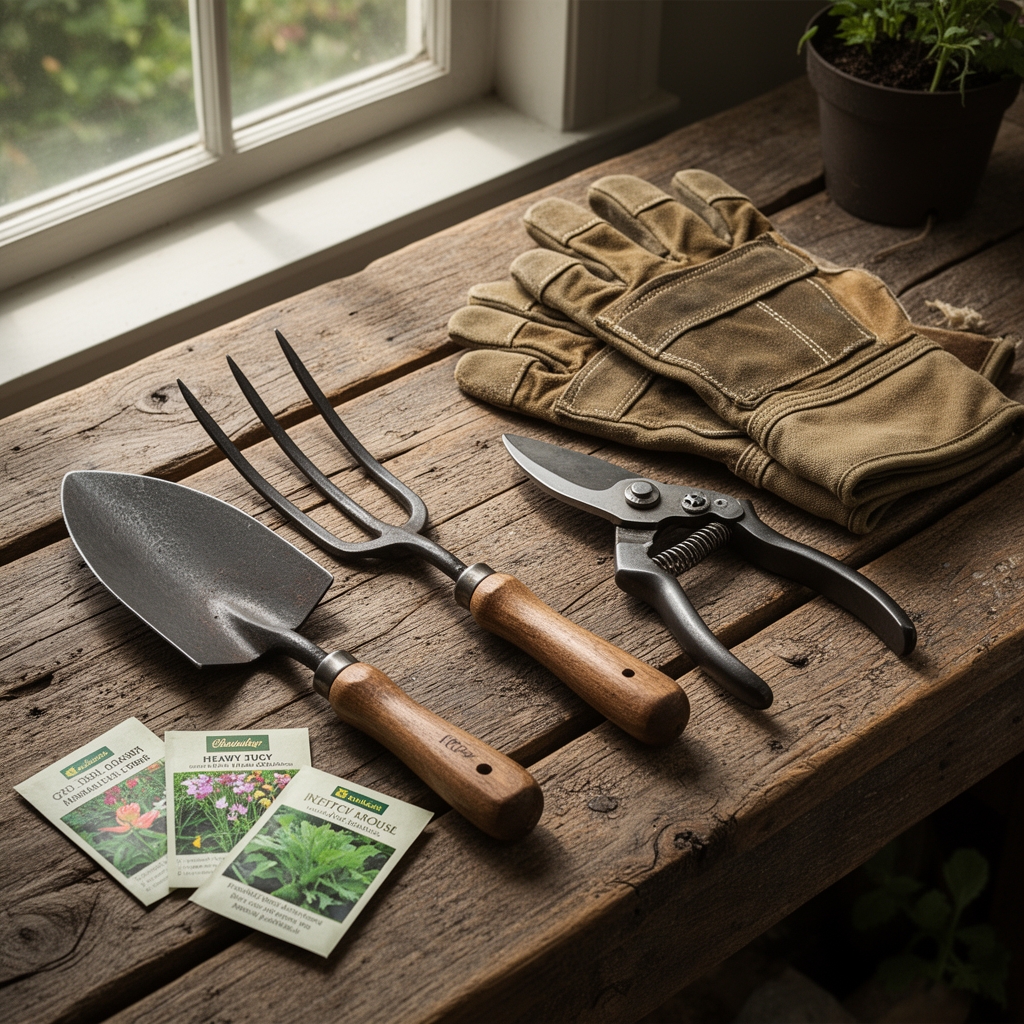
Materials
Begin with a soil test measuring pH, cation exchange capacity, and existing NPK values. Most permaculture systems thrive between pH 6.2 and 7.0, where mycorrhizal fungi colonize root zones efficiently. For phosphorus-deficient soils (under 25 ppm Mehlich-3), incorporate bone meal at 3-5-0 or rock phosphate at 0-3-0. Nitrogen inputs should come from layered green materials: fresh grass clippings, comfrey leaves (approximately 1.8% nitrogen by dry weight), or aged poultry manure at 4-3-2. Avoid synthetic urea. It disrupts actinomycetes populations and reduces long-term cation exchange capacity.
Carbon sources require higher volume. Obtain straw (50:1 C:N ratio), shredded cardboard, or wood chips aged at least six months. Fresh wood chips immobilize nitrogen during decomposition. For potassium, apply greensand (0-0-3) or langbeinite (0-0-22) in sandy soils with low mineral reserves. Collect rainwater in food-grade barrels. Municipal water often contains chloramines that inhibit beneficial bacteria for 48 hours after application.
Purchase mycorrhizal inoculant containing Glomus intraradices and Rhizophagus irregularis. Apply at 1/4 teaspoon per transplant hole. Sheet mulching requires overlap by 6 inches to prevent weed emergence. Hardware cloth (1/4-inch mesh) excludes voles from root zones in guild plantings.
Timing
Permaculture installation follows last frost dates by hardiness zone. Zones 3-5 begin soil preparation in late April. Zones 6-7 start in mid-March. Zones 8-10 can establish perennial guilds year-round, though fall planting reduces irrigation demands.
Sheet mulching requires 90 days of decomposition before transplanting. Begin layering in early spring for summer installation. Plant nitrogen-fixing species (clover, vetch, lupine) when soil temperature reaches 50°F at 4-inch depth. These legumes inoculate soil with Rhizobium bacteria, converting atmospheric nitrogen into plant-available ammonium.
Fruit tree guilds establish best during dormancy. Bare-root stock transplants between February and early April in most zones, before bud break. Companion perennials (comfrey, yarrow, chives) plant simultaneously. Their root exudates stimulate auxin distribution in establishing trees.
Observe site microclimates for 12 months before permanent installations. Track frost pockets, water flow during heavy rain, and prevailing wind patterns. This data determines swale placement and aspect orientation.
Phases

Sowing: Direct-seed cover crops in concentric zones. Plant daikon radish at 2-inch spacing to break compaction layers 18 inches deep. Broadcast clover seed at 8 ounces per 1,000 square feet. Add annual ryegrass at 5 pounds per 1,000 square feet for quick biomass. Water immediately with 1/2 inch to ensure germination within 7-10 days.
Pro-Tip: Coat legume seeds with Rhizobium inoculant powder before sowing. Mix 1 tablespoon molasses with 1 cup water as a sticking agent. This increases nodulation by 300% compared to uninoculated seed.
Transplanting: Dig holes twice the root ball width. Place mycorrhizal inoculant directly on root surfaces. Backfill with native soil only. Amended planting holes create interface zones where roots circle rather than penetrate. Water with 2 gallons per transplant. Mulch with 4 inches of straw or wood chips, keeping material 3 inches from stems to prevent collar rot.
Pro-Tip: Prune fruit tree branches at 45-degree angles to encourage lateral scaffolding. Remove all growth below 18 inches to prevent vole girdling during winter.
Establishing: Monitor soil moisture at root depth weekly. Insert a soil probe or metal rod 8 inches deep. If resistance increases significantly, irrigation is needed. Apply 1 inch of water per week during the first growing season. Deep, infrequent watering develops drought-resistant root architecture.
Add compost tea monthly. Brew 1 pound finished compost in 5 gallons non-chlorinated water for 24 hours with aeration. Apply 1 gallon per 100 square feet to inoculate leaf surfaces and root zones with beneficial microbes.
Pro-Tip: Establish insectary strips with Achillea millefolium and Foeniculum vulgare. These attract parasitic wasps that suppress aphid and caterpillar populations without intervention.
Troubleshooting
Symptom: Yellow leaves with green veins on new growth.
Solution: Iron chlorosis from high pH. Apply sulfur at 1 pound per 100 square feet to lower pH by 0.5 units. Foliar feed with chelated iron at 1 tablespoon per gallon weekly until symptoms resolve.
Symptom: Stunted growth with purple leaf undersides.
Solution: Phosphorus deficiency. Side-dress with bone meal at 2 pounds per 100 square feet. Cold soil (below 55°F) inhibits phosphorus uptake even when present.
Symptom: Wilting despite adequate soil moisture.
Solution: Root rot from Phytophthora species. Improve drainage with swales or raised beds. Remove affected plants. Drench surrounding soil with Trichoderma harzianum at label rates.
Symptom: Holes in leaves with slime trails.
Solution: Slug damage. Apply diatomaceous earth in 2-inch bands around plant bases. Refresh after rain. Beer traps sunk to soil level capture adults.
Symptom: White powdery coating on leaf surfaces.
Solution: Powdery mildew from poor air circulation. Space plants 18-24 inches apart. Spray with 1 tablespoon baking soda plus 1 teaspoon horticultural oil per gallon water weekly.
Maintenance
Permaculture systems reduce maintenance through self-regulation. Mulch degrades at 2-3 inches per year. Reapply annually each spring. Compost paths between guilds receive foot traffic, creating compacted walkways that define zones.
Prune perennials to ground level after frost kills foliage. Leave 4-inch stems as habitat for overwintering beneficial insects. Chop-and-drop nitrogen-fixing species three times per growing season. Their biomass feeds soil organisms and suppresses competing weeds.
Test soil every three years. Adjust amendments based on results rather than assumptions. Cation exchange capacity should increase 2-3 meq/100g annually in established systems.
Water established guilds only during drought exceeding 14 days without rain. Deep-rooted perennials access subsoil moisture. Observe plant turgor daily. Wilting before 10 AM indicates water stress.
FAQ
How long before permaculture systems become self-sustaining?
Three to five years. Perennial root systems establish fully by year three. Soil biology stabilizes by year five, requiring minimal external inputs thereafter.
Can permaculture work in containers?
Yes, with modifications. Use 15-gallon minimum volume. Layer compost, biochar, and aged wood chips. Plant one deep-rooted species with two shallow-rooted companions. Water daily during establishment.
What spacing do fruit tree guilds require?
Standard trees need 20-foot radius guilds. Semi-dwarf trees need 12-foot radius. Dwarf trees need 8-foot radius. Include six to eight companion species per guild.
Do permaculture methods increase yields?
Mature systems produce 2-4 times more calories per square foot than monocultures. Yields begin lower during establishment but surpass conventional methods by year four.
How do I convert lawn to permaculture beds?
Sheet mulch existing grass. Layer cardboard, 4 inches compost, 6 inches straw. Plant through mulch after 90 days. No tilling required. Grass decomposes in place, feeding soil biology.