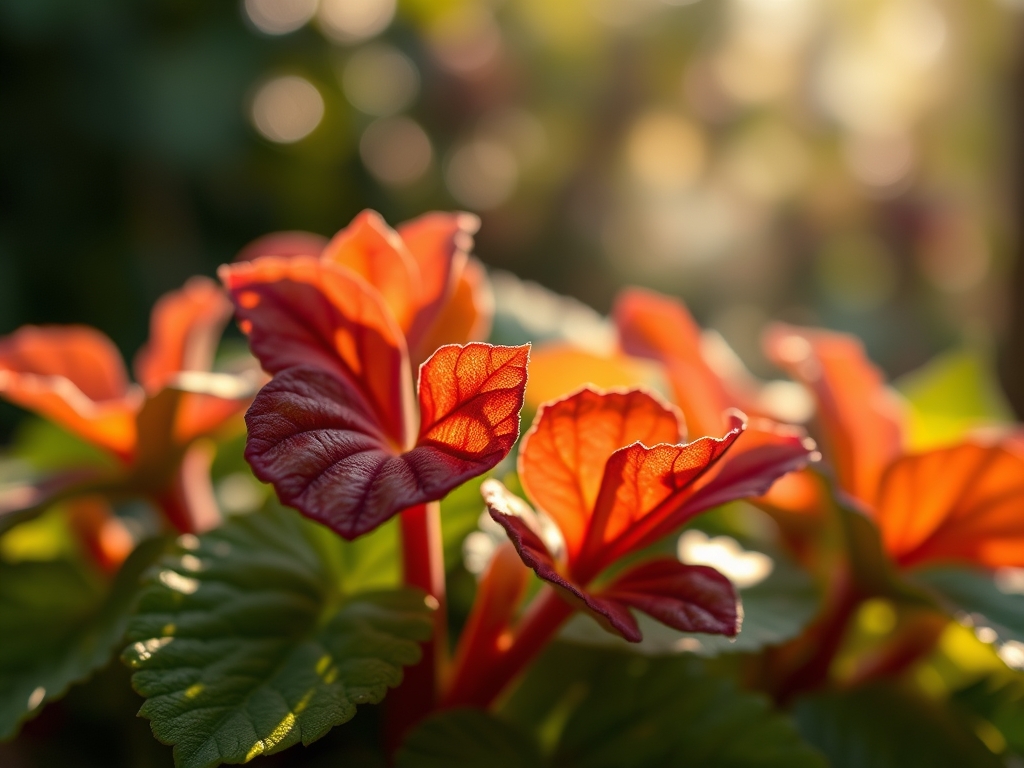
5 Easy Ways How to Grow Angel Wing Begonias
The smell of humid, decaying organic matter and the gritty texture of perlite under the fingernails define the workspace of a serious indoor gardener. To master how to grow angel wing begonias, one must understand the relationship between turgor pressure and cane rigidity. A healthy specimen displays leaves that are firm to the touch; their silver-speckled surfaces feel cool because of efficient transpiration through the stomata. These fibrous-rooted perennials, specifically hybrids of Begonia coccinea, require a precise balance of atmospheric moisture and root-zone aeration to prevent the vascular collapse often seen in amateur collections. Success depends on maintaining a consistent internal hydraulic state within the plant. When the cane is pressurized correctly, the plant stands upright without mechanical support. If the cell walls lose water, the entire structure wilts rapidly. This guide provides the technical framework required to sustain these tropical giants, ensuring they reach their full genetic potential of five feet or more in height while maintaining a dense, photosynthetic canopy.
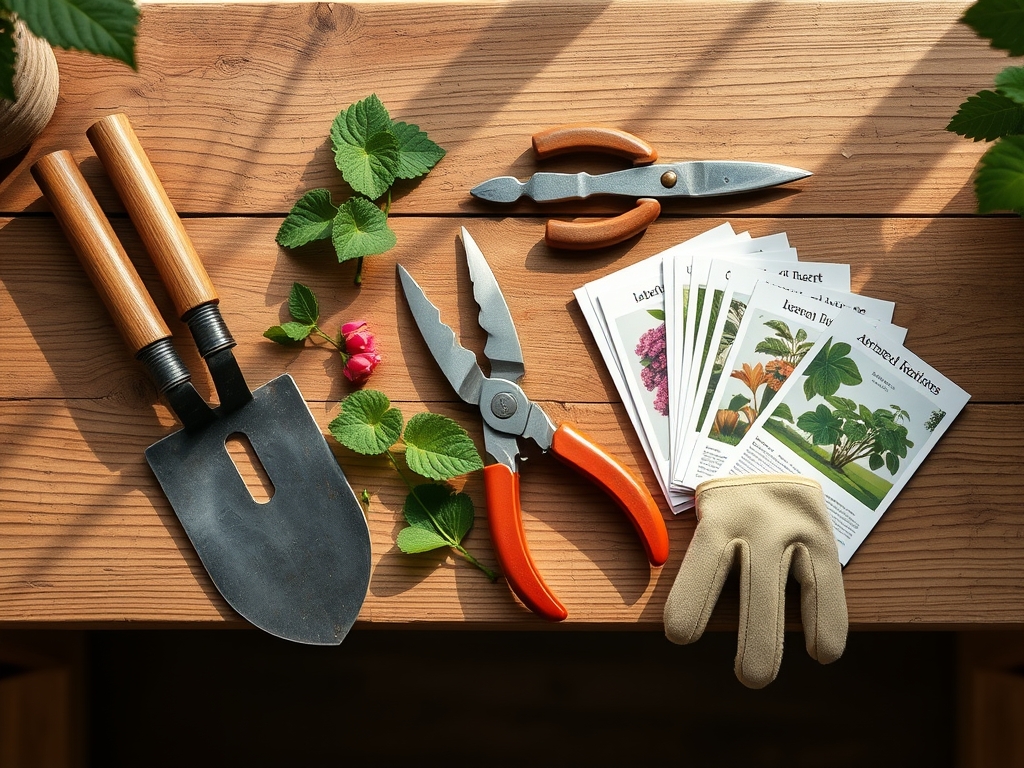
Materials:
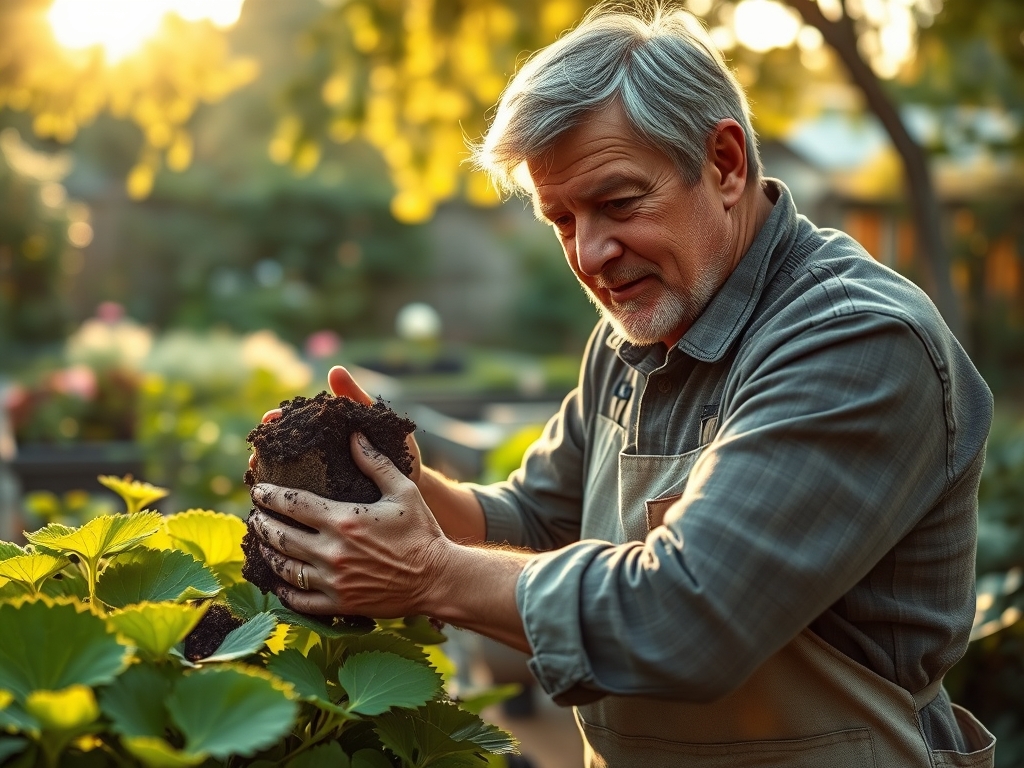
Substrate selection is the most critical variable in the rhizosphere. Angel wing begonias require a **pH range of 5.5 to 6.5** to ensure optimal nutrient bioavailability. The physical texture must be a **friable loam** consisting of two parts peat moss or coconut coir, one part perlite, and one part composted pine bark. This configuration maximizes the Cation Exchange Capacity (CEC), allowing the medium to hold onto essential ions like potassium and magnesium while shedding excess salts.
For nutritional inputs, utilize a water-soluble fertilizer with an NPK ratio of 10-10-10 during the active growth phase. If the goal is to stimulate the reproductive phase, shift to a high-phosphorus formula like 15-30-15. Avoid heavy clay soils; these lack the macropores necessary for oxygen to reach the root hairs. A soil moisture meter is an essential tool for monitoring the volumetric water content, ensuring the medium never drops below 20 percent saturation.
Timing:
These plants are strictly tropical and are rated for USDA Hardiness Zones 10 through 11. In temperate climates, they must remain indoors once ambient night temperatures drop below 55 degrees Fahrenheit. Exposure to temperatures below 45 degrees Fahrenheit triggers cellular crystallization and immediate necrosis.
The biological clock of the angel wing begonia is governed by light intensity rather than a strict photoperiod. The transition from vegetative growth to the reproductive stage (flowering) occurs when the plant receives at least 12 to 14 hours of bright, indirect light daily. In the Northern Hemisphere, the primary growth window opens in late March as solar radiation increases and closes in October when the plant enters a semi-dormant state of reduced metabolic activity.
Phases:
Sowing and Propagation
While seeds are an option, most horticulturists propagate via stem cuttings to maintain genetic clones. Select a terminal cutting 4 to 6 inches long with at least two nodes. Remove the lower foliage to reduce transpirational stress. Submerge the nodes in a sterile medium or water.
Pro-Tip: Dip the basal end in an indole-3-butyric acid (IBA) rooting hormone. This stimulates auxin accumulation at the wound site, which signals the undifferentiated cells to transition into root tissue rather than continuing vegetative leaf production.
Transplanting
Move the rooted cutting into a 6-inch terracotta or plastic pot once the secondary roots reach 2 inches in length. Ensure the container has unobstructed drainage holes. Set the plant at the same depth it was previously growing; burying the cane too deep encourages Pythium root rot.
Pro-Tip: Incorporate a handful of worm castings into the transplant hole to introduce mycorrhizal symbiosis. These beneficial fungi extend the root system's reach, increasing the surface area for phosphorus absorption by up to 100 percent.
Establishing
During the first six weeks post-transplant, the plant focuses on structural development. Maintain a consistent temperature of 70 to 75 degrees Fahrenheit. Use a hori-hori knife to gently loosen the soil edges if the medium becomes compacted, as compaction limits gas exchange in the root zone.
Pro-Tip: Use a technique called "pinching" on the terminal buds. This disrupts apical dominance by removing the primary source of auxins. The resulting hormonal shift forces the lateral buds to break, creating a bushier, more structurally sound plant.
The Clinic:
Physiological disorders often mimic infectious diseases. Accurate diagnosis is required before applying any chemical interventions.
- Symptom: Interveinal Chlorosis. The leaves turn yellow while the veins remain green.
Solution: This indicates a magnesium deficiency or a pH imbalance above 7.0. Flush the soil with acidified water (pH 5.8) and apply a 1 percent Epsom salt solution. - Symptom: Leaf Tip Burn. The margins of the leaves become brown and brittle.
Solution: This is typically caused by "salt crust" or excess fluoride in tap water. Switch to distilled water and leach the pot with three times its volume in water to wash out accumulated mineral salts. - Symptom: Powdery Mildew. White, talc-like spots appear on the leaf surface.
Solution: Improve air circulation to reduce humidity pockets. Increase the distance between plants to 18 inches and apply a potassium bicarbonate spray to alter the leaf surface pH, making it inhospitable to fungal spores.
Fix-It for Nitrogen Chlorosis: If the oldest leaves turn a uniform pale yellow, the plant is scavenging nitrogen for new growth. Apply a high-nitrogen liquid fertilizer (20-10-10) at half strength immediately to restore chlorophyll production.
Maintenance:
Precision maintenance prevents the senescence of lower foliage. Provide 1.5 inches of water per week, applied directly to the soil surface to keep the foliage dry. Use a soil moisture meter to verify that the top 2 inches of substrate have dried before re-watering.
Pruning should be performed with bypass pruners that have been sterilized with 70 percent isopropyl alcohol. Make 45-degree cuts just above a leaf node to encourage outward growth. During the peak summer months, apply a slow-release granular fertilizer every 90 days to sustain the high metabolic demand of the pendulous flower clusters. If the plant becomes "leggy," cut the canes back to within 6 inches of the soil line in early spring to rejuvenate the entire specimen.
The Yield:
While not an edible crop, the "yield" of an angel wing begonia is its biomass and floral display. Harvesting cuttings for new plants should be done in the morning when turgor pressure is at its peak. This ensures the cells are fully hydrated, increasing the success rate of the propagation. To keep harvested flowers fresh in a vase, cut the stems at a sharp angle under water to prevent air embolisms from blocking the xylem. Place the stems in a solution of 1 percent sucrose to provide a carbohydrate source for the continuing respiration of the blooms.
FAQ:
How much light do angel wing begonias need?
They require 10,000 to 20,000 lux of filtered light. Direct midday sun will cause leaf scorch and cellular breakdown. A north or east-facing window provides the ideal spectrum for maintaining deep leaf pigmentation and consistent flowering cycles.
Why are my begonia leaves falling off?
Sudden leaf abscission is usually caused by osmotic shock or extreme temperature fluctuations. If the soil is saturated, it may be root rot. If the soil is dry, the plant is shedding leaves to reduce its transpirational surface area.
How often should I fertilize?
Apply a balanced, water-soluble fertilizer every two to four weeks during the spring and summer. Reduce frequency to once every eight weeks in winter when the plant's metabolic rate slows and nutrient uptake via the rhizosphere decreases significantly.
Can angel wing begonias grow in low light?
They can survive in low light, but they will not thrive. Insufficient photons lead to etiolation, where the stems become weak and elongated. The plant will also fail to produce the anthocyanins responsible for the red undersides of the leaves.
What is the best pot for a begonia?
Terracotta is preferred for experienced growers because its porous walls allow for gas exchange and moisture evaporation. This prevents the anaerobic conditions that lead to root pathogens. Ensure the pot size is only 2 inches wider than the root ball.