7 Simple Steps to Line a Wooden Planter
Damp earth carries a sharp, metallic scent when iron and manganese oxidize in the presence of moisture. This olfactory cue signals a healthy rhizosphere, but for a wooden container, it marks the beginning of cellulose degradation. Wood rot is a relentless biological process where fungi consume lignin, compromising the structural integrity of your vessel. Understanding the precise steps to line a wooden planter is the only way to arrest this decay while maintaining the turgor pressure of your specimens. Without a barrier, the wood wicks moisture away from the root ball, causing localized desiccation and salt buildup at the container walls. Proper lining ensures a stable microclimate where soil temperature remains consistent and hydraulic conductivity is optimized.
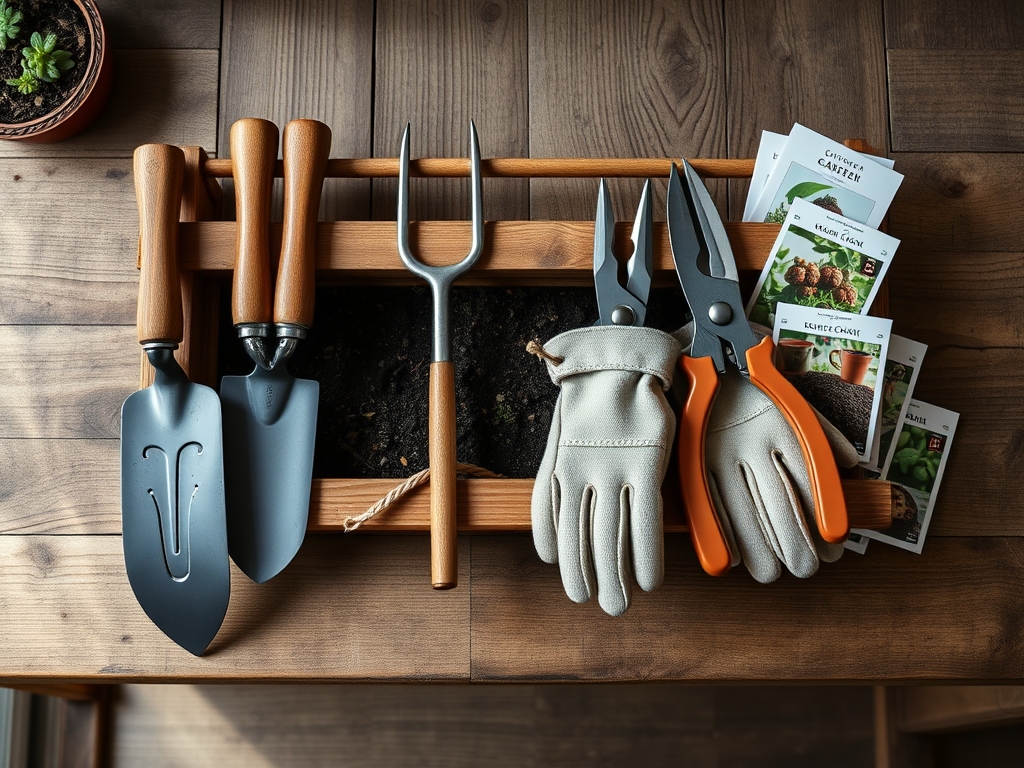
Materials:
The success of a lined planter depends on the chemical composition of the substrate and the durability of the barrier. Select a 6-mil polyethylene plastic or a heavy duty pond liner for maximum longevity. For the substrate, aim for a friable loam with a Cation Exchange Capacity (CEC) between 15 and 25 meq/100g. This allows the soil to retain essential nutrients like potassium and magnesium against leaching.
Target a soil pH of 6.2 to 6.8 for general ornamental and vegetable production. Incorporate a balanced NPK starter at a ratio of 10-10-10 for initial establishment. If you are growing heavy feeders like Solanaceae, shift to a 5-10-15 ratio to prioritize root development and fruit set over excessive vegetative growth. The physical texture should be gritty to the touch, containing approximately 20 percent perlite to ensure oxygen diffusion to the root zone.
Timing:
Timing your planting requires strict adherence to the frost-free dates in your specific Hardiness Zone. In Zones 5 through 7, the window for lining and planting typically opens between April 15 and May 15. You must monitor the soil temperature within the planter; do not transplant until the substrate consistently reaches 60 degrees Fahrenheit.
The biological clock of the plant dictates that lining must be completed before the transition from the vegetative stage to the reproductive stage. Once a plant initiates flowering, its metabolic energy shifts toward gamete production and away from root expansion. Installing a liner and transplanting during the peak vegetative phase (roughly 3 to 5 weeks after germination) ensures the root system can colonize the new volume before the high-stress reproductive period begins.
Phases:
Sowing
When sowing directly into a lined planter, depth is critical. Seeds should be placed at a depth 2 to 3 times their diameter. Ensure the liner has been perforated at the base with 0.5-inch drainage holes every 6 inches to prevent anaerobic conditions.
Pro-Tip: Maintain consistent surface moisture to trigger imbibition, the physical uptake of water that swells the seed coat. If the liner prevents drainage, the resulting lack of oxygen will cause the seed to ferment rather than germinate.
Transplanting
Remove the specimen from its nursery container and examine the root architecture. If roots are circling, use a hori-hori knife to make vertical incisions. This breaks apical dominance in the roots and encourages lateral branching into the new friable loam. Position the plant so the root flare is exactly level with the soil surface.
Pro-Tip: Use a mycorrhizal inoculant during this phase. This establishes a mycorrhizal symbiosis where fungal hyphae extend the reach of the root system, increasing the surface area for phosphorus uptake by up to 1,000 percent.
Establishing
The first 14 days post-transplant are the establishment phase. During this time, the plant is susceptible to transplant shock, characterized by a loss of turgor. Ensure the liner is securely stapled 1 inch below the rim to prevent water from seeping between the plastic and the wood, which creates a breeding ground for wood-boring insects.
Pro-Tip: Avoid heavy fertilization during the first week. High salt concentrations from synthetic fertilizers can cause osmotic stress, pulling water out of the young roots and leading to cellular collapse.
The Clinic:
Physiological disorders often manifest when the lining system fails or the NPK balance is skewed.
Symptom: Interveinal chlorosis on young leaves (yellowing between green veins).
Solution: This indicates Iron deficiency, often caused by a pH above 7.0. Apply chelated iron and check the liner for stagnant water, as anaerobic roots cannot process micronutrients.
Symptom: Marginal leaf burn or scorching.
Solution: This suggests Potassium deficiency or salt accumulation. Flush the planter with 2 gallons of water per square foot to leach excess salts through the drainage holes.
Symptom: Stunted growth with purple tinting on the underside of leaves.
Solution: This is a classic sign of Phosphorus deficiency. It often occurs in cold soils (below 55 degrees Fahrenheit). Increase the ambient temperature or use a black plastic liner to absorb thermal energy.
Fix-It for Nitrogen Chlorosis: If the entire plant turns pale green, apply a liquid fish emulsion (5-1-1). Nitrogen is highly mobile; the plant will mobilize it from older leaves to support new growth, causing the lower canopy to undergo premature senescence.
Maintenance:
Precision is the hallmark of professional maintenance. Use a soil moisture meter to ensure the substrate remains between 40 and 60 percent of its water-holding capacity. Most containerized plants require 1.5 inches of water per week, delivered directly to the drip line to keep the foliage dry and prevent fungal pathogens.
Prune spent blooms using bypass pruners to prevent the plant from diverting energy into seed production. This process, known as deadheading, maintains the plant in a prolonged vegetative or flowering state by suppressing the hormones that trigger senescence. Check the integrity of the liner every autumn. If the plastic has become brittle from UV exposure, it must be replaced to protect the wood from the winter freeze-thaw cycle.
The Yield:
For those harvesting florals or edibles, timing is determined by sugar content and cellular turgor. Harvest leafy greens and herbs in the early morning, specifically before 8:00 AM, when the plant is at maximum turgor. Use a sharp blade to make clean cuts; ragged tears increase the surface area for moisture loss and pathogen entry.
Post-harvest, immediately plunge the stems or produce into 40-degree Fahrenheit water. This rapid cooling, or "hydro-cooling," slows the metabolic rate and respiration of the plant tissue. This technique preserves the crispness and nutritional density of the harvest for several days longer than ambient-air cooling.
FAQ:
What is the best material for lining a wooden planter?
Use 6-mil polyethylene plastic or a specialized EPDM pond liner. These materials are non-porous and durable. They effectively prevent moisture from contacting the wood, which stops the decay process and extends the lifespan of the container significantly.
Do I need to poke holes in the liner?
Yes. You must provide 0.5-inch drainage holes every 6 inches. Without these, water will displace oxygen in the soil pores, leading to root rot and the eventual death of the plant due to anaerobic conditions in the rhizosphere.
Should I put gravel at the bottom of the planter?
No. Gravel creates a perched water table, which actually raises the saturation zone closer to the roots. Instead, use a uniform, well-draining substrate throughout the entire depth of the planter to ensure consistent hydraulic conductivity and oxygenation.
How do I secure the liner to the wood?
Use a heavy duty staple gun to fasten the liner 1 inch below the top edge of the planter. Ensure the plastic is taut against the interior walls to prevent soil from slipping behind the barrier, which would trap moisture against the wood.