10 Accurate Steps to Mark Bulb Rows
The smell of damp earth after a cold rain signals the onset of dormancy; it is the precise moment when the internal turgor pressure of a dormant bulb prepares for a period of vernalization. Proper planning requires precise steps to mark bulb rows before the first hard frost locks the soil profile. Without a clear map, you risk mechanical injury to the basal plates during spring weeding or accidental over-planting. Success depends on tracking the exact coordinates of the rhizosphere to ensure adequate nutrient uptake and spatial efficiency in the coming season.
Materials:
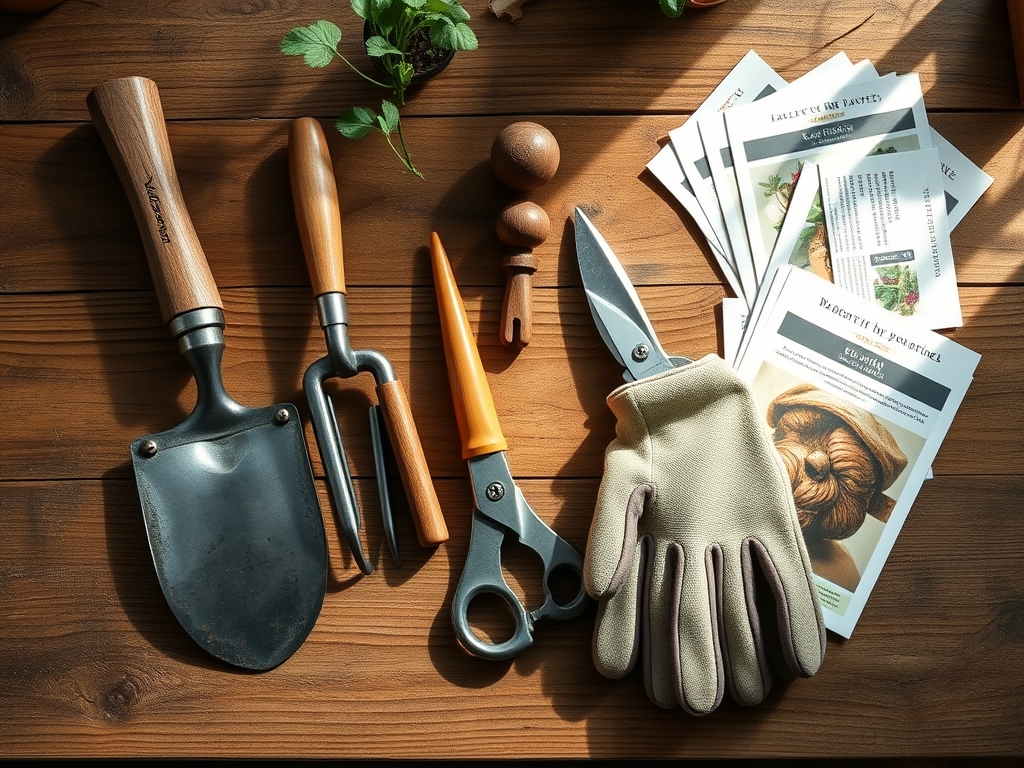
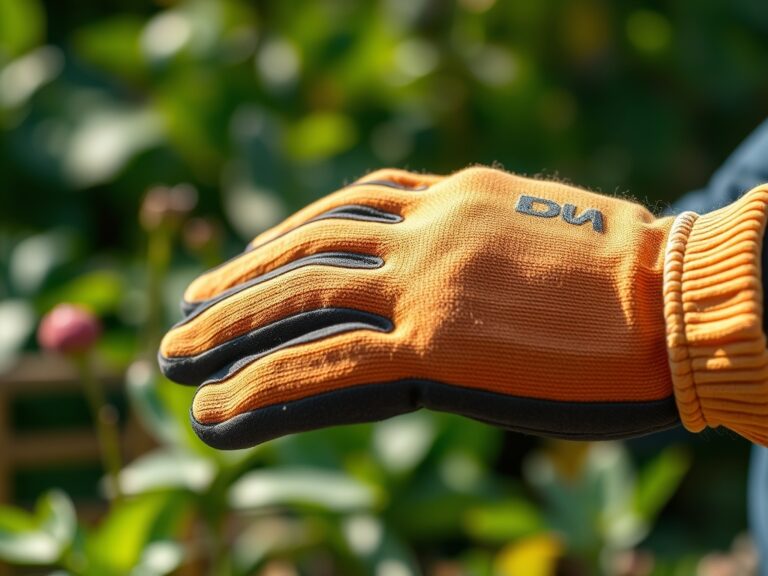
Professional bulb cultivation requires a substrate with a **pH between 6.0 and 7.0**. The ideal medium is a friable loam; a soil texture that crumbles under slight pressure and maintains a high Cation Exchange Capacity (CEC) to hold onto essential minerals. Before marking your rows, integrate a slow-release fertilizer with an **NPK ratio of 5-10-12**. High phosphorus and potassium levels are critical for root elongation and carbohydrate storage in the bulb scales. Avoid high-nitrogen fertilizers at this stage, as excessive nitrogen can trigger premature vegetative growth that is susceptible to frost damage. You will also need surveyor’s twine, wooden stakes, and weather-resistant labels to ensure your markers survive the winter freeze-thaw cycles.
Timing:
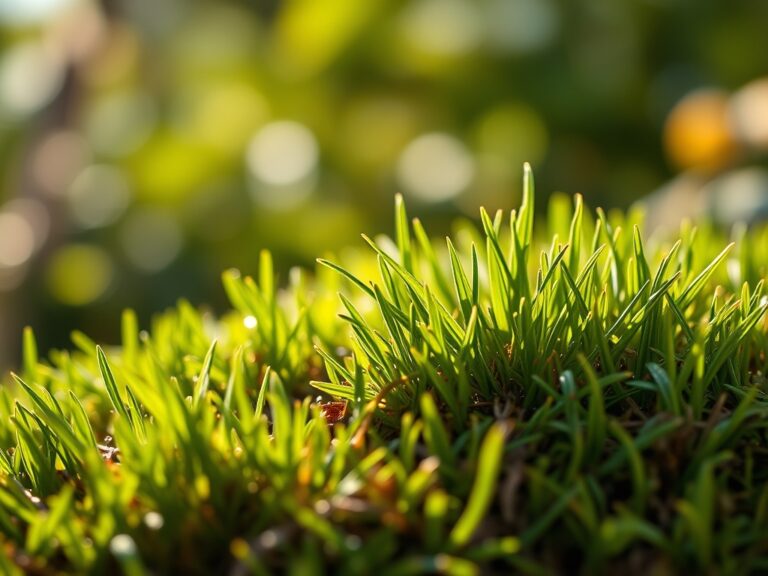
Timing is dictated by the transition from the vegetative stage to the end-of-season senescence. In Hardiness Zones 4 through 7, marking and planting should occur when soil temperatures drop consistently below 55 degrees Fahrenheit (13 degrees Celsius). This usually falls between late September and mid-November. The biological clock of the bulb requires a chilling period, often 12 to 16 weeks at temperatures below 40 degrees Fahrenheit, to break embryonic dormancy. If you mark and plant too early, the bulb may utilize its stored energy for foliage rather than root development. If you wait until the ground is frozen, you lose the ability to establish the physical boundaries of the row without fracturing the soil structure.
Phases:

Sowing and Row Alignment
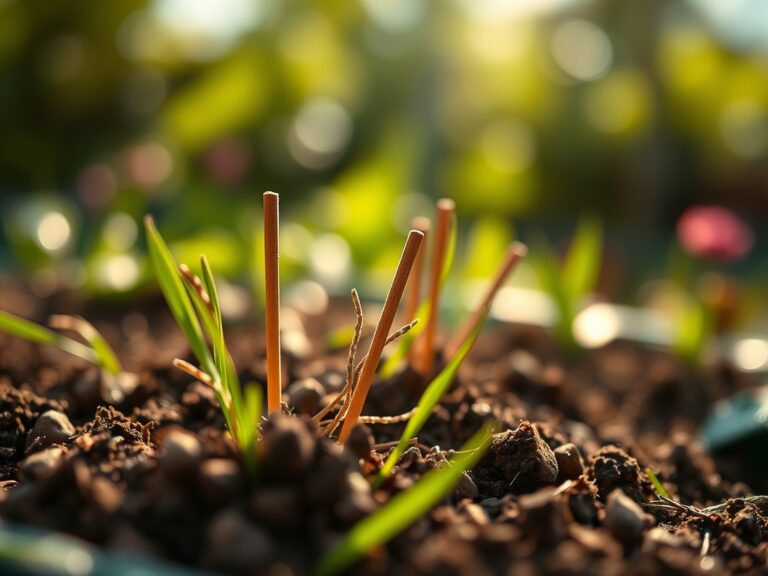
Begin by tensioning surveyor's twine between two stakes to create a perfectly straight line. This ensures that your bulb rows are aligned for maximum light interception. Space the rows 12 inches apart to allow for proper airflow and to prevent fungal pathogens from colonizing the foliage. Use a hori-hori knife to excavate a trench to a depth three times the height of the bulb.
Pro-Tip: Proper spacing prevents competition for moisture in the rhizosphere. This reduces the risk of auxin suppression, where overcrowded plants chemically inhibit the growth of their neighbors to secure limited resources.
Transplanting and Orientation
Place each bulb with the basal plate facing downward and the nose pointing up. For large-scale marking, use color-coded stakes at the end of each row to identify different cultivars. This prevents the accidental mixing of species with different bloom times. Backfill the trench with the friable loam, ensuring no air pockets remain around the bulb.
Pro-Tip: Ensuring direct contact between the basal plate and the soil facilitates mycorrhizal symbiosis. These beneficial fungi extend the reach of the root system, increasing the bulb's ability to absorb phosphorus.
Establishing and Mulching
Once the rows are marked and the bulbs are set, apply a 3-inch layer of organic mulch. This layer acts as an insulator, stabilizing soil temperatures and preventing the "heaving" of bulbs during rapid temperature fluctuations. The markers must extend at least 6 inches above the mulch line to remain visible after snowfall.
Pro-Tip: Maintaining stable soil temperatures prevents thermoperiodism issues, where fluctuating heat signals the bulb to emerge before the danger of frost has passed.
The Clinic:
Physiological disorders often manifest during the transition from dormancy to active growth. Monitor your marked rows for these specific symptoms:
-
Symptom: Stunted Growth and Yellowing (Nitrogen Chlorosis).
Solution: Apply a water-soluble fertilizer with a higher nitrogen count once the first shoots reach 2 inches in height. Nitrogen is a mobile nutrient; if the soil is too saturated, it may leach away from the root zone.
Fix-It: Top-dress the row with blood meal or a 10-10-10 balanced fertilizer to restore leaf color and photosynthetic efficiency. -
Symptom: Basal Rot (Fungal Infection).
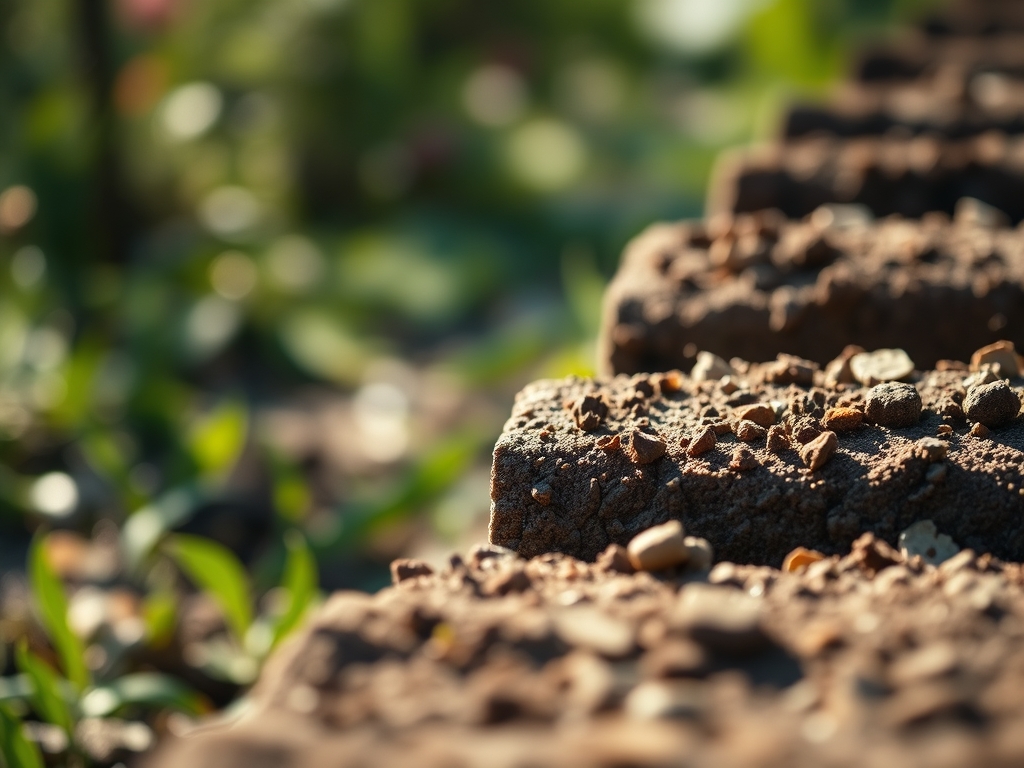
Solution: This usually occurs in soils with poor drainage. Ensure the soil has a high sand or grit content to increase macropore space.
Fix-It: If rot is detected, remove the infected bulbs immediately and improve drainage by adding expanded shale or coarse perlite to the row. -
Symptom: Flower Bud Blast.
Solution: This is often caused by extreme temperature spikes or lack of moisture during the reproductive stage.
Fix-It: Maintain consistent soil moisture levels using a soil moisture meter to ensure the bulbs never experience drought stress during bud formation.
Maintenance:
Precision maintenance is the difference between a mediocre display and a professional-grade yield. Use a soil moisture meter to ensure the rows receive 1.5 inches of water per week during the active growing season. Water should be applied at the drip line rather than over the foliage to prevent Botrytis cinerea. Use bypass pruners to remove spent flower stalks, but leave the foliage intact until it has completely yellowed. This allows the plant to translocate sugars back into the bulb for next year's energy reserves. Periodically check your row markers; if stakes have shifted due to frost heave, reset them to maintain the integrity of your garden map.
The Yield:
When harvesting flowers for indoor use, cut the stems in the early morning when turgor pressure is at its peak. Use a sharp, sterilized knife to make a clean diagonal cut. For maximum "day-one" freshness, immediately plunge the stems into cool water and store them in a dark location for two hours before arranging. This "hardening off" period allows the vascular system to stabilize. If you are lifting bulbs for storage, wait until the foliage is completely senesced. Brush off excess soil but do not wash them; moisture on the outer tunics can encourage mold growth during storage. Store bulbs in a cool, dry place with a temperature between 45 and 55 degrees Fahrenheit.
FAQ:
How deep should I plant my bulbs?
Plant bulbs at a depth three times their vertical diameter. For a 2-inch tulip bulb, the base should be 6 inches deep. This provides insulation and structural support for the developing stem.
Why do I need to mark rows in the fall?
Marking rows prevents mechanical damage during spring maintenance. It identifies the exact location of the bulbs before they emerge, allowing you to cultivate the surrounding soil without piercing the bulbs with garden tools.
What is the best material for row markers?
Use UV-resistant plastic or cedar stakes. These materials withstand high moisture levels and intense sun exposure without degrading. Metal tags etched with a stylus offer the highest longevity for multi-year marking.
Can I use a high-nitrogen fertilizer at planting?
No. High nitrogen levels at planting can stimulate premature leaf growth, which depletes the bulb's energy reserves and increases susceptibility to freezing. Stick to high-phosphorus and high-potassium ratios like 5-10-12 for root establishment.