5 Expert Ways How to Care for Christmas Cactus
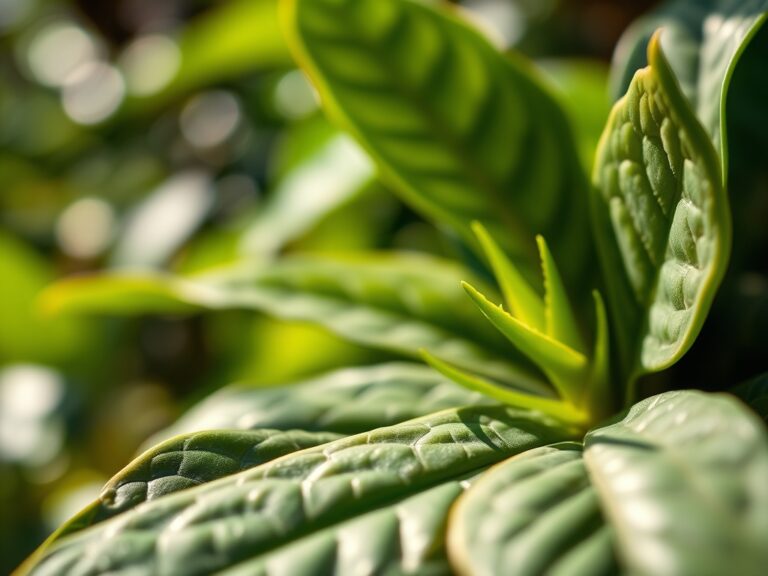
The smell of damp pine bark and the tactile snap of a leaf segment under high turgor pressure define the peak health of Schlumbergera bridgesii. Mastering how to care for christmas cactus requires moving beyond casual observation and into the realm of precise environmental manipulation. These epiphytic specimens demand a substrate that mimics the organic debris of a Brazilian rainforest canopy. Success is measured in the rigidity of the phylloclades and the synchronized initiation of floral primordia during the cooling autumn months.
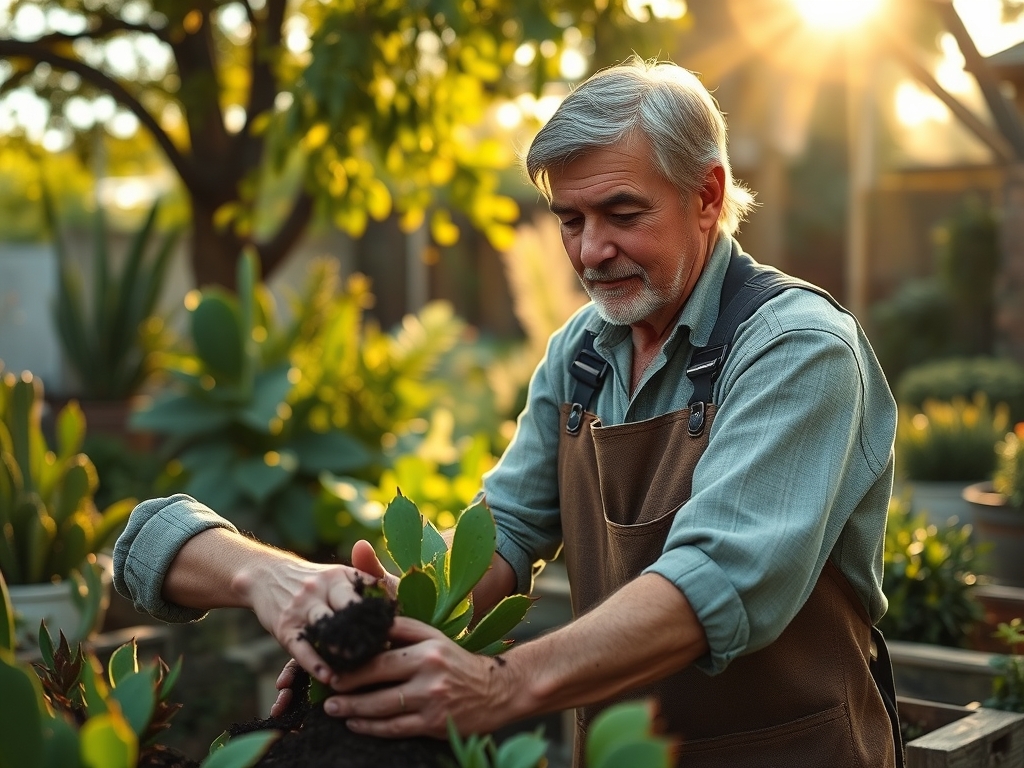
Materials:
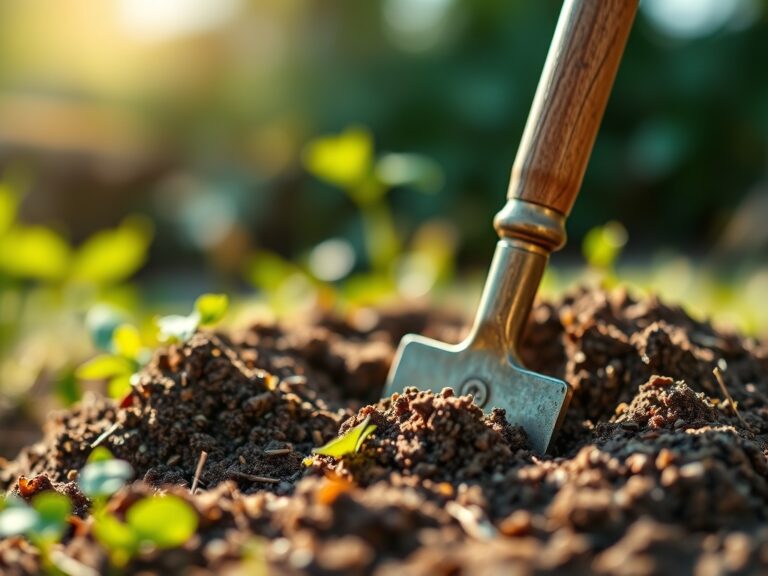
The ideal substrate must maintain a pH range between 5.5 and 6.2 to ensure optimal nutrient availability. A friable, porous medium is essential; a blend of 60 percent peat moss or coconut coir, 20 percent perlite, and 20 percent composted pine bark provides the necessary aeration. This mixture ensures a high Cation Exchange Capacity (CEC), allowing the root system to efficiently sequester essential ions.
For nutritional support, utilize a water-soluble fertilizer with an NPK ratio of 20-20-20 during the active vegetative growth phase. Once the plant enters the reproductive stage in late September, transition to a 0-10-10 formula. This shift suppresses excess nitrogen, which can lead to vegetative "stretching," and provides the phosphorus and potassium necessary for robust floral development. Ensure the potting vessel has ample drainage to prevent anaerobic conditions within the rhizosphere.
Timing:
Schlumbergera are classified as Hardiness Zone 10 to 12 plants. They cannot tolerate frost; exposure to temperatures below 40 degrees Fahrenheit (4.4 Celsius) will cause rapid cellular collapse and tissue necrosis. The biological clock of this species is governed by a strict photoperiod. To trigger the transition from the vegetative stage to the reproductive stage, the plant requires short-day conditions.
Beginning in early October, the specimen must receive 12 to 14 hours of continuous darkness daily. This darkness must be absolute; even minor light pollution from a streetlamp or indoor bulb can disrupt the hormonal signaling required for bud set. Concurrently, nocturnal temperatures should be maintained between 50 and 55 degrees Fahrenheit (10 to 13 Celsius). This thermoperiodism works in tandem with the photoperiod to initiate the senescence of vegetative growth and the emergence of flower buds.
Phases:
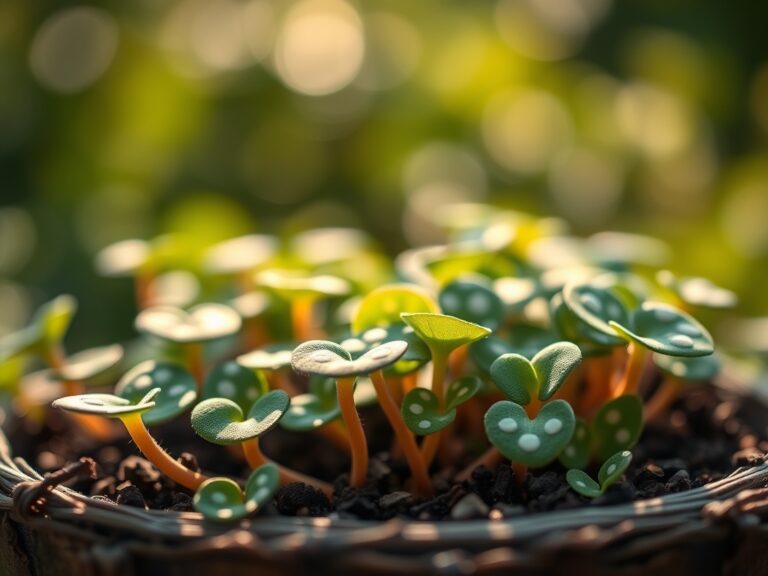
Sowing and Propagation
Propagation is most effective via stem cuttings rather than seed. Select a healthy branch and remove a section containing two to three phylloclades. Allow the wound to callus for 48 to 72 hours in a dry, shaded area. This prevents opportunistic fungal pathogens from entering the vascular system upon planting. Insert the callus end into a moist, sterile medium.
Pro-Tip: The biological why behind callusing involves the formation of a suberized layer. This protective barrier prevents the leaching of cellular fluids and blocks the entry of pathogens while the plant redirects auxins to the base to initiate adventitious root growth.
Transplanting
Repotting should occur every two to three years after the floral display has concluded. These plants prefer a slightly "pot-bound" state, which helps regulate moisture levels around the root ball. When moving to a larger vessel, increase the diameter by no more than one to two inches. Ensure the root crown remains at the same soil level to prevent crown rot.
Pro-Tip: Maintaining a tight root-to-soil ratio prevents "perched water tables" in the pot. Excess soil that is not occupied by roots stays saturated longer, increasing the risk of Pythium or Phytophthora root rot due to lack of oxygen.
Establishing
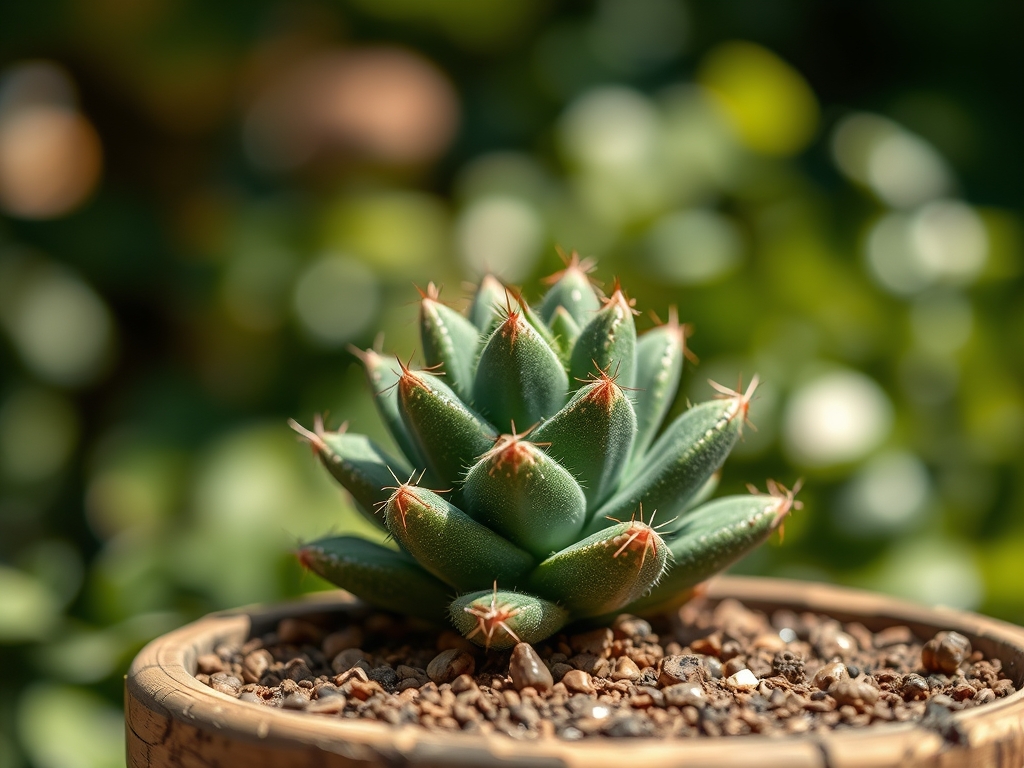
Once transplanted, place the cactus in a location with bright, indirect light. Direct solar radiation will lead to photo-oxidation, turning the green phylloclades a stressed reddish-purple. Maintain a consistent ambient humidity level of 50 to 60 percent. If the air is too dry, the plant will struggle to maintain turgor pressure, leading to limp, wrinkled segments.
Pro-Tip: High humidity facilitates better gas exchange through the stomata. When humidity is low, the plant closes its stomata to conserve water, which simultaneously halts the intake of carbon dioxide, effectively pausing the photosynthetic process.
The Clinic:
Symptom: Phylloclade Drop
Solution: This is often a result of sudden environmental shock or ethylene gas exposure. Ensure the plant is away from drafty doors or ripening fruit. Maintain a steady temperature; a fluctuation of more than 10 degrees in a 24-hour period can trigger abscission.
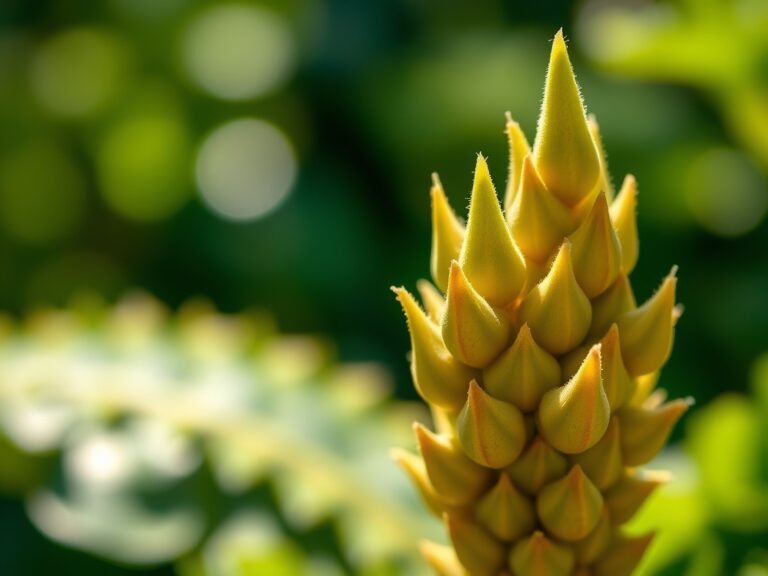
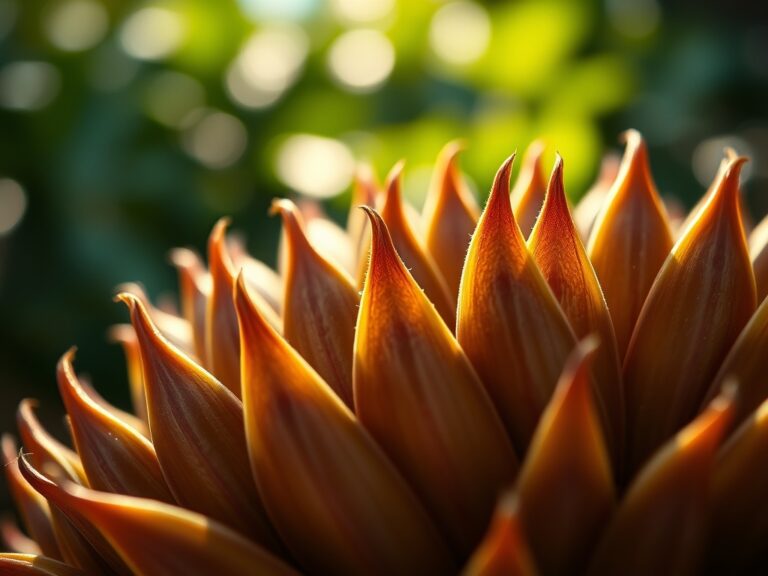
Symptom: Reddish-Purple Foliage
Solution: This indicates phosphorus deficiency or excessive light intensity. If the light is filtered, check the soil pH. If the pH is above 7.0, phosphorus becomes chemically locked and unavailable to the plant. Amend with elemental sulfur to lower the pH.
Symptom: Limp, Shriveled Segments
Solution: Check for root rot using a soil moisture meter. If the meter reads "wet" but the plant looks thirsty, the roots have likely succumbed to fungal decay and can no longer transport water. If the soil is bone dry, increase irrigation frequency.
Fix-It: Nitrogen Chlorosis
If the older segments turn a uniform pale yellow, the plant is likely experiencing nitrogen deficiency. Apply a balanced 10-10-10 liquid fertilizer at half-strength. Nitrogen is a mobile nutrient; the plant will pull it from older tissue to support new growth if the substrate is depleted.
Maintenance:
Precision irrigation is the cornerstone of long-term health. Use a soil moisture meter to verify that the top 1 inch of substrate has dried before adding water. On average, the plant requires approximately 1.5 inches of water per week delivered at the drip line. Avoid wetting the foliage, as standing water can encourage botrytis.
For pruning, use sterilized bypass pruners or a sharp hori-hori knife to remove dead or overgrown segments in early June. This encourages branching, creating a fuller canopy. Always make cuts at the joint between phylloclades. To monitor soil health, use a digital pH probe monthly to ensure the substrate remains in the acidic range.
The Yield:
While not an edible crop, the "yield" of a Christmas cactus is its floral density. For maximum "day-one" freshness and longevity of the blooms, keep the plant in a cool room once the buds show color. High temperatures (above 70 degrees Fahrenheit) will accelerate the metabolic rate of the flowers, causing them to fade and drop within days. By maintaining a cool environment of 60 to 65 degrees, you can extend the bloom period for up to six weeks. After the final flower has wilted, remove it manually to prevent seed pod formation, which diverts energy away from the next vegetative growth cycle.
FAQ:
Why is my Christmas cactus not blooming?
The plant likely lacks the required 12 to 14 hours of uninterrupted darkness and cool temperatures (50-55 F) for six weeks. Without this specific photoperiod and thermoperiod, the plant remains in a vegetative state and will not produce buds.
How often should I fertilize my cactus?
Apply a balanced 20-20-20 fertilizer every two to four weeks from April through September. Stop fertilizing in October to allow the plant to enter its reproductive phase. Resume with a low-nitrogen formula once buds appear.
Can I grow a Christmas cactus outdoors?
Only if you live in USDA Zones 10-12. In other zones, they can stay outdoors in a shaded area during summer but must be moved indoors before nocturnal temperatures drop below 50 degrees Fahrenheit to avoid chilling injury.
What is the best soil for a Christmas cactus?
A well-draining, acidic mix with a pH of 5.5 to 6.2 is best. Combine two parts peat moss with one part perlite and one part composted bark. This ensures high porosity and prevents the root rot common in standard potting soils.