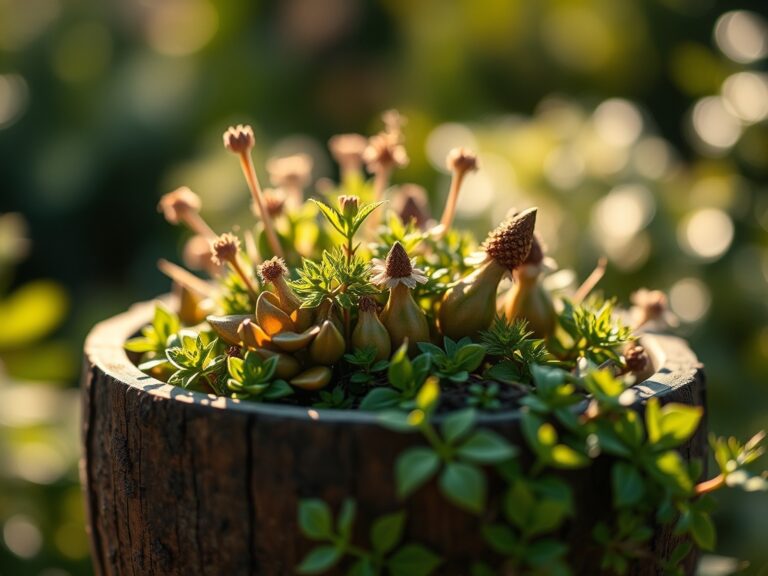
9 Best Drainage Holes for Pots
The smell of anaerobic decomposition is the first sign of failure in a container garden; it is the scent of stagnant water and dying roots. When oxygen is displaced by excess moisture, the rhizosphere suffocates and turgor pressure drops. Selecting the best drainage holes for pots determines the longevity of the specimen by ensuring the gravitational pull of water exceeds the capillary action of the soil. A single 0.5 inch hole at the center of a five gallon pot is often insufficient for high density substrates. Proper drainage prevents the buildup of mineral salts and maintains the hydraulic conductivity required for nutrient uptake.
Materials:
The ideal substrate for containerized growth is a friable loam with a **pH range of 6.0 to 6.8**. This acidity level optimizes the Cation Exchange Capacity (CEC), allowing the plant to access essential ions. For vegetative growth, select a medium with an **NPK ratio of 10-5-5**. During the reproductive phase, transition to a **5-10-10** ratio to support fruit and flower development without overstimulating foliage. The texture must be gritty; incorporate **20 percent perlite or coarse sand** by volume to create macropores. These pores facilitate the movement of water toward the drainage holes, preventing the perched water table effect that leads to root rot.
Timing:
Successful container gardening requires strict adherence to the frost date windows of your specific Hardiness Zone. In Zones 7 through 9, the planting window typically opens in mid March when soil temperatures consistently reach 60 degrees Fahrenheit. The biological clock of the plant is governed by the photoperiod; as day length increases, the plant transitions from the vegetative stage to the reproductive stage. For photoperiod sensitive species, ensure the container is placed to receive at least six hours of direct solar radiation. Monitor the senescence of early season crops to time the transition for summer successions.
Phases:

Sowing
Direct sow seeds at a depth equal to three times the seed diameter. Ensure the substrate is moist but not saturated. Use a spray bottle to maintain surface humidity without displacing the seeds.
Pro-Tip: Maintain consistent moisture to trigger imbibition; the biological why is that water uptake activates the enzymes required for the embryo to break dormancy and begin cellular respiration.
Transplanting
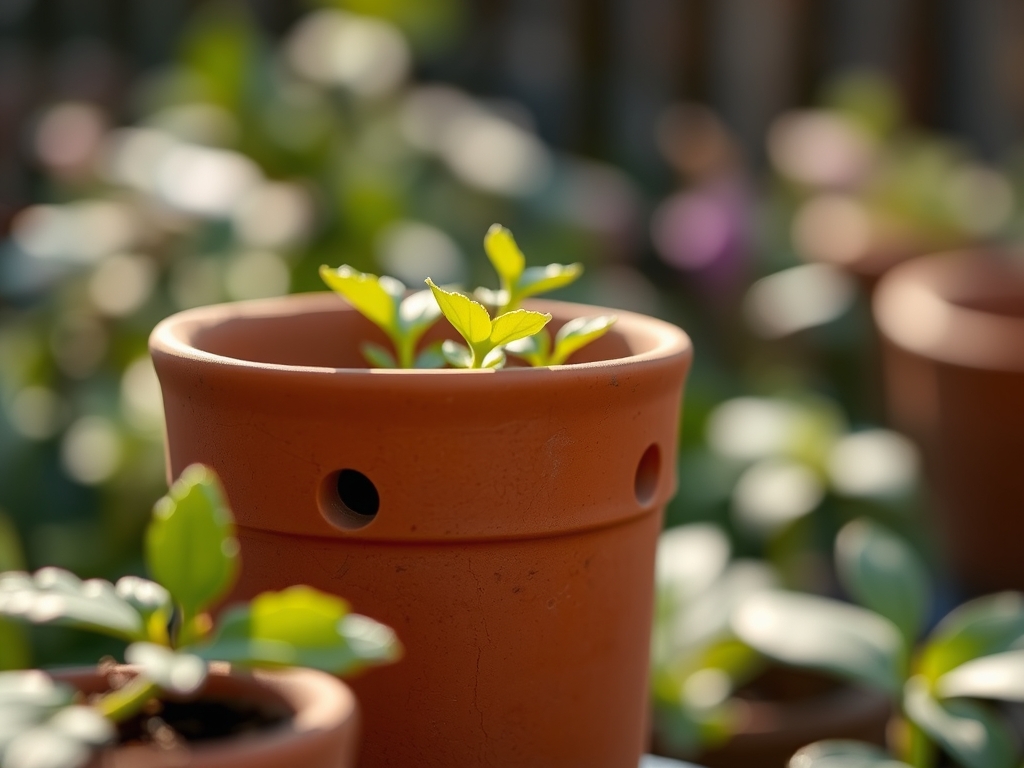
When moving a seedling, handle the plant by the cotyledons rather than the stem to avoid damaging the vascular tissue. The new container must feature at least three 0.75 inch drainage holes spaced evenly around the perimeter of the base.
Pro-Tip: Dust the root ball with mycorrhizal fungi; the biological why is that this symbiosis extends the root system's reach, increasing the surface area for phosphorus absorption through fungal hyphae.
Establishing
During the first 14 days post transplant, monitor for wilting. The plant is establishing its root architecture within the new volume of soil. Avoid heavy fertilization during this period to prevent salt burn on young root hairs.
Pro-Tip: Pinch off the terminal bud if the plant becomes leggy; the biological why is that removing the apical meristem halts auxin suppression of lateral buds, encouraging a bushier growth habit through apical dominance.
The Clinic:
Physiological disorders often mimic pathogen attacks but are frequently rooted in drainage or nutrient issues.
- Symptom: Interveinal chlorosis on new leaves. Solution: This indicates an Iron deficiency, often caused by a pH above 7.0. Lower the pH using elemental sulfur.
- Symptom: Blossom end rot in tomatoes. Solution: This is a Calcium transport issue caused by inconsistent moisture. Ensure the best drainage holes for pots are clear to allow for regular, deep watering cycles.
- Symptom: Leaf tip burn. Solution: This is typically salt toxicity. Flush the container with three times the volume of the pot in distilled water to leach excess minerals.
- Symptom: Lower leaves turning yellow (Nitrogen chlorosis). Fix-It: Apply a liquid fertilizer with a high Nitrogen (N) value immediately. Nitrogen is a mobile nutrient; the plant is scavenging it from old growth to support new leaves.
Maintenance:
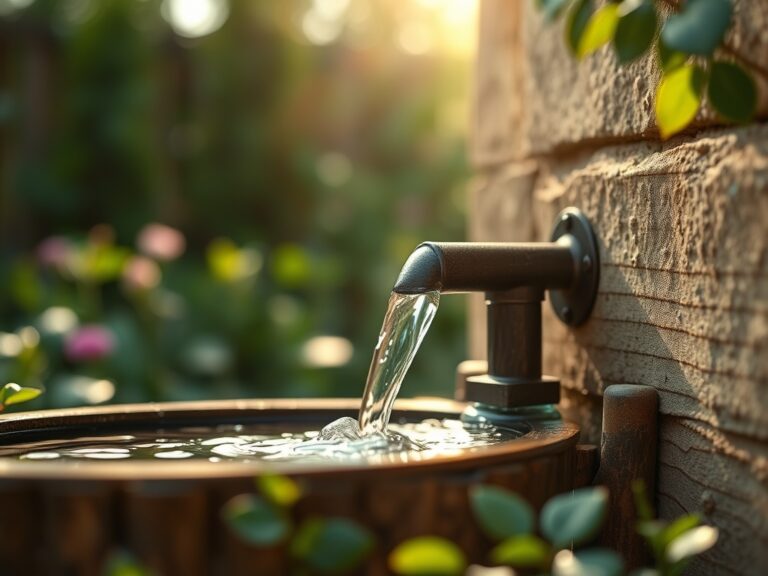
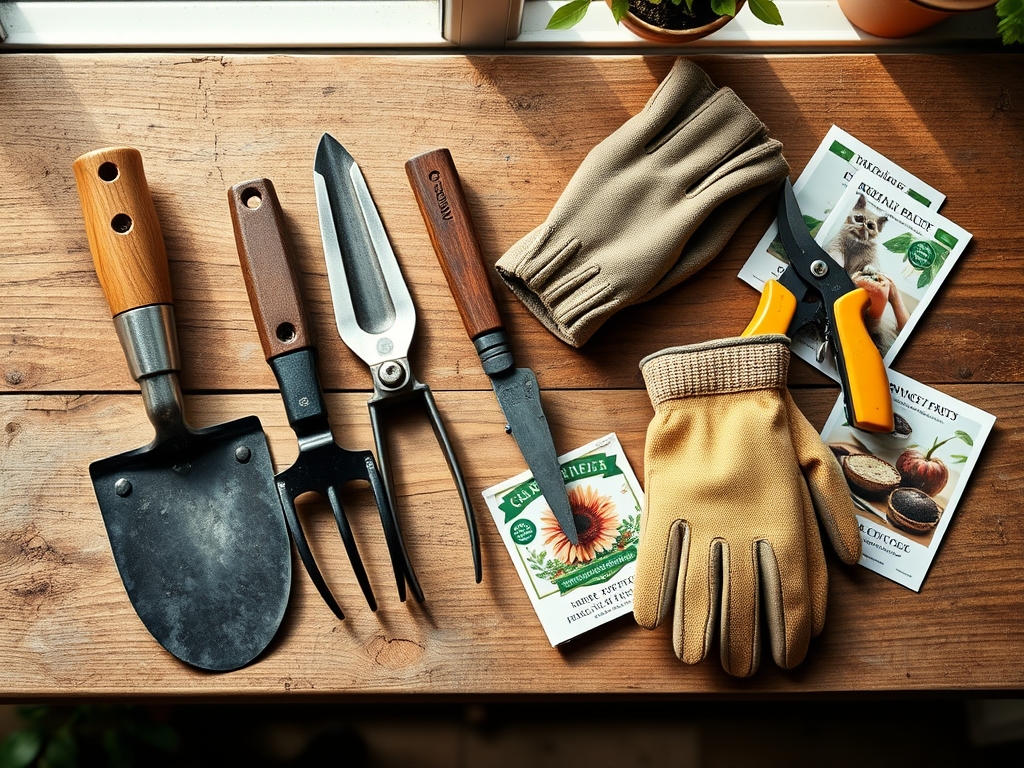
Precision is required for container maintenance. Deliver 1.5 inches of water per week directly to the soil surface at the drip line. Use a soil moisture meter to verify that the moisture has reached the bottom third of the pot before re watering. For pruning, use bypass pruners to make clean, 45 degree angle cuts that promote rapid callous formation. If the plant becomes root bound, use a hori-hori knife to slice vertically through the outer inch of the root mass in four places. This stimulates the growth of new, outward reaching roots. Check drainage holes monthly for blockages caused by root ingress or compacted silt.
The Yield:
Harvesting should occur during the coolest part of the day, typically before 8:00 AM, to ensure maximum turgidity. For leafy greens, use sharp shears to cut two inches above the soil line to allow for a second harvest. For fruiting bodies, wait until the color is uniform and the fruit separates easily from the pedicel. To maintain day one freshness, immediately submerge harvested greens in 40 degree Fahrenheit water to remove field heat and slow the rate of respiration and senescence.
FAQ:
How many drainage holes does a 12 inch pot need?
A 12 inch pot requires a minimum of three to five 0.5 inch holes. Proper spacing ensures that water does not pool in "dead zones" at the bottom of the container, which leads to anaerobic soil conditions.
Should I put rocks at the bottom of pots?
No. Adding rocks creates a perched water table, which actually raises the saturation zone closer to the roots. Use a high quality, porous potting mix and ensure the best drainage holes for pots remain unobstructed for maximum hydraulic flow.
What size should drainage holes be?
For most containers, holes should be between 0.5 and 0.75 inches in diameter. Holes smaller than this are prone to clogging by soil particles or mineral deposits; larger holes may allow too much substrate to wash away during irrigation.
How do I fix a pot with no drainage?
Use a masonry or diamond tipped drill bit to create holes. For ceramic, drill slowly at a low RPM while applying water to the site to prevent cracking. Aim for at least one hole per gallon of container volume.