10 Best Plastic liners for Planters
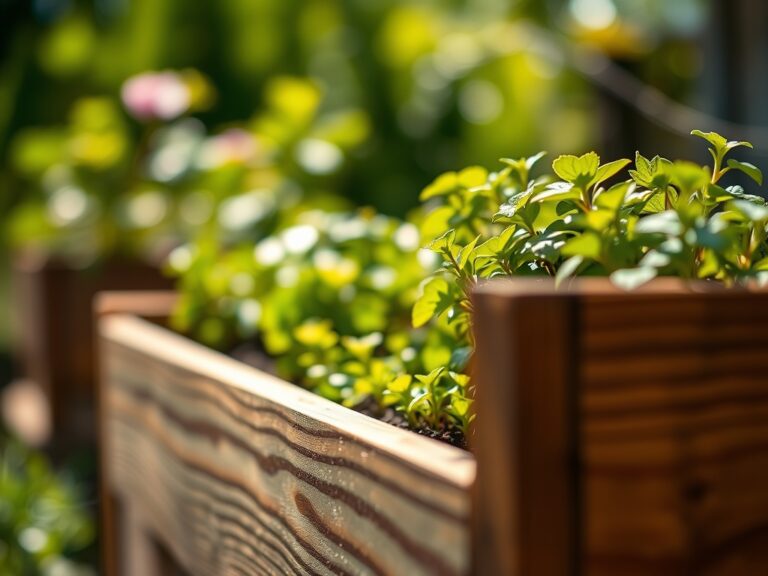
The smell of damp earth and the crisp turgor of a healthy leaf define the success of a controlled growing environment. When you manage moisture levels within a container, you are manipulating the hydraulic conductivity of the entire rhizosphere. Selecting the best plastic liners for planters is not merely about aesthetics; it is a technical requirement to prevent wood rot in cedar boxes and to mitigate rapid evaporation in porous terracotta. A high quality liner serves as a vapor barrier that stabilizes the internal microclimate, ensuring that the root zone maintains a consistent temperature and moisture profile regardless of external atmospheric fluctuations.
Materials:
Substrate selection is the foundation of container health. For most ornamental and edible crops, aim for a **friable loam** with a **pH range of 6.0 to 6.8**. This range ensures optimal bioavailability of macronutrients. High quality liners must be paired with a growing medium that offers a high Cation Exchange Capacity (CEC), allowing the soil to hold onto essential ions like potassium and magnesium.
For heavy feeders, utilize an NPK ratio of 10-10-10 during the initial planting phase. If you are cultivating acid loving species like azaleas, adjust the pH toward 4.5 to 5.5 and provide a 4-12-4 NPK ratio to prioritize root development over excessive foliage. The liner must be thick enough (at least 6 mil) to withstand the abrasive texture of perlite and calcined clay without puncturing, which would lead to localized anaerobic pockets or leakage.
Timing:
Successful container gardening depends on the thermal mass of your setup. In USDA Hardiness Zones 5 through 7, the spring frost date window typically falls between April 15 and May 15. Because plastic liners insulate the soil, they can slightly accelerate the warming of the substrate, allowing for earlier transplanting.
The biological clock of the plant dictates the transition from the vegetative stage to the reproductive stage. This shift is often triggered by the photoperiod, the duration of light exposure in a 24 hour cycle. Ensure your liners are installed and your containers are positioned at least two weeks before the final frost to allow the soil temperature to stabilize at a minimum of 60 degrees Fahrenheit. This thermal stability prevents transplant shock and encourages immediate root elongation into the new medium.
Phases:
Sowing
When sowing seeds directly into a lined planter, depth is critical. Most seeds require a depth of two to three times their diameter. Maintain a surface moisture level that prevents crusting, which can impede the emergence of the hypocotyl.
Pro-Tip: Monitor the moisture at the seed level daily. The biological why involves imbibition; seeds must absorb a specific volume of water to activate metabolic enzymes that break down starch reserves for the embryo.
Transplanting
When moving a seedling from a nursery tray to a lined container, minimize root disturbance. Use a hori-hori knife to create a hole twice the width of the root ball. Ensure the crown of the plant sits flush with the soil surface to prevent stem rot.
Pro-Tip: Dust the root ball with mycorrhizal fungi. The biological why is symbiosis; these fungi extend the reach of the root system, increasing the surface area for phosphorus uptake and improving drought resistance.
Establishing
During the first 14 days, the plant focuses on anchoring itself. Avoid heavy fertilization during this window to prevent salt burn on new, tender root hairs. Maintain consistent turgor pressure by watering when the top inch of soil feels dry.
Pro-Tip: Pinch off early flower buds on young plants. The biological why is auxin suppression; by removing reproductive sinks, the plant redirects its hormonal energy toward vegetative growth and structural root development.
The Clinic:
Physiological disorders in containers are often linked to the restricted volume of the root zone.
- Symptom: Interveinal Chlorosis. The leaves turn yellow while the veins remain green.
- Solution: This typically indicates an Iron or Magnesium deficiency. Check the soil pH; if it is above 7.0, iron becomes insoluble. Apply a chelated iron supplement.
- Symptom: Blossom End Rot. Dark, leathery spots appear on the bottom of fruits.
- Solution: This is caused by a Calcium deficiency, often exacerbated by inconsistent watering. Ensure the liner has adequate drainage holes to prevent waterlogged soil, which inhibits calcium transport.
- Symptom: Leaf Scorch. The edges of the leaves turn brown and crispy.
- Solution: This is a sign of excessive salt accumulation from synthetic fertilizers. Flush the container with a volume of water equal to twice the volume of the liner to leach out excess salts.
Fix-It: For general Nitrogen chlorosis (entire leaf turning pale yellow), apply a water soluble fertilizer with a high first digit in the NPK ratio, such as 20-10-10, to rapidly restore chlorophyll production.
Maintenance:
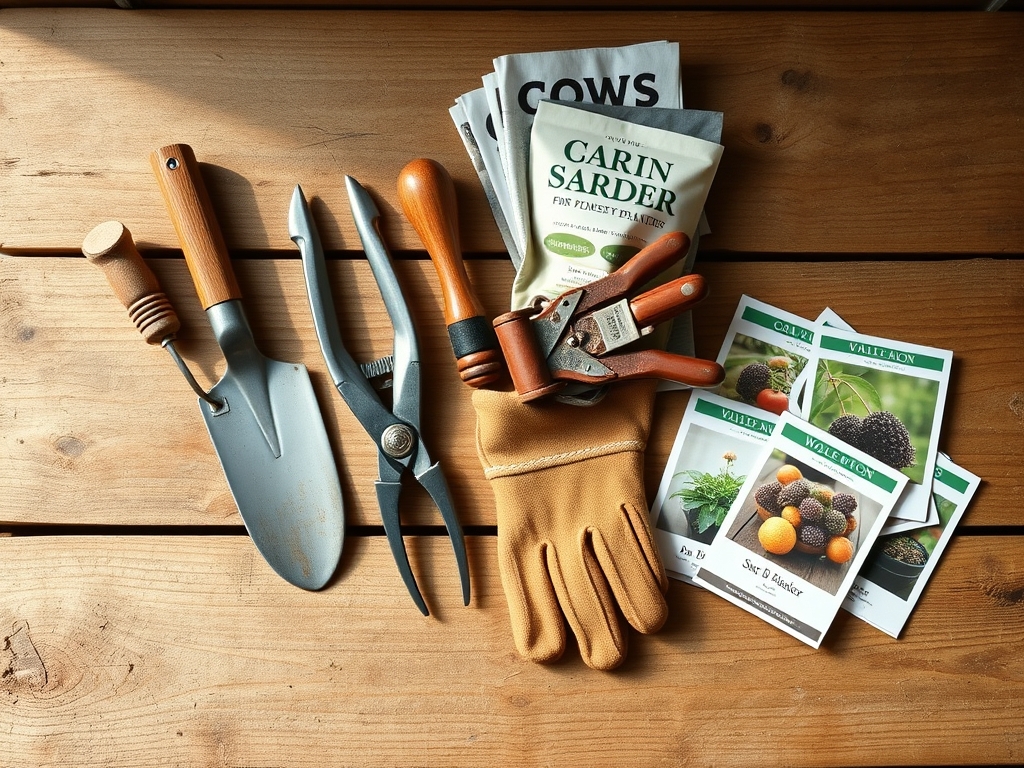
Precision is the hallmark of a professional horticulturist. Use a soil moisture meter to verify that the root zone is receiving exactly 1.5 inches of water per week at the drip line. In high heat, increase frequency but maintain the same total volume to prevent leaching.
Inspect your plants weekly with bypass pruners to remove any necrotic tissue. This prevents the spread of pathogens and improves airflow within the canopy. If using a plastic liner in a wooden planter, check the gap between the liner and the wood for debris. Remove any organic matter that could trap moisture against the wood, as this bypasses the protective purpose of the liner.
The Yield:
For edible crops, harvest timing is determined by sugar accumulation and cellular structure. Harvest leafy greens in the early morning when turgor pressure is at its peak; this ensures the leaves are crisp and have the longest shelf life. Use sharp shears to make clean cuts, which allows the plant to seal the wound quickly and reduces the risk of infection.
For flowering species, harvest when the first two florets on a spike are open. To maintain "day-one" freshness, immediately plunge the stems into 110 degree Fahrenheit water containing a floral preservative. This heat reduces the viscosity of the water, allowing it to move rapidly up the xylem to hydrate the blooms.
FAQ:
Should I poke holes in plastic liners for planters?
Yes. Without drainage holes, water accumulates at the base, creating anaerobic conditions. This leads to root rot and the buildup of toxic gases. Ensure at least four half-inch holes per square foot of liner base.
What thickness is best for a planter liner?
A thickness of 6 mil to 10 mil is ideal. This provides sufficient puncture resistance against tools and roots while remaining flexible enough to conform to the interior dimensions of the container.
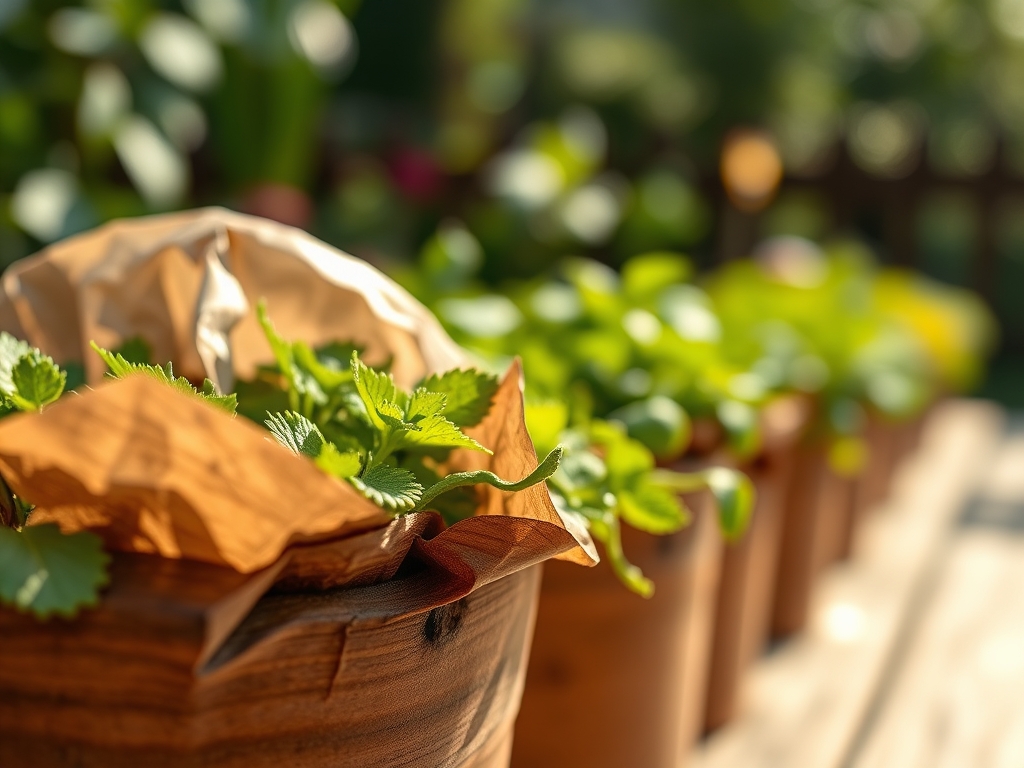
Can I use trash bags as liners?
Standard trash bags are typically too thin, often ranging from 0.5 to 1.5 mil. They degrade quickly under UV exposure and tear easily. Use heavy duty, UV stabilized polyethylene liners for long term structural integrity.
How do I prevent soil from escaping the liner holes?
Place a layer of landscape fabric or a fine mesh screen over the drainage holes before adding substrate. This allows water to exit via gravity while retaining the friable loam and preventing the clogging of the drainage path.