9 Best Turf Cutters for Hire
Damp earth releases a sharp, geosmin-rich scent when the blade pierces the crown of a perennial ryegrass stand. This olfactory signal indicates a healthy microbial community within the rhizosphere. Maintaining that soil integrity requires precision during removal. Selecting the best turf cutters for hire ensures that the physical structure of the soil remains intact while the root mat is severed cleanly. A dull blade or underpowered motor causes jagged tears in the stolons and rhizomes; this leads to rapid desiccation and cellular collapse. High turgor pressure in the grass blades makes for a cleaner cut. You want the plant cells fully hydrated before the machine passes through. Professional grade sod cutters utilize oscillating blades to minimize shear stress on the underlying soil profile. When you source the best turf cutters for hire, you are looking for a machine that maintains a consistent depth to preserve the topsoil's organic layer. This process is the foundation of any successful landscape renovation or bed expansion.
Materials:
The ideal substrate for turf removal is a friable loam with a **pH between 6.0 and 7.0**. Soil with high clay content increases friction on the cutting blade, while overly sandy soil lacks the structural cohesion to hold the sod strip together during transport. Before operating the equipment, analyze the Cation Exchange Capacity (CEC). A **CEC of 15 to 25 milliequivalents per 100g** indicates a soil capable of holding the nutrients necessary for the next planting phase.
For the existing turf, the NPK ratio should be balanced to ensure root strength without excessive succulent top growth. A 10-10-10 NPK application four weeks prior to cutting strengthens the fibrous root system. Avoid high nitrogen fertilizers (above 20 percent) immediately before removal; this prevents the grass from becoming too "soft" and prone to bruising. The physical texture must be moist but not saturated. Saturated soil leads to anaerobic conditions and compaction, which destroys the pore space required for oxygen exchange.
Timing:
Successful turf removal depends on the biological clock of the specific grass species and the local climate. In Hardiness Zones 4 through 7, the optimal window is late spring or early autumn when soil temperatures range between 55 and 65 degrees Fahrenheit. This coincides with the peak vegetative growth stage. In Zones 8 through 10, the window shifts to early spring to avoid the heat induced dormancy of mid summer.
The "Biological Clock" transition from vegetative to reproductive stages is critical. Cutting turf when the plant is "bolting" or producing seed heads diverts energy away from the roots. You want the plant in a steady vegetative state where carbohydrate reserves are stored in the rhizomes. Monitor the frost date windows closely. Perform the removal at least six weeks before the first hard frost to allow any remaining soil microbes to stabilize before the ground freezes.
Phases:

Sowing
If you are replacing the turf with new seed, the seedbed must be prepared immediately after the cutter has passed. The removal of the old sod exposes the "A" horizon of the soil. Broadcast seeds at a rate of 6 to 8 pounds per 1,000 square feet for fescue blends. Ensure seed to soil contact by lightly raking the surface.
Pro-Tip: Mycorrhizal symbiosis is essential here. Adding a fungal inoculant during sowing encourages the development of hyphae that extend the root system's reach for phosphorus. This biological partnership increases drought resistance by up to 30 percent.
Transplanting
When moving sod to a new location, the "lift and lay" time must be under 24 hours. Keep the harvested rolls in a shaded area to prevent "shelf heating," where respiration within the rolled stack raises internal temperatures above 100 degrees Fahrenheit, killing the grass.
Pro-Tip: Control auxin suppression by keeping the sod rolls flat if they cannot be laid immediately. Auxins are growth hormones that migrate to the lowest point of the plant. If rolls are left vertical, hormone imbalances can lead to uneven recovery and stunted root initiation.
Establishing
The establishment phase requires consistent moisture to prevent the edges of the new sod from shrinking. Irrigate the area to a depth of 4 inches immediately after installation. This eliminates air pockets between the sod and the native soil, facilitating capillary action.
Pro-Tip: Phototropism will cause the grass blades to lean toward the light source. Ensure the new area has a minimum of 6 hours of solar radiation to prevent the plants from becoming leggy and weak. Strong light triggers the production of lignin, which provides the structural rigidity needed for foot traffic.
The Clinic:
Symptom: Yellowing of the lower leaves while veins remain green (Interveinal Chlorosis).
Solution: This typically indicates a Magnesium deficiency or an alkaline pH above 7.5. Apply chelated iron or elemental sulfur to lower the pH and unlock micronutrients.
Symptom: Localized brown spots with a "greasy" appearance.
Solution: This is often Pythium blight, a physiological response to high humidity and poor drainage. Improve airflow and reduce evening irrigation to lower the leaf wetness period.
Symptom: Purplish tint on older foliage.
Solution: Phosphorus deficiency. This occurs when soil temperatures are below 50 degrees Fahrenheit, inhibiting phosphorus uptake. Apply a high phosphorus starter fertilizer (5-20-10 NPK) to the rhizosphere.
Fix-It Section: For Nitrogen chlorosis (general paling of the entire plant), apply a slow release urea fertilizer at a rate of 0.5 pounds of actual Nitrogen per 1,000 square feet. This provides a steady supply of ions without causing a growth surge that weakens cell walls.
Maintenance:
Precision maintenance prevents the need for premature turf removal. Apply exactly 1.5 inches of water per week at the drip line of surrounding trees or across the open lawn. Use a soil moisture meter to verify that the water is penetrating at least 6 inches into the profile.
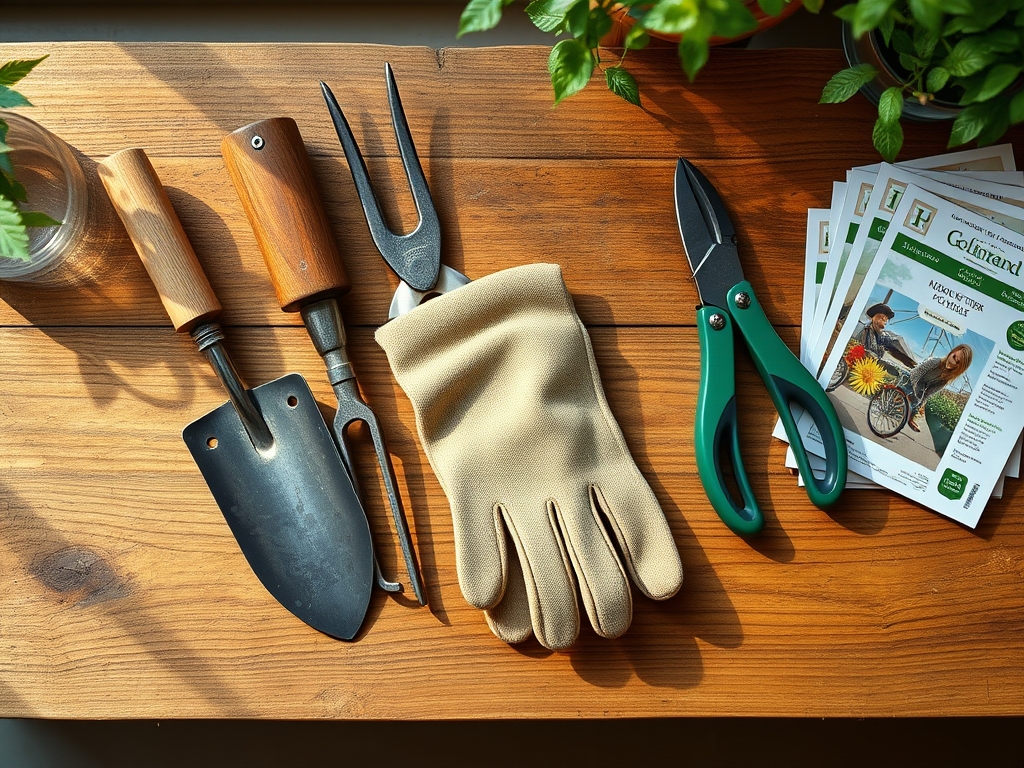
For edge maintenance around new beds, use a hori-hori knife to sever encroaching stolons. This tool allows for deep vertical cuts that prevent "creeping" species from invading the mulch. Use bypass pruners for any woody stems that the turf cutter cannot process. Clean all tools with a 10 percent bleach solution after use to prevent the cross contamination of soil borne pathogens.
The Yield:
If the turf removal is for the purpose of installing a cutting garden or edible crop, the yield depends on the transition speed. Once the sod is removed, the soil is "prime." Harvest leafy greens when they reach 4 inches in height for maximum succulence. Use a sharp blade to cut above the basal plate to allow for "cut and come again" regrowth. For flowers, harvest in the early morning when turgor pressure is at its peak. Place stems immediately into 40 degree Fahrenheit water to induce a state of dormancy and preserve freshness for up to 10 days.
FAQ:
What is the best depth for a turf cutter?
Set the blade to 1.0 to 1.5 inches. This depth captures the majority of the fibrous root mat while leaving the nutrient rich topsoil and beneficial microbes in the ground for the next planting phase.
Can I use a turf cutter on wet soil?
No. Operating on saturated soil causes severe compaction and "smearing" of the soil structure. This destroys macro pores, leading to anaerobic conditions that kill beneficial bacteria and prevent future root penetration.
How do I prepare the lawn before hiring a cutter?
Mow the grass to a height of 1 inch and remove all debris. Ensure the soil is moist but not muddy. Flag all irrigation heads and underground utilities to prevent catastrophic mechanical failure.
What should I do with the removed sod?
If the grass is healthy, transplant it to bare areas immediately. If it contains invasive species, compost it in a high heat pile (reaching 140 degrees Fahrenheit) to neutralize seeds and pathogens before reuse as mulch.