7 Best Thanksgiving Cactus Tips for Growth
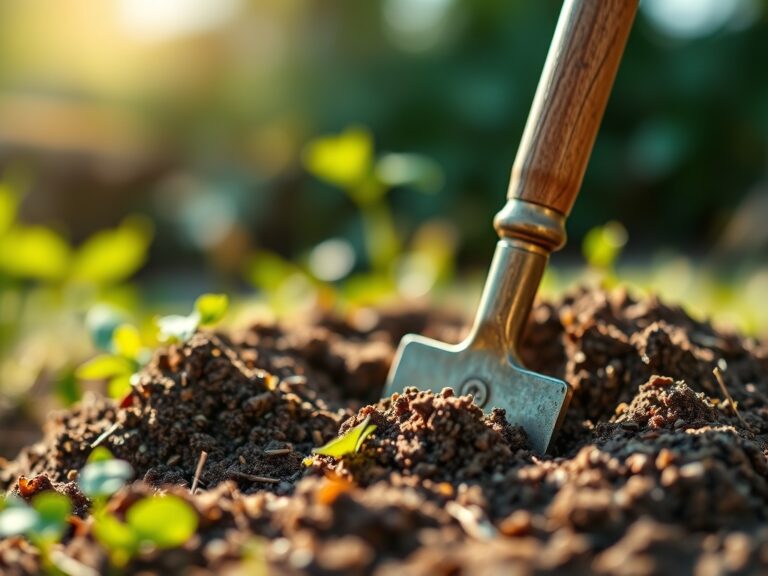
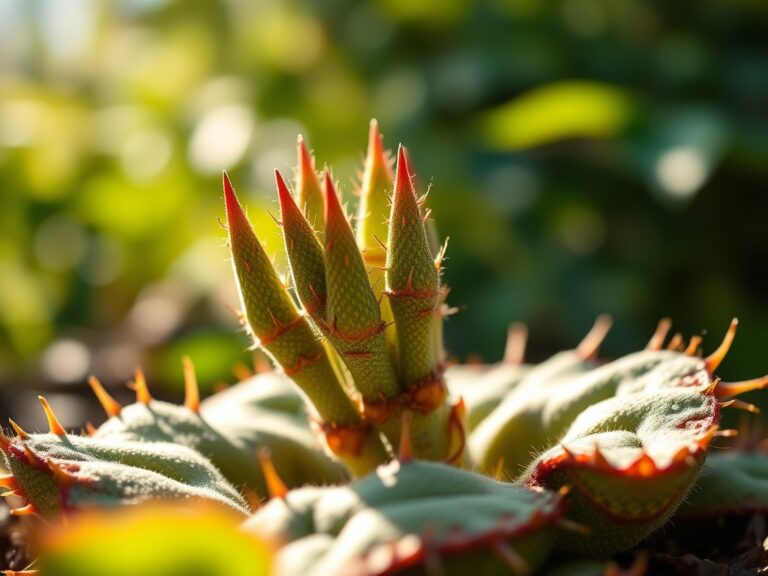
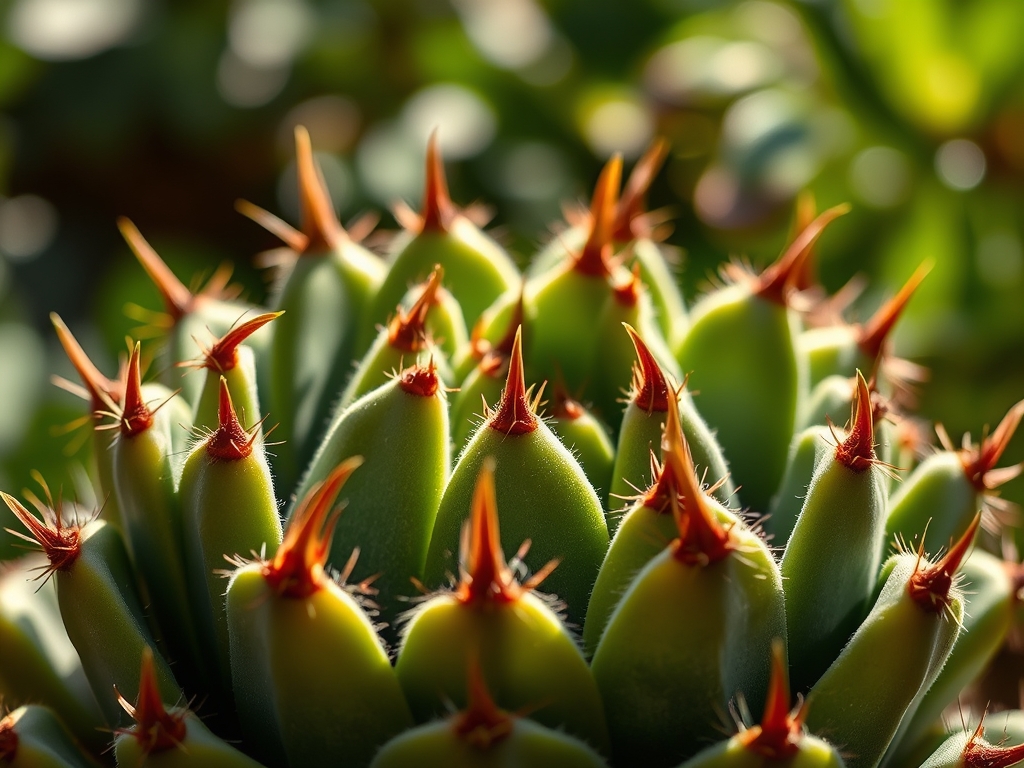
The scent of damp pine bark and decomposed peat moss signals a healthy rhizosphere for the Schlumbergera truncata. A successful specimen is defined by high turgor pressure within its phylloclades; those flattened, leaf-like stem segments that must remain rigid and deep green. Achieving a prolific bloom requires precise manipulation of light and temperature. Implementing the best thanksgiving cactus tips ensures your plant transitions from a dormant vegetative state to a heavy reproductive phase characterized by symmetrical, zygomorphic flowers. This process is not a matter of luck but a rigorous application of botanical science and environmental control.
To maximize the health of this epiphytic species, one must understand its origins in the organ mountains of Brazil. Unlike desert cacti, these plants thrive in high humidity and dappled light. They require a substrate with high porosity to prevent anaerobic conditions around the root zone. When the phylloclades feel firm and the terminal buds begin to swell, the plant is successfully utilizing its stored carbohydrates. Failure to provide these specific triggers results in bud abscission or limp, dehydrated segments.
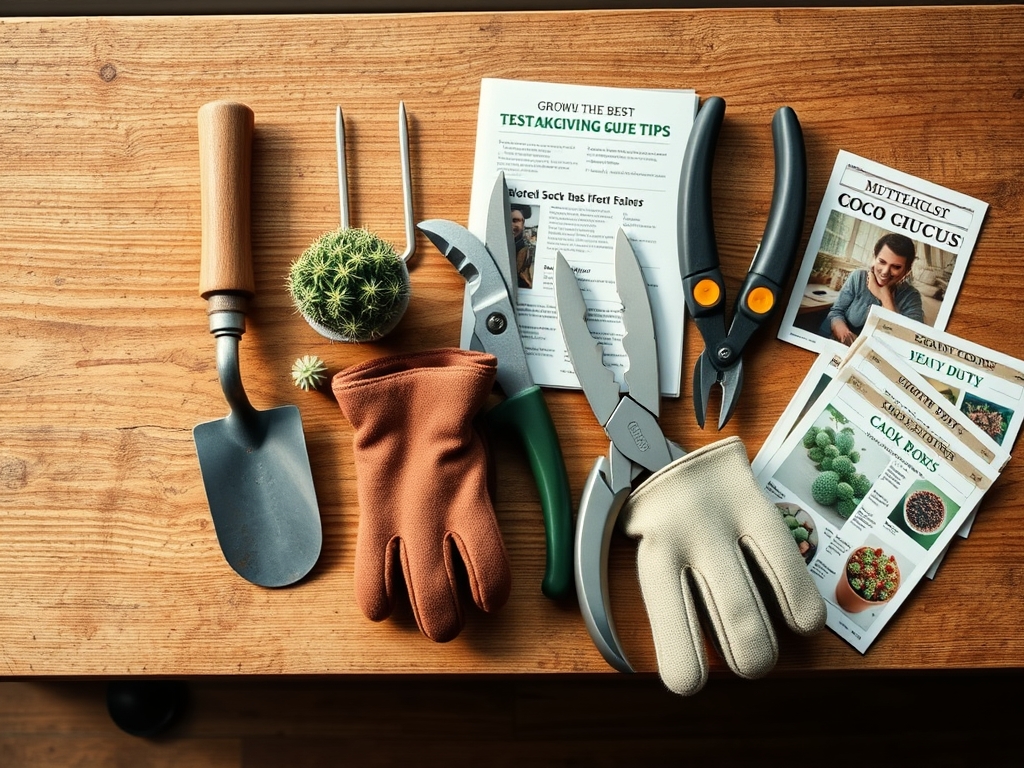
Materials:
The ideal substrate must maintain a pH between 5.5 and 6.2 to ensure optimal nutrient availability. A friable loam mixture consisting of 60 percent peat moss or coconut coir, 20 percent perlite, and 20 percent orchid bark provides the necessary Cation Exchange Capacity (CEC) while allowing for rapid drainage.
Nutrient requirements shift based on the growth phase. During the active vegetative season from March to August, use a water-soluble fertilizer with an NPK ratio of 20-20-20 to support cellular expansion. As the plant enters the pre-bloom stage in September, switch to a high-phosphorus formula, such as 10-30-10, to stimulate floral initiation. Maintain a regular schedule of magnesium sulfate (Epsom salts) at a rate of 1 teaspoon per gallon of water once a month to prevent interveinal chlorosis and support chlorophyll production.
Timing:
Schlumbergera truncata is hardy in USDA Zones 10 through 12. In all other regions, it must be treated as an indoor specimen or moved inside when overnight temperatures drop below 50 degrees Fahrenheit. The biological clock of this plant is governed by thermoperiodism and photoperiodism.
To trigger the reproductive stage, the plant requires 12 to 14 hours of uninterrupted darkness for at least six consecutive weeks. This dark period must be accompanied by cool evening temperatures between 55 and 65 degrees Fahrenheit. If temperatures exceed 70 degrees Fahrenheit during the dark cycle, the plant will fail to set buds regardless of light exposure. This physiological requirement mimics the shortening days and cooling temperatures of its native high-altitude habitat.
Phases:
Sowing and Propagation
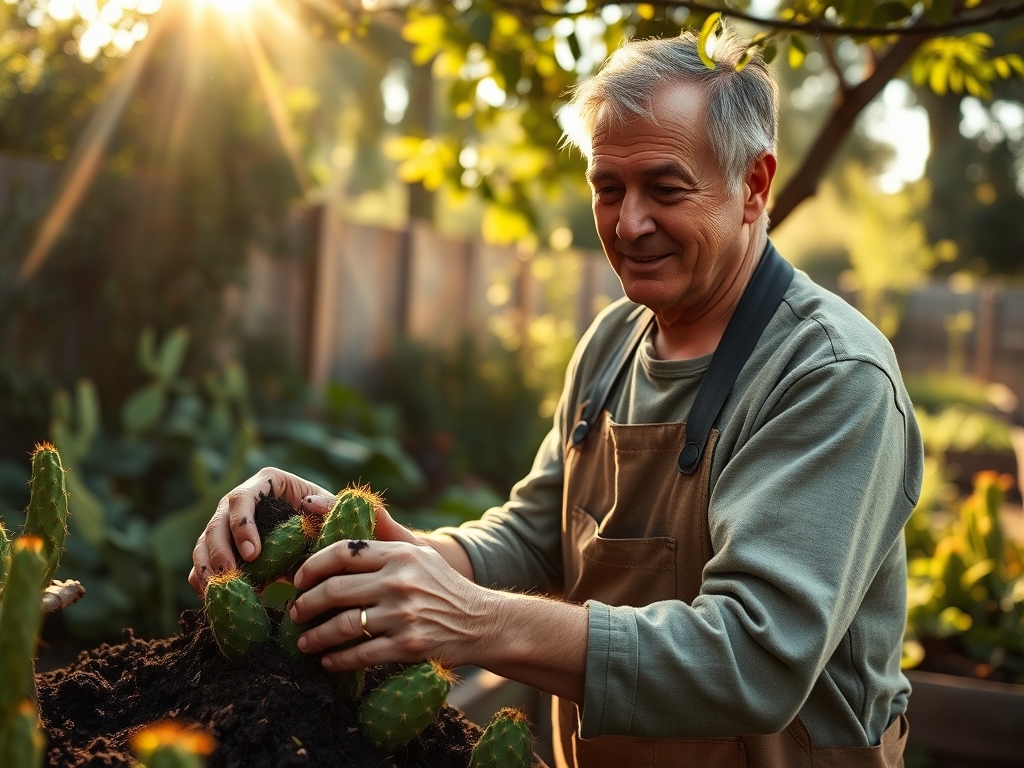
Propagation is most effective via stem cuttings rather than seeds. Select a healthy branch and remove a segment containing two to three phylloclades. Allow the wound to callus for 48 hours to prevent fungal pathogens from entering the vascular system.
Pro-Tip: Place the callus end into a moist, sterile medium. The emergence of adventitious roots is driven by auxin accumulation at the node. Maintaining high humidity around the cutting prevents desiccation while the plant lacks a functional root system to maintain turgor.
Transplanting
Repotting should occur every two to three years after the flowering cycle has concluded. These plants prefer a slightly constricted root environment; select a container only one inch wider than the current one.
Pro-Tip: Use a soil moisture meter to verify the core of the root ball is dry before transplanting. This reduces the risk of mechanical damage to the fine root hairs. These roots form a mycorrhizal symbiosis with beneficial fungi that assist in phosphorus uptake; preserving the integrity of the root ball protects this delicate biological network.
Establishing
Once transplanted, place the cactus in a location with bright, indirect light (approximately 1,500 to 3,000 foot-candles). Avoid direct afternoon sun, which can cause photo-oxidation and permanent bleaching of the phylloclades.
Pro-Tip: Rotate the pot 90 degrees every week. This prevents extreme phototropism, where the plant leans excessively toward the light source. Even distribution of light ensures a balanced canopy and prevents the structural failure of elongated stems under the weight of future blooms.
The Clinic:
Physiological disorders often stem from environmental stressors rather than pathogens.
- Symptom: Bud Abscission (Bud Drop).
- Solution: Stabilize the environment. Sudden changes in temperature or moving the pot during bud development causes the plant to produce ethylene gas, leading to the detachment of the buds.
- Symptom: Reddish-Purple Phylloclades.
- Solution: This is often a sign of magnesium deficiency or excessive light stress. Apply magnesium sulfate and move the plant further from the light source.
- Symptom: Limp, Shriveled Segments.
- Solution: Check the roots. If they are black and mushy, it is root rot caused by overwatering. If the roots are healthy, the plant is likely experiencing underwatering or high transpiration rates in low humidity.
Fix-It: Nitrogen Chlorosis
If the entire plant appears pale yellow, it lacks nitrogen. Apply a high-nitrogen liquid fertilizer (30-10-10) at half-strength to quickly restore nitrogen levels within the plant tissues.
Maintenance:
Precision is the hallmark of professional maintenance. Use a soil moisture meter to ensure the substrate is dry to a depth of two inches before adding water. On average, the plant requires the equivalent of 1.5 inches of water per week, delivered directly to the substrate surface to avoid wetting the foliage.
Pruning should be performed in late spring using sterilized bypass pruners. Remove one or two segments from each branch to encourage branching. This increases the number of terminal ends, which directly correlates to the number of flowers produced in the autumn. For larger specimens, a hori-hori knife can be used to gently saw through congested root masses during repotting to encourage new growth.
The Yield:
While not an edible crop, the yield of a Thanksgiving cactus is its floral display. To maximize the longevity of the blooms, reduce the temperature to 60 degrees Fahrenheit once the buds show color. This slows the metabolic rate of the flower and delays senescence.
Do not fertilize while the plant is in bloom, as this can lead to premature flower drop. Once the flowers fade, remove them by pinching at the base. This prevents the plant from diverting energy into seed production and redirects it toward the next vegetative growth flush.
FAQ:
How often should I water my Thanksgiving cactus?
Water when the top two inches of soil are dry. This typically equates to once every 7 to 10 days. Use a soil moisture meter to ensure the root zone is not sitting in stagnant water.
Why are the leaves on my cactus turning limp?
Limp phylloclades indicate a loss of turgor pressure. This is caused by either extreme dehydration or root rot from overwatering. Inspect the root system; healthy roots should be firm and light-colored, not dark or slimy.
How do I get my cactus to bloom in time for November?
Provide 12 to 14 hours of total darkness and cool temperatures (55-65F) starting in September. Maintain this cycle for six weeks. Interrupting the dark period with even a few minutes of light can reset the biological clock.
What is the best fertilizer for a Thanksgiving cactus?
Use a balanced 20-20-20 NPK fertilizer during the summer vegetative phase. Switch to a high-phosphorus 10-30-10 formula in September to support bud development. Always apply at half-strength to avoid mineral salt buildup in the substrate.
Can I grow a Thanksgiving cactus outdoors?
Only in USDA Zones 10-12. In cooler climates, keep the plant outdoors in a shaded area during summer, but move it inside when night temperatures fall below 50 degrees Fahrenheit to prevent cold-induced tissue damage.